Dan Becker's Model Trains - N Scale Tunnels and Mountain Scenery

Closing in the tunnels
Welcome to part 5 of my series of articles on N scale train layout and scenery building In the previous article on steel plate bridge building, I showed how I blasted a hole in the berm beneath the train tracks and levelled the road to the factory space. In this article I complete the mountains and make spaces for the town and factory to come.

This first photo shows the completed bridge from the previous article. You can also see the stone bridge abutments in place, but not yet painted.

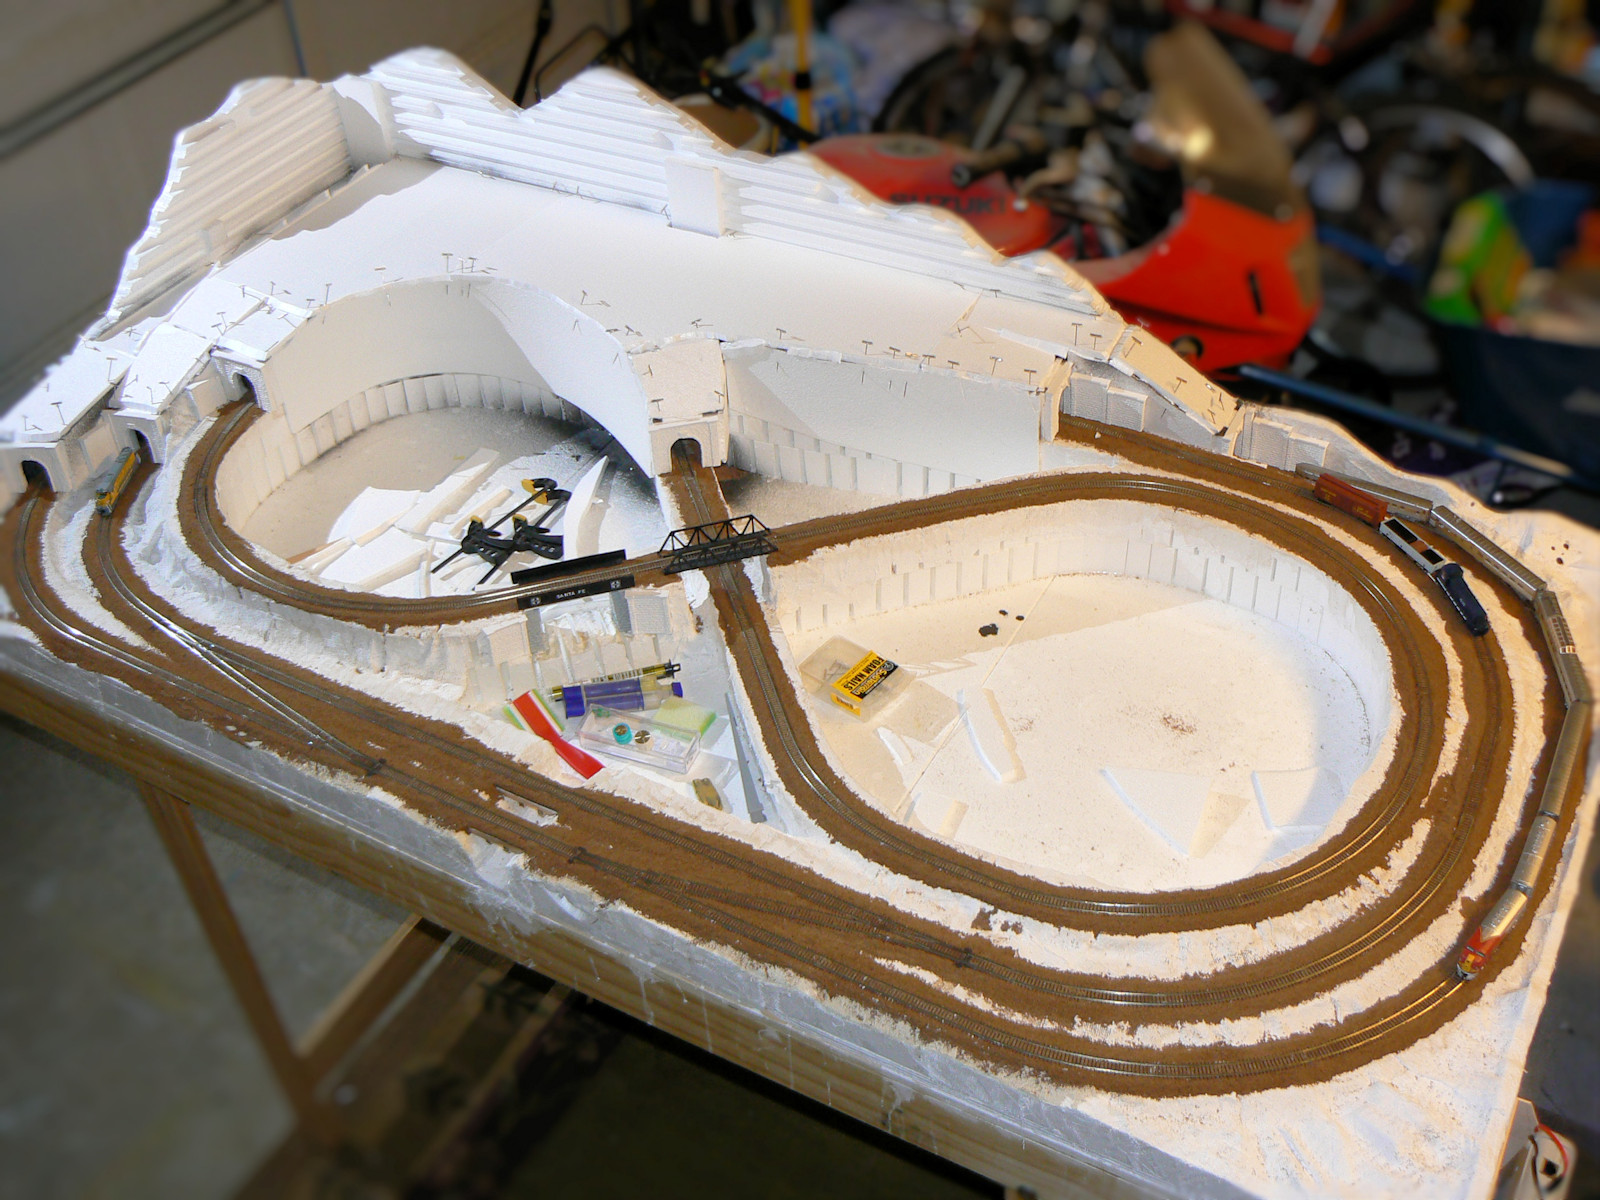
Also I took some 1/4" (8 mm) foam sheeting and made a roof and some walls for the three train tunnels. These are glued with ordinary white glue and held in place by Woodland Scenics T pins, also know as hat pins .The roof does not have to be very strong, but it has to be strong enough to hold some crumpled newspaper, some plaster cloth, and some N scale scenery above.

Tunnel roofing glued
This photo shows the hat pins removed and the final tunnel roofing all glued into place. The roof does not have to be very wonderful, only functional enough to hold the scenery above.

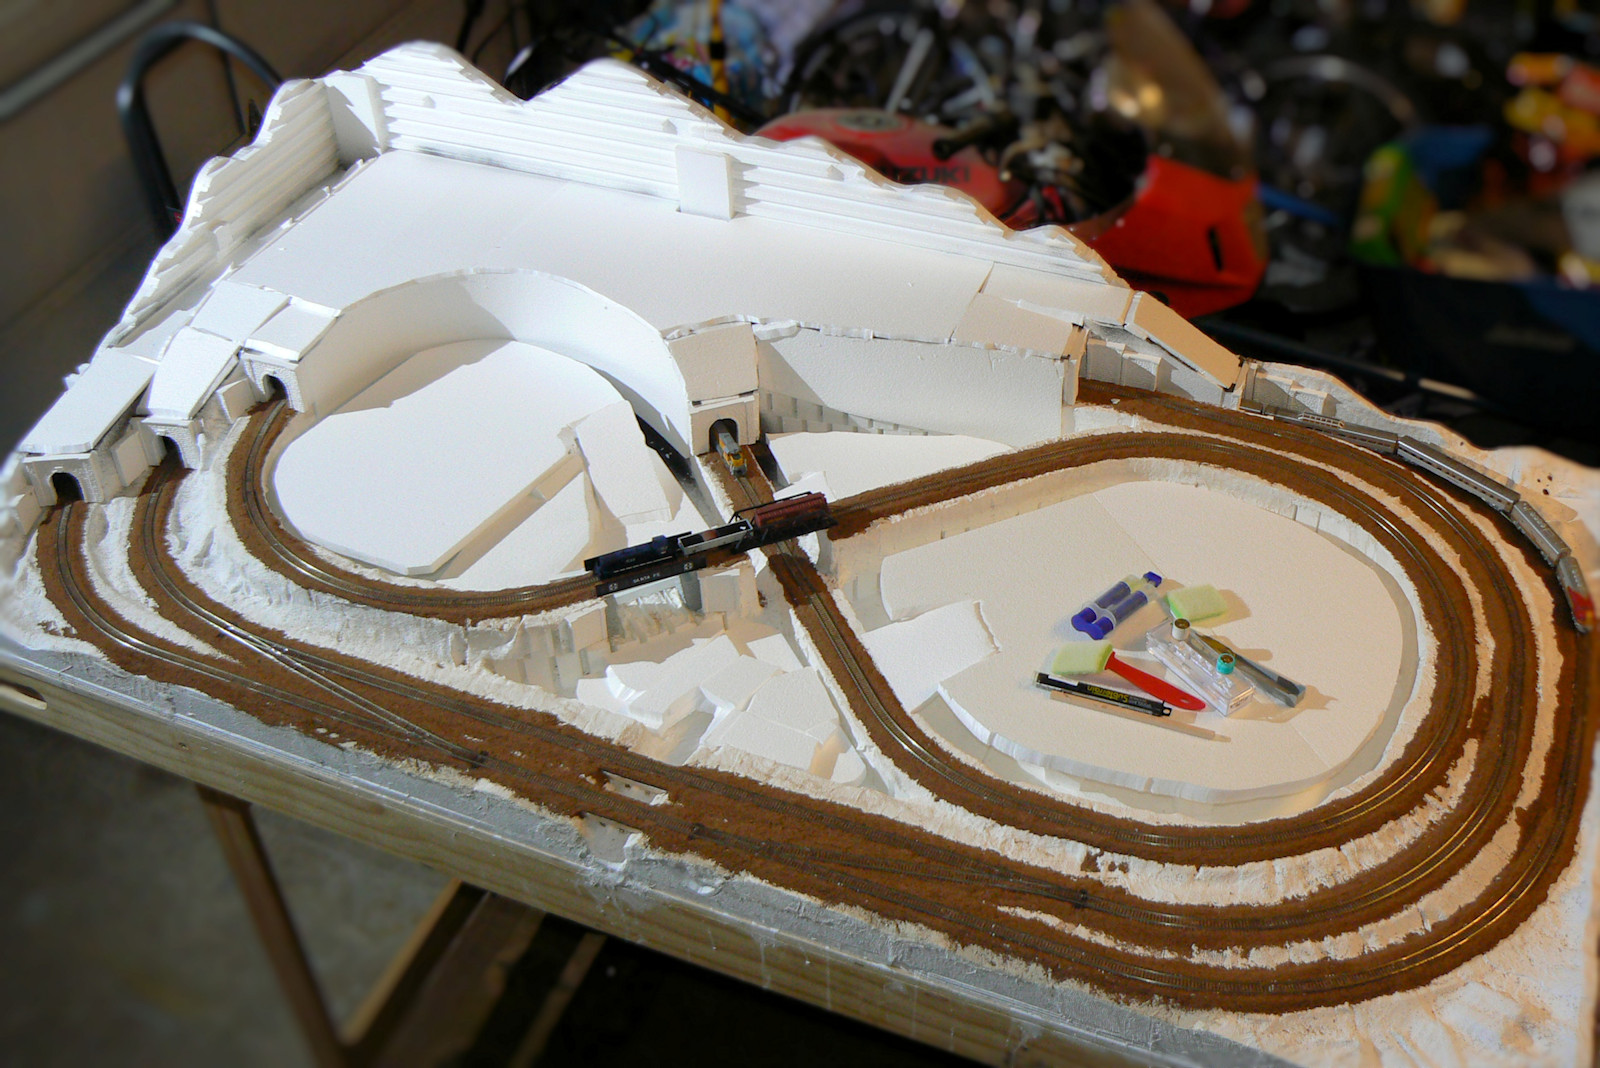
The two areas inside the figure 8 loops are filled in with a level floor. These are basically flat 1/2" (13 mm) foam sheets supported from below with some styrofoam blocks. It almost reminds me of Roman hypocaust - which is how the Romans made radiant heated flooring 2000 years before its arrival in the modern world. Notice also the various ramps that lead into town and into the factory zone. There are a couple of funky different levels, but they will contain various junk yards, houses, and trailers to support the factory.

Also note that I purchased a track cleaning car that the MP 15 is pulling across the bridge. This is an Aztec Trains car, and it has three wheels for doing wet, dry, or abrasive cleaning. I am going to run this thing until the rails disappear. It really helps clean the rails and keeps the locos running smoothly.

Plaster cloth mountains
This has to be one of the most gratifying steps in the whole process. Here we have the first layer of plaster cloth in place. The tunnels have been capped with crushed newspaper and some plaster cloth mountains. I really like the texture and all the nooks and crannies up there. The front zones have all been covered with plaster cloth to make textured sublayer and somewhat smoother transitions from level to level.

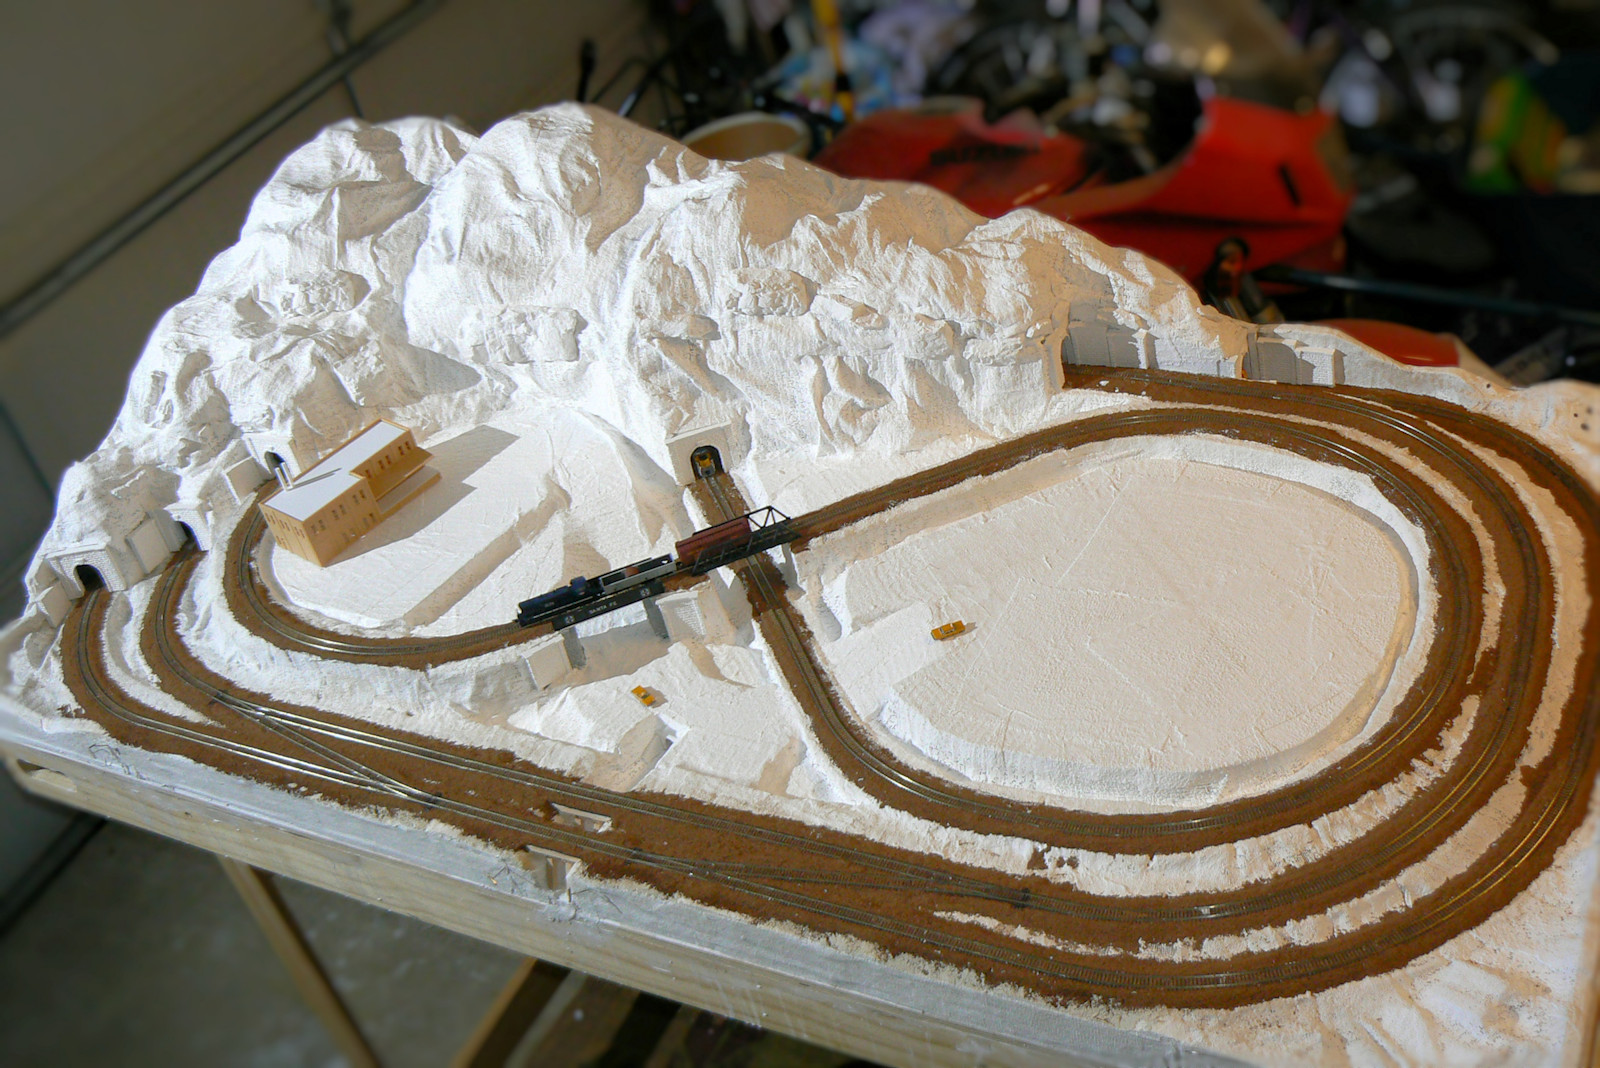
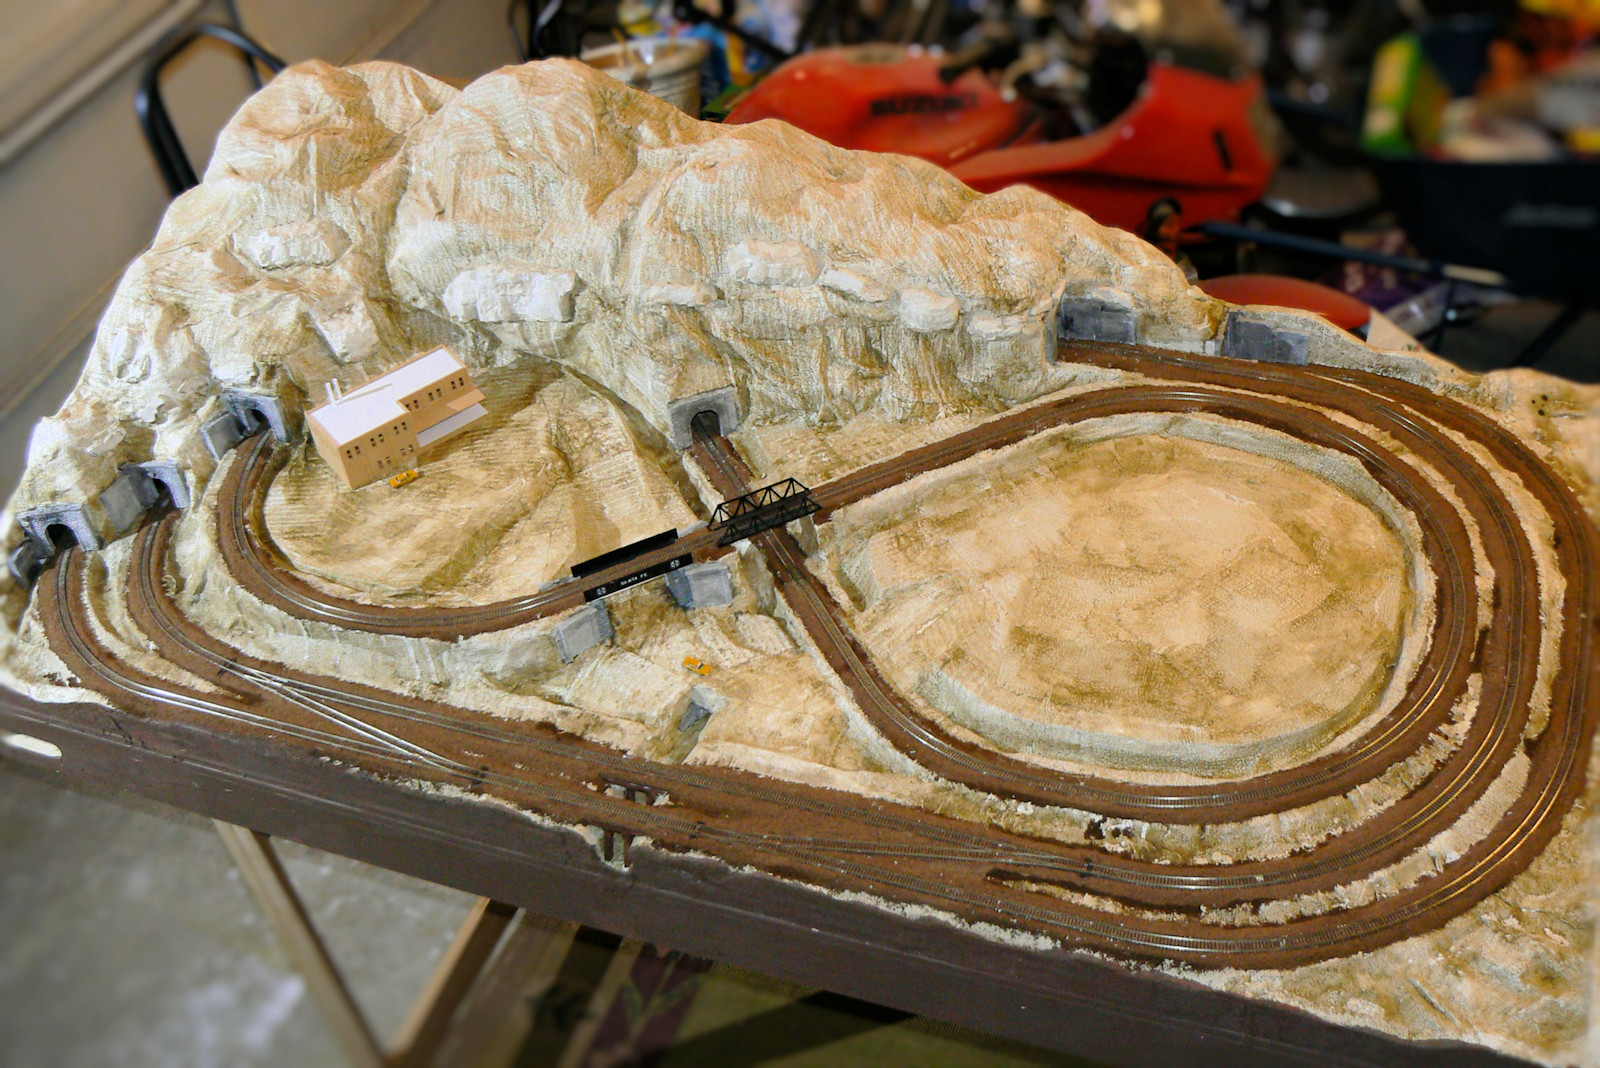
On the left of the photo is the first Woodland Scenics "Town and Factory" building for the layout. It is "Kitt's Transfer" building, a nice 1950s looking brick building for handling some of the cargo from the nearby rail.

Also shown are two tiny yellow taxis from Classic Metal Works. These cars help show the scale of the setup, and they help me get the width of the road right. I love these cast metal cars. They are expensive, but they look realistic inside and out.

Stained plaster cloth
This photo shows the plaster cloth and stone tunnel portals and bridge abutments stained. The paint is some water soluble color from Woodland Scenics, mixed about 50/50 with water to get the transparency you see here .The earth tone is rather muddy with white showing through. That is because I am modelling the limestone sub strata you see here in Hill Country in central Texas. The limestone is white and there is a bare patchy level of earth above it. On top of this brown will go the green vegetation for the scene, but already I like the look much better than just a few photos ago.

On the mountain you can see a few cast stones jutting out. These are made from a latex rubber mold and some hydrocal (plaster of Paris) material from Woodland Scenics also. In case you are wondering why so much Woodland Scenics, it is all included in the one stop shopping"Scenic Ridge" kit.

Access ports 1 and 2
In case you are wondering what happens when there is a tunnel accident,this photo shows two of the 3 access ports on the back of the layout. They are just some slots cut into the vertical profile boards, and a small strip of steel and sheet magnets to hold the doors shut. The rather crappy looking handles help you open the hatch. So far no trains have derailed in the tunnels. They usually derail at the front of the layout where the 4 switches are located.
Access port 3
Access port 3
This shot shows the other access port on the side of the layout. Notice how I painted the profile of the layout a dark chocolate brown. I also covered it with plaster cloth, but I was not too neat, and I ran out. As in every model, there are funky things you spend a lot of time on,and some things you spend little time on. This is one of those net-freak things that I don't care about too much.

Other articles in the scale train series include:

Thanks for reading my articles. More train layout photos and articles will be posted in the near future.

Home| Top| Ale| Flight| Games| Guitars| Miniatures| MTB| Podcasts| Poophead| Trains| Tri| Other Hobbies| Weather| Feedback
Last modified: Saturday, 13-Nov-2021 09:24:00 MST.