
|
|
|
|
These days, I don't have as much room for hobbies, so in order to give model trains a try I need to use N (1/160 scale) or Z (1/220 scale) scale trains. N scale has much higher availability and lower cost than Z scale, so I decided to go with that. Additionally, I wanted to buy something somewhat prepackaged to help speed up the layout, so I decided on implementing the Woodland Scenics Scenic Ridge layout.
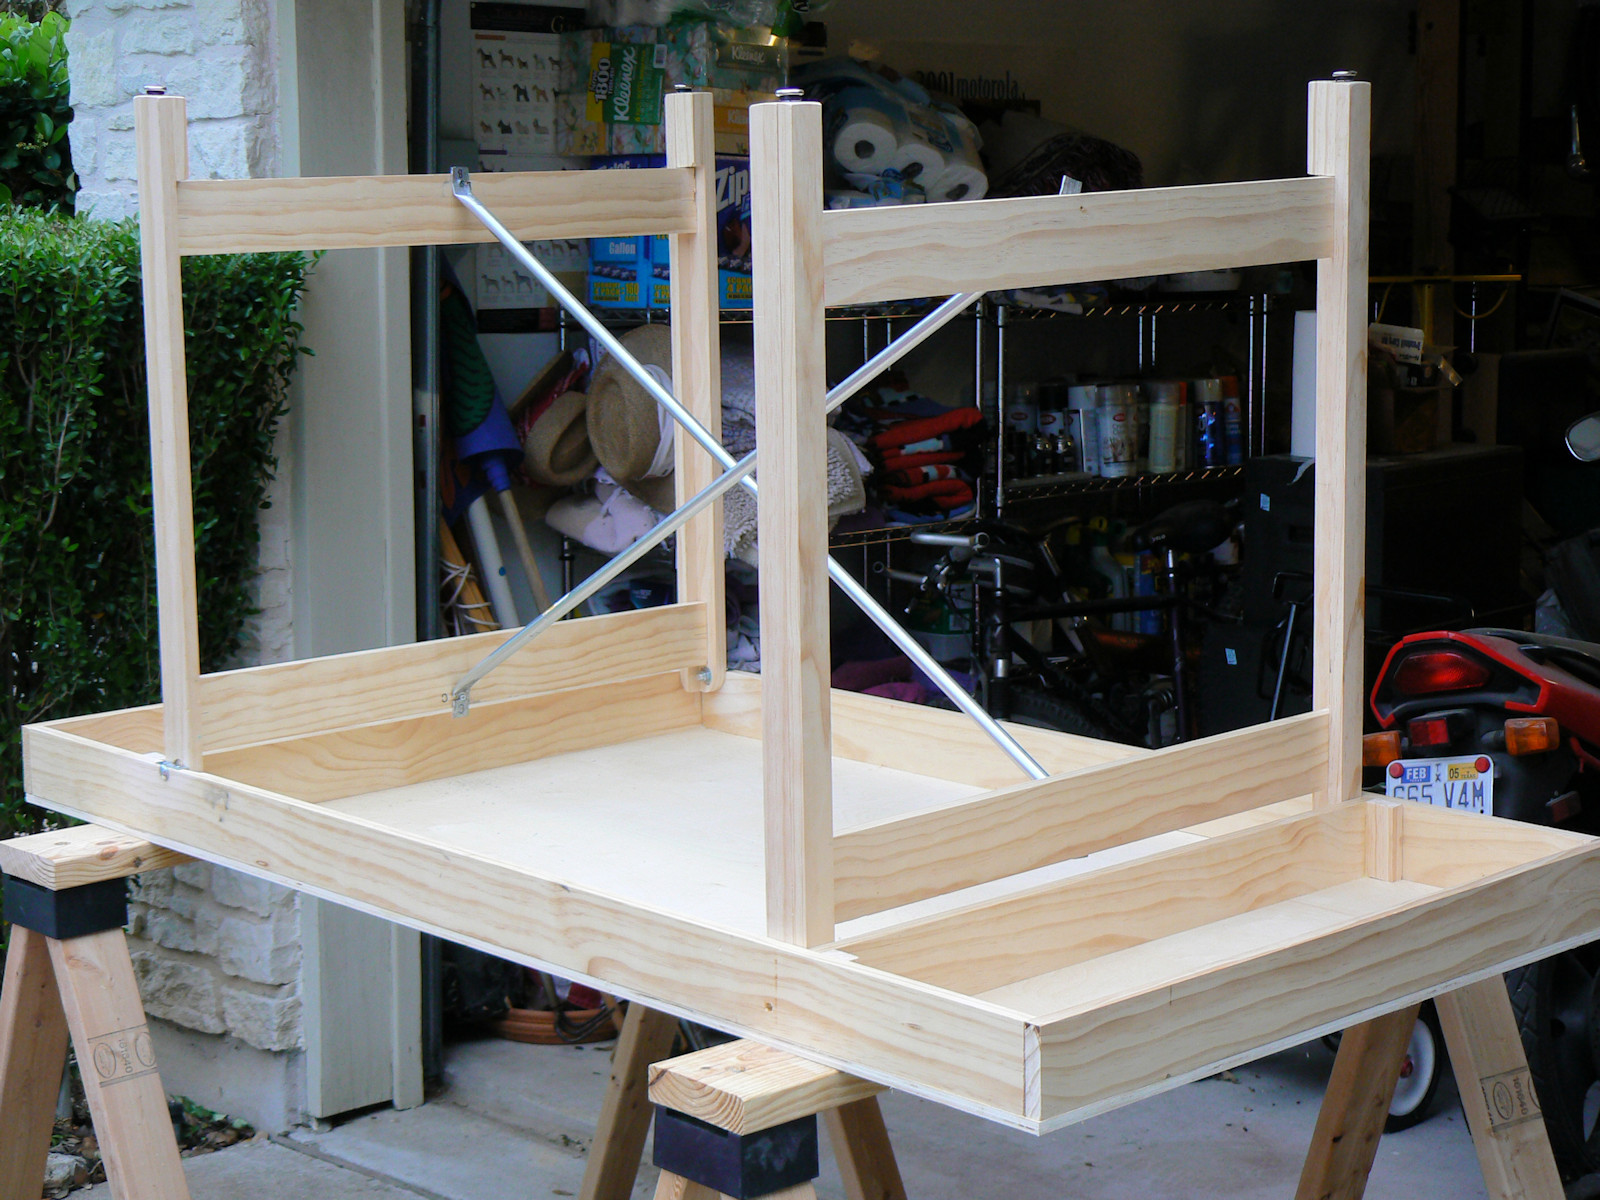
After deciding on this layout, the first thing I needed to do was build or buy a sturdy 3 foot by 6 foot (0.9 m by 1.8 m) table. Since I have some experience with woodworking, I decided to build one. The basic requirements were a sturdy top and some folding legs so the layout can be stowed in the attic or transported in a truck.
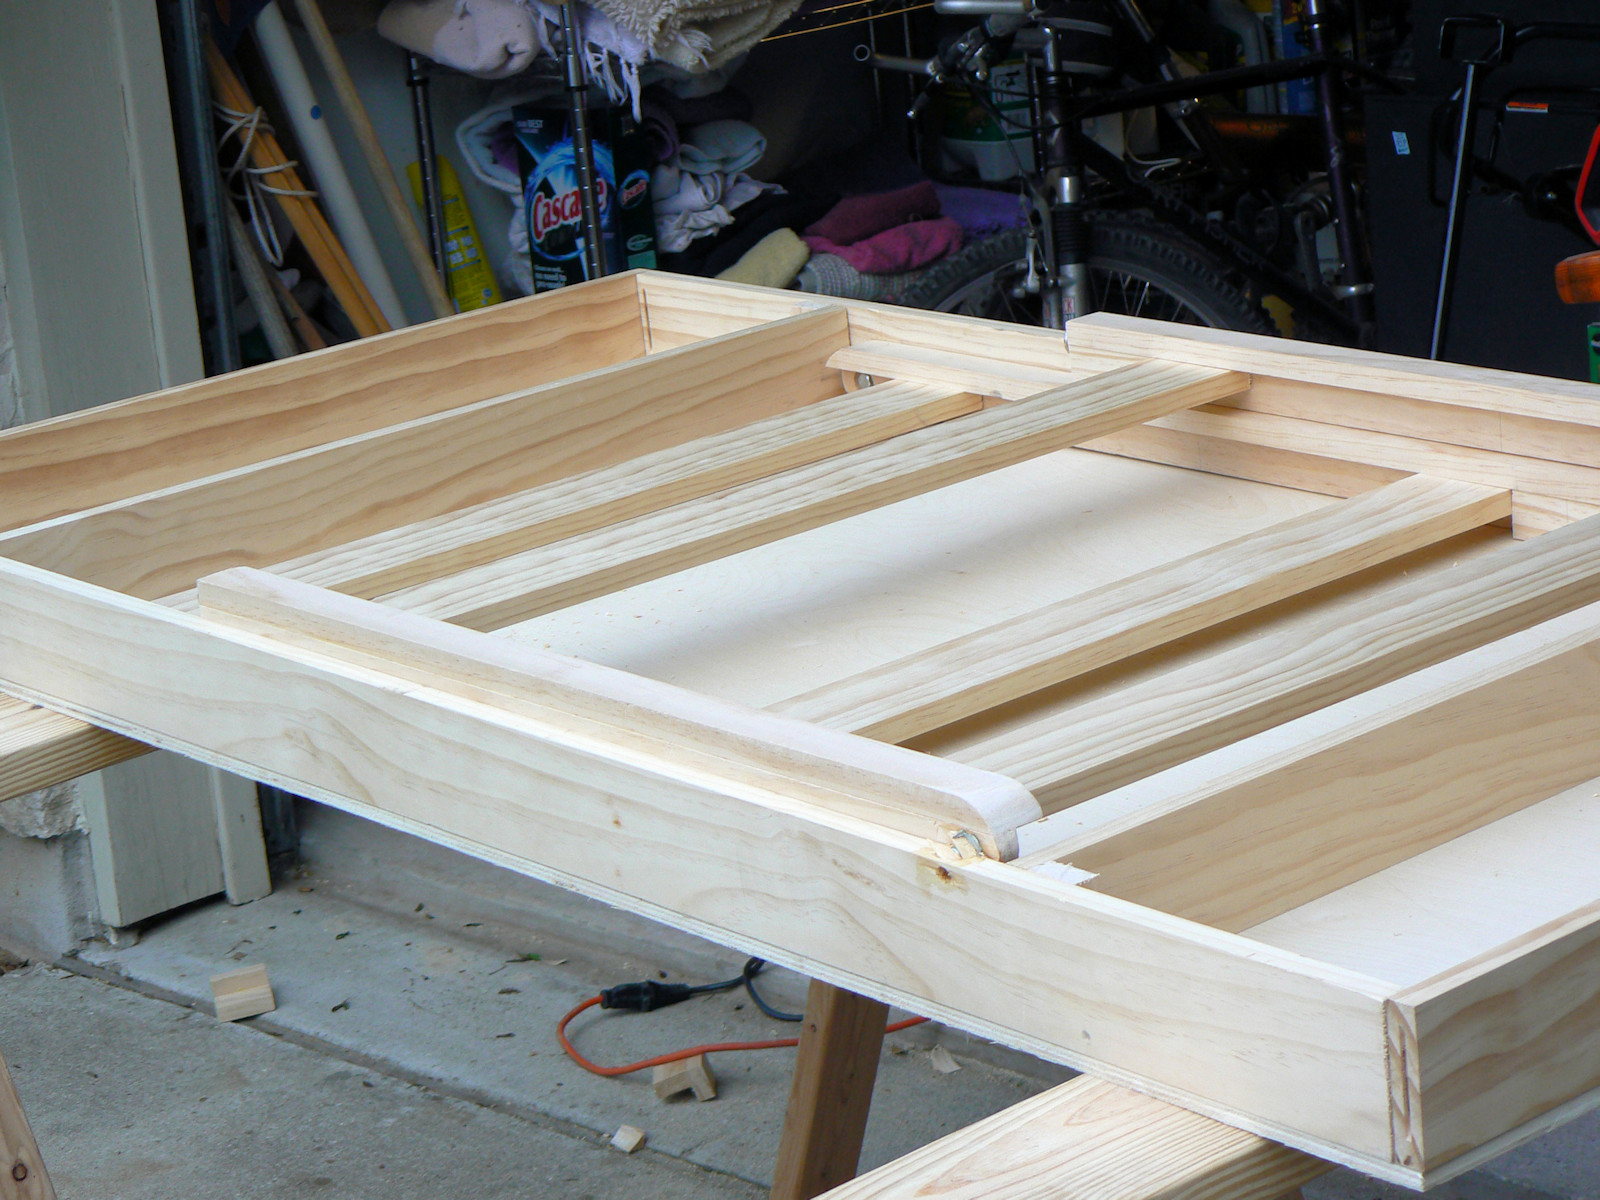
First I constructed a table top from some clear 3/8" (1 cm) plywood and some 1 x 4" (2.5 by 10 cm) braces. One of my
favorite tools is a
Dewalt plate joiner. This is also known as a
plunge router or a biscuit joiner. Basically it cuts precise slots on two adjoining pieces of wood, and you fill the slots with
glue and a little, wooden, football-shaped biscuit, and then you have a strong, nicely aligned joint. You can cut as many slots as
you like, but you only need about 4 for a 6 foot length. Shown in the first photo is the table top all cut, glued, and clamped.
The top is upside-down and sitting on some work sawhorses. Click on the photos to get a larger image.
|
|
|
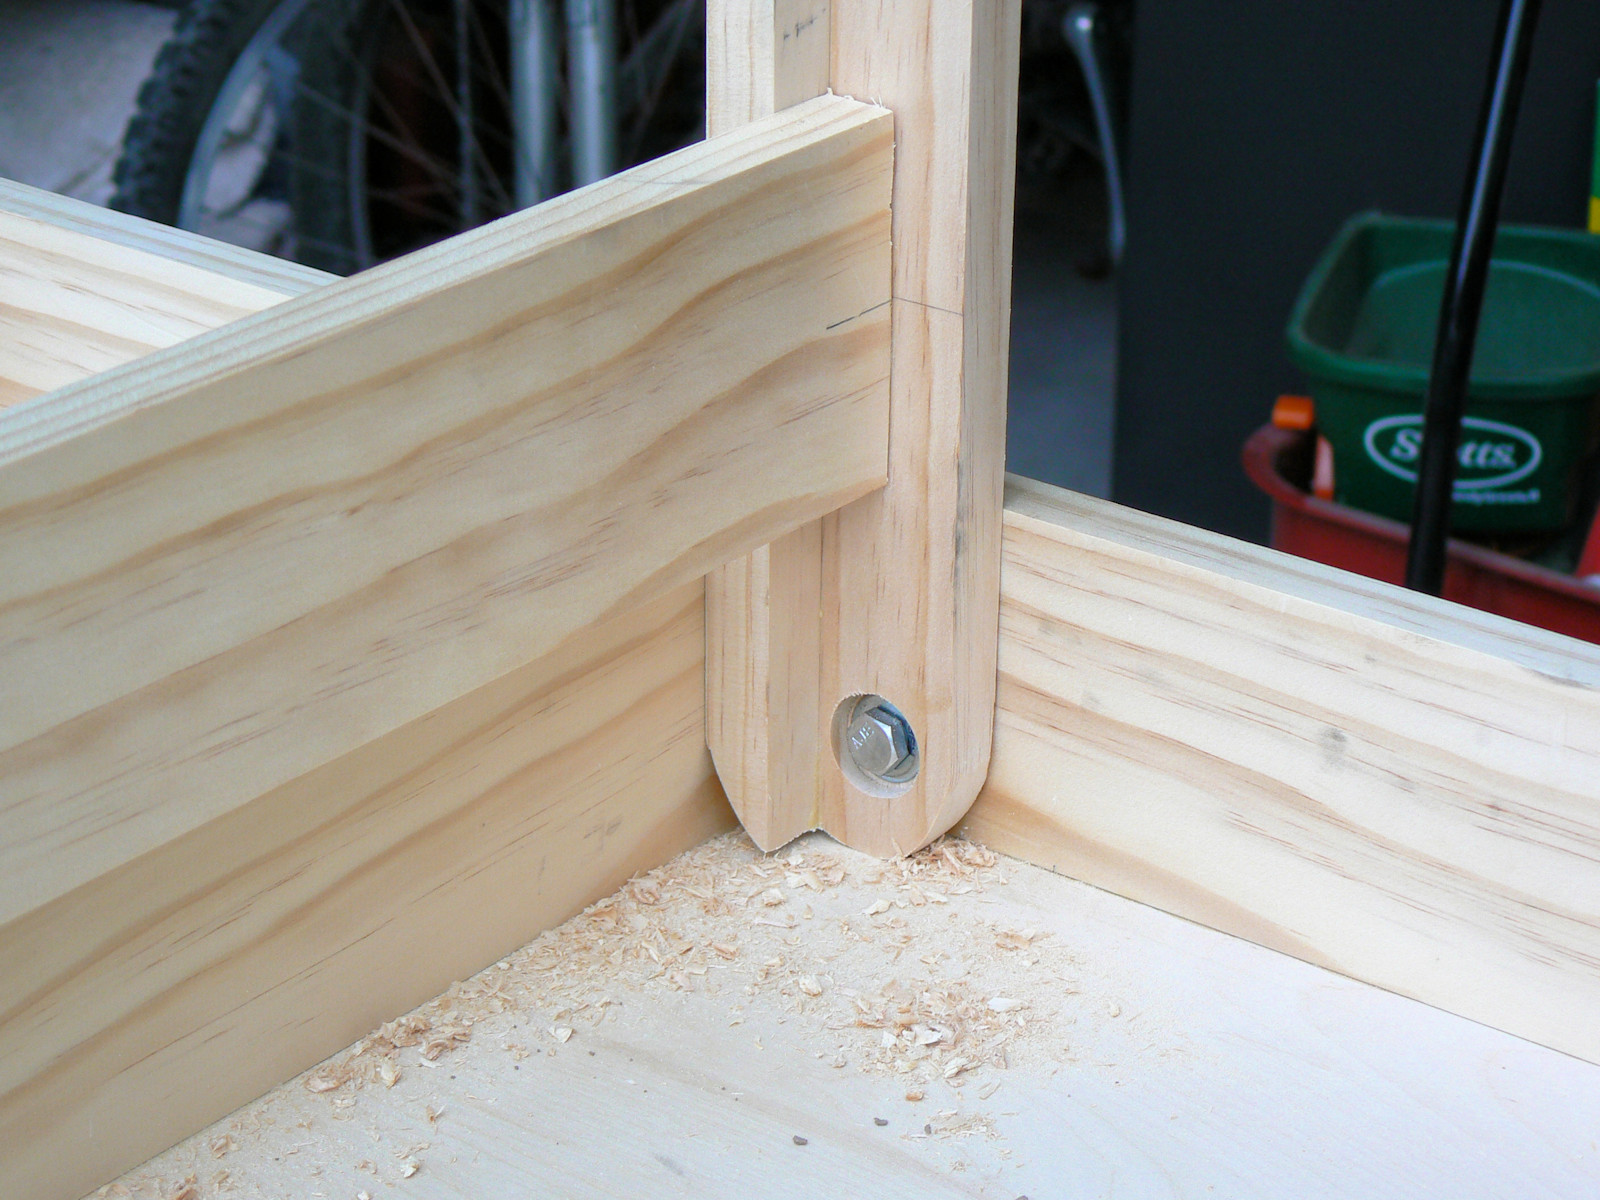
This photo shows a close up of the pivot bolt and the top of one leg.
|
|
|
Hmm. Note how I have the one pivot very close to the edge of the table top side piece. Also note how I have the pivot bolt
ending in a sleeve embedded in the nice soft clear pine side of the table top. Not very robust, but this is what you come up with
as you are creating a design in your head as you walk up and down the hardware store aisle.
|
|
|
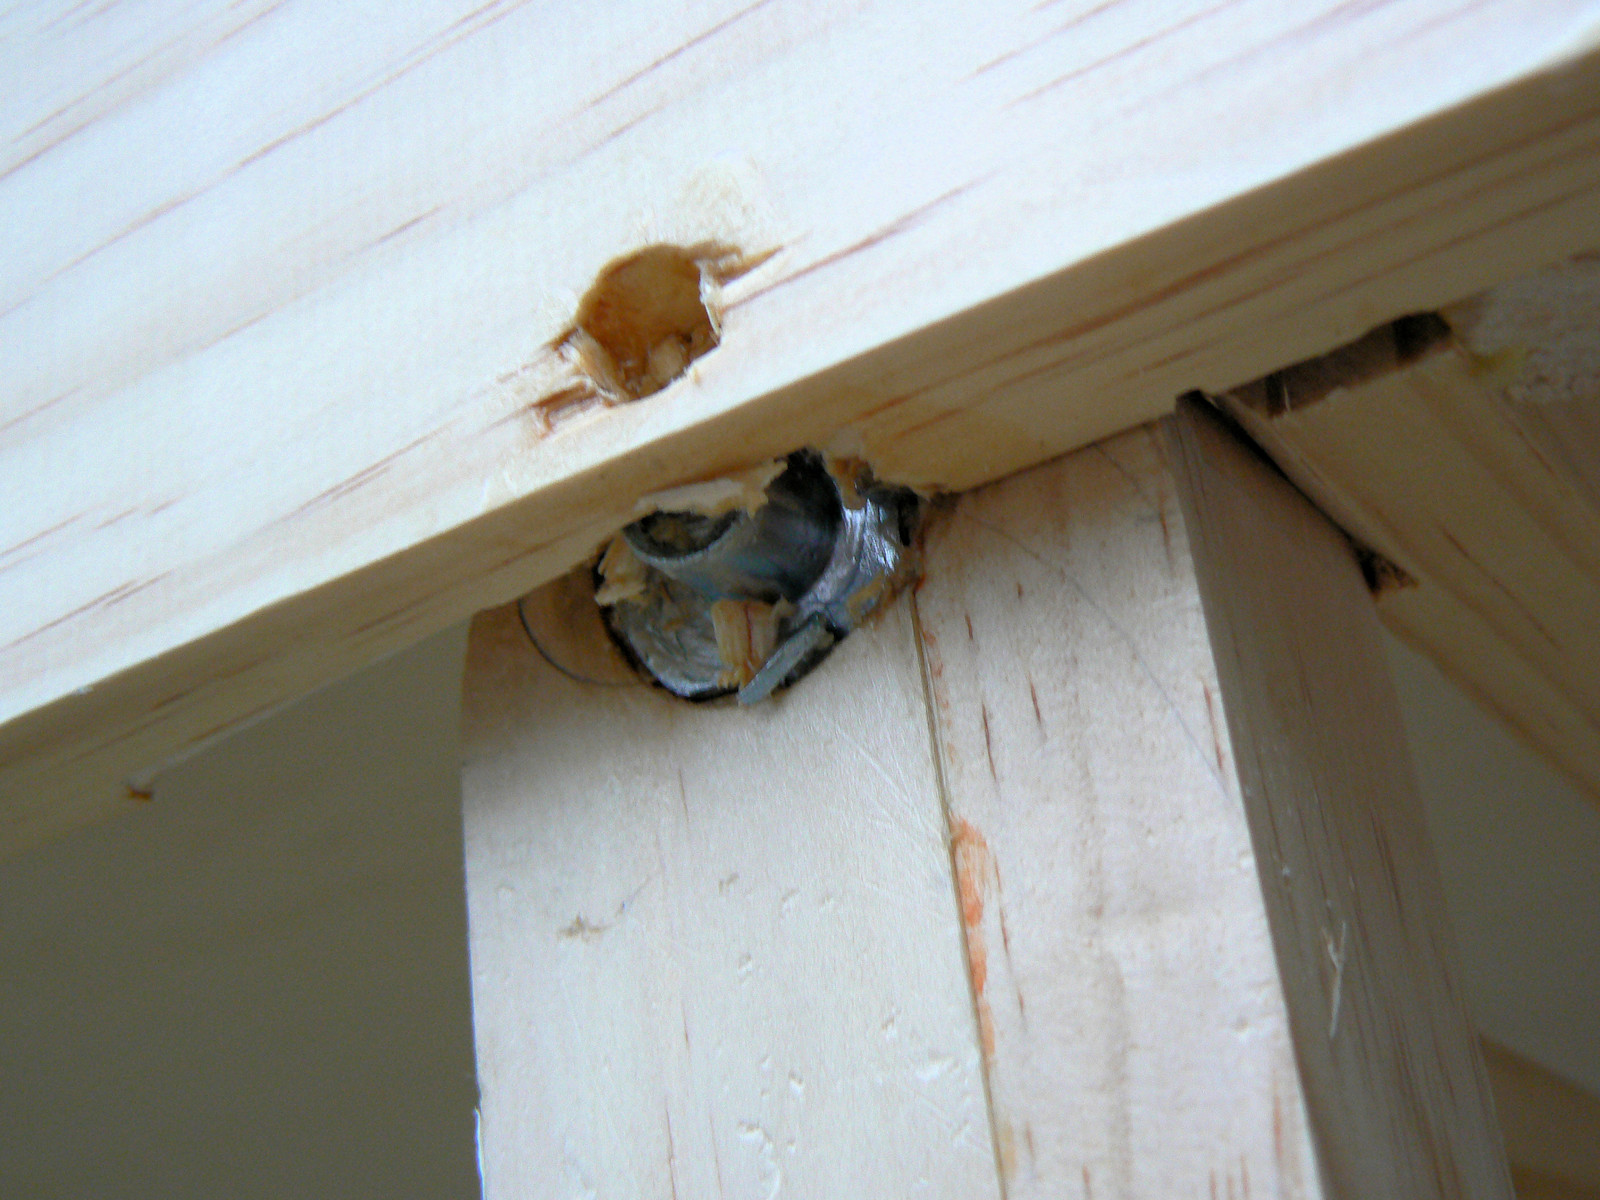
Lesson 1, soft lumber is not as strong as plywood, hard wood, or metal. Lesson 2, do not depend on wood to provide a strong
point for hardware attachments: ratheru se hardware (such as a bolt and a nut) that goes through the wood and not embedded in the
wood (e.g. sleeves, nails, screws, etc.) Lesson 3, learn to plan a little better so you only have to build things once.
|
|
|
|
|
|
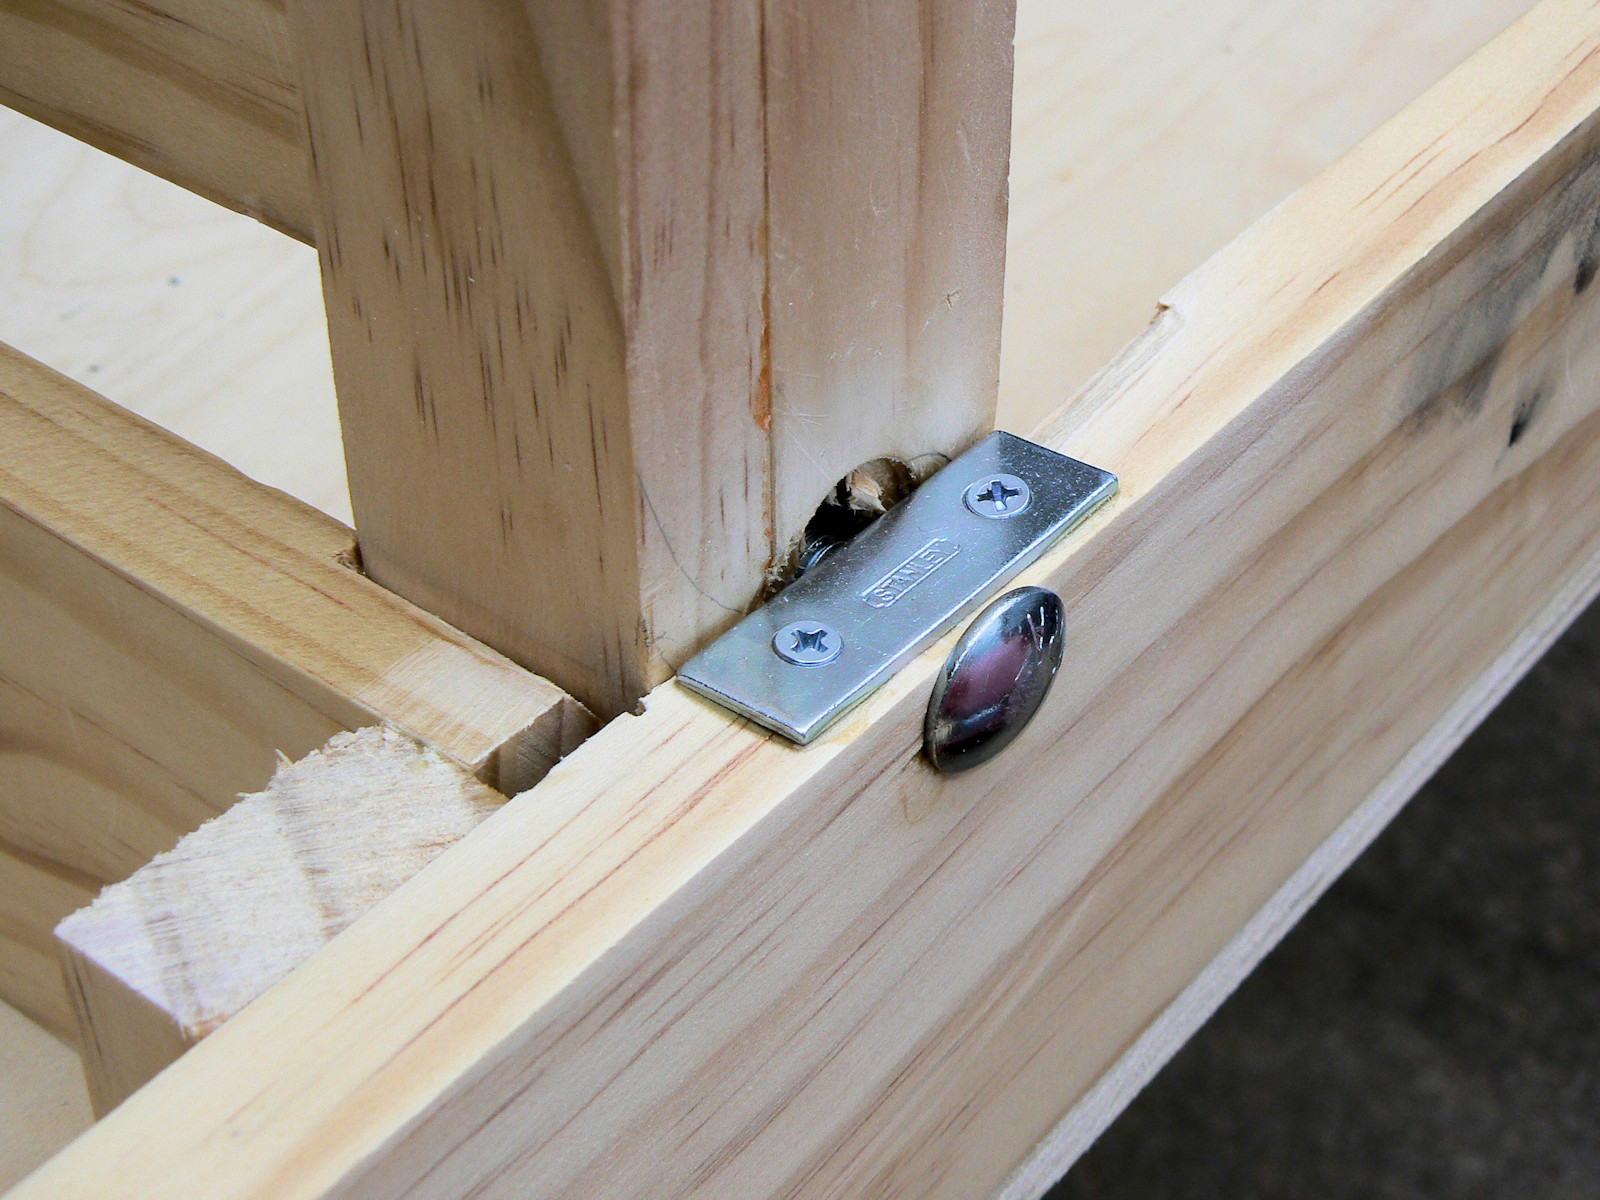
Ker-runch. Engineering disaster number 2. Not learning from my first mistake, I decide to use some wood screws and a slot in the
pipes to keep everything in place. Eventually the screws get ripped out of the wood and the slots get all bent and twisty and
difficult to use. I remove the screws and drill holes through the braces. I redo the leg braces with simple holes. And I get a
wingnut and a bolt to hold the bracing in place. In other words, get rid of the wood fastener hardware and use all steel
solutions.
There were a few mistakes and much to learn along the way, but in summary I am happywith this sturdy and transportable table. The next article in this series is Part 2 - Laying N Scale Track, or leap to any article below.
Thanks for reading my articles. More train layout photos and articles will be posted in the near future.