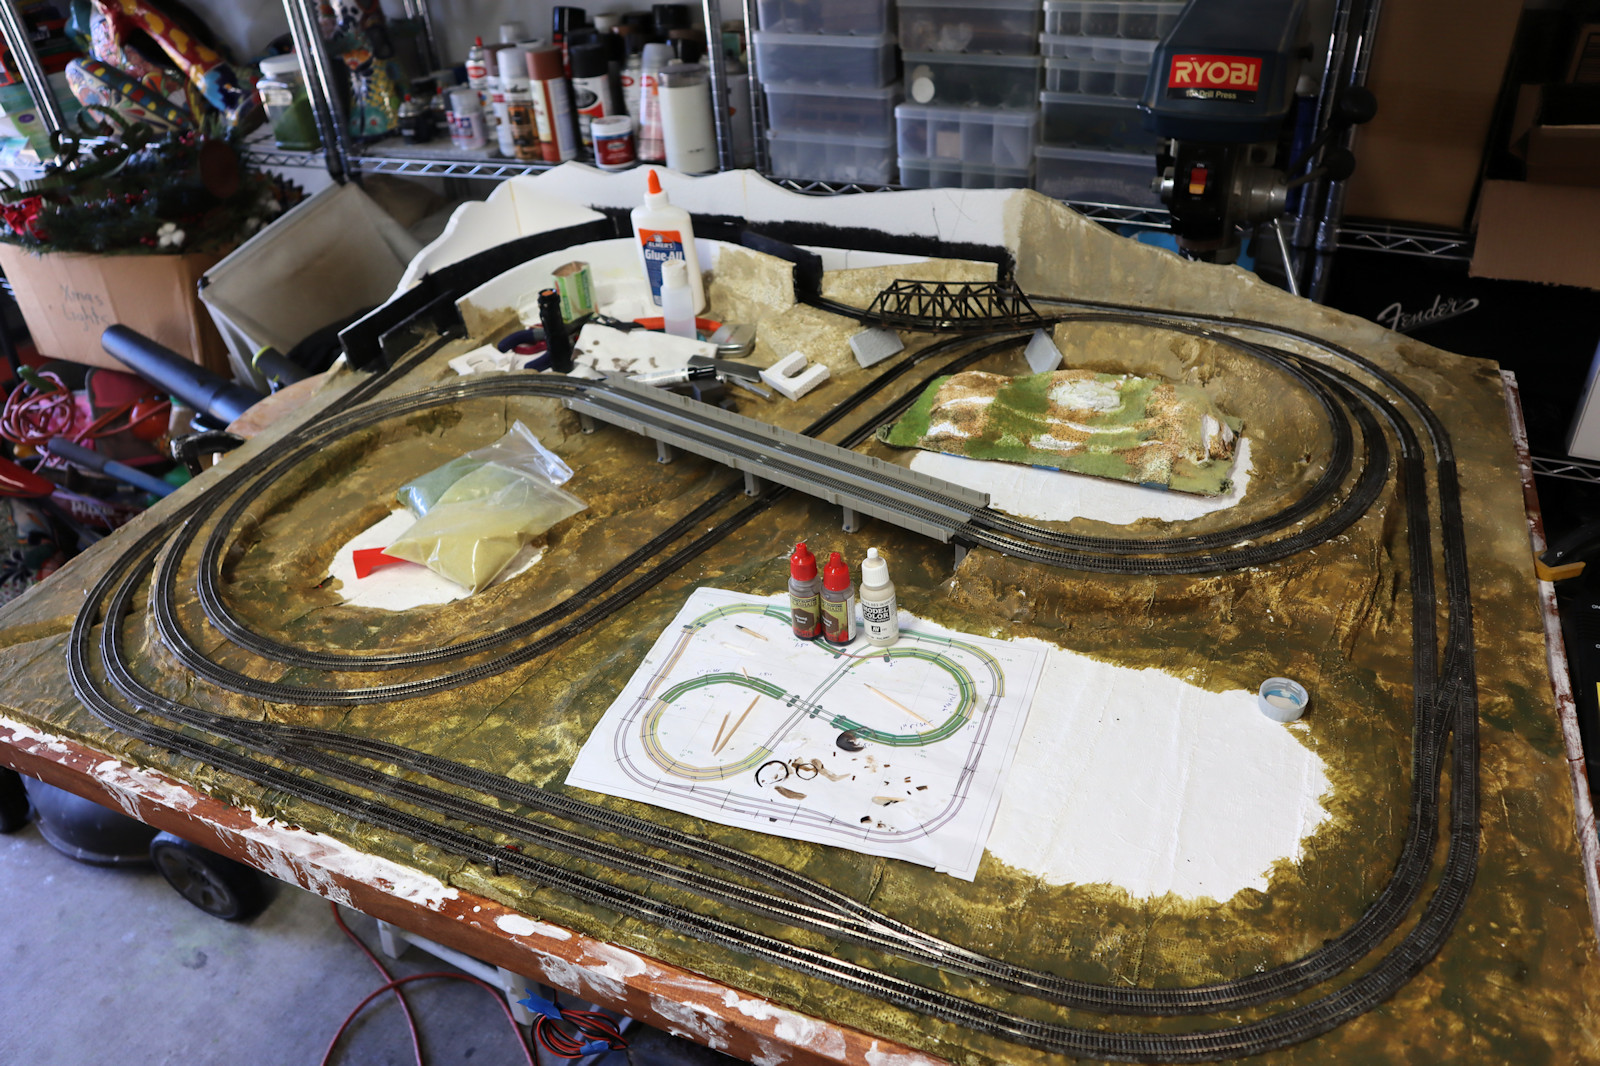
In the previous article, plaster cloth was laid over styrofoam to create three dimensional
Z scale train tunnels and tracks.
I also put a base earth color on the plaster cloth and posted a short video of my running trains.
In this article I have the track in place, and I made a decision that brought me
down into a low point for this train layout project.
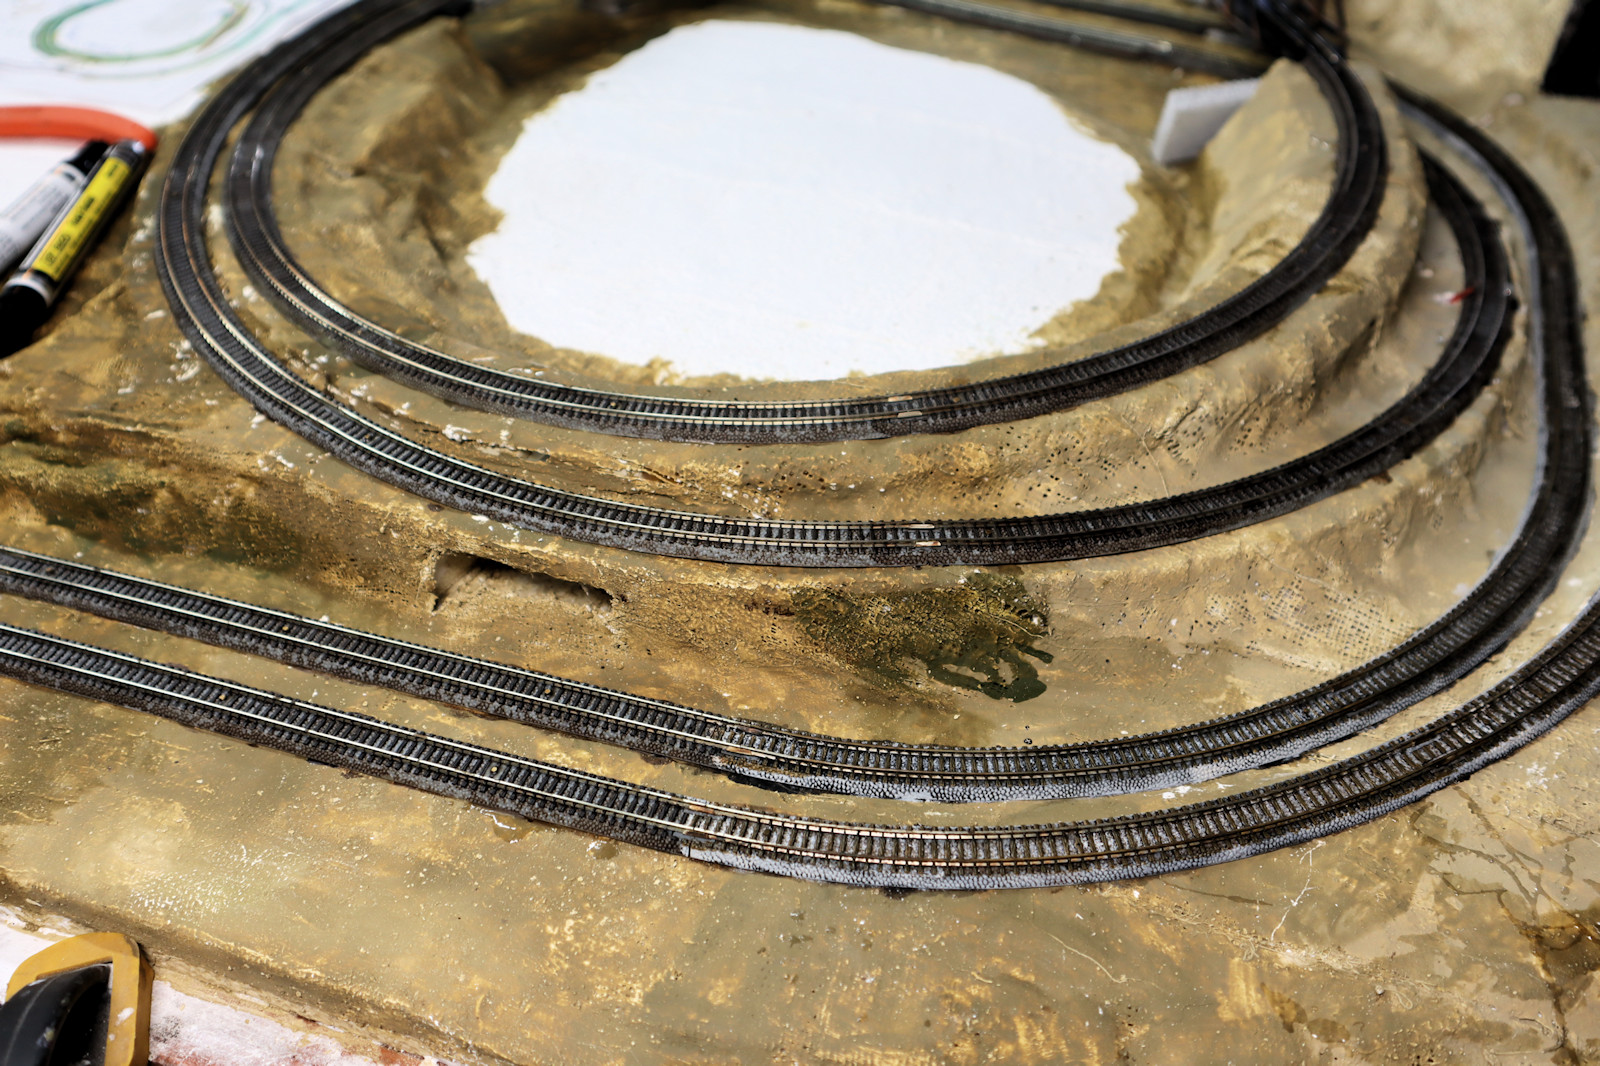
In the photo you can see some of the curved track at the lower right has painted rails, ties, and ballast. I liked the look of the light gray ballast with the dark shading, so I made the decision to paint all the track.
As you can see on some other sections of the track, the shading did not go on so smoothly. This was because some of the track bed had glue or oils that affected the shading. I had to go over the track bed two or three times with the shading to get it done evenly.