Dan Becker's Model Trains - Z Scale Train Table

Train table edging
Train table edging
As mentioned in the previous Z scale train article, I made some tests with a model train track prototype, I designed a layout plan, and I was infected with enthusiasm for building another train layout.

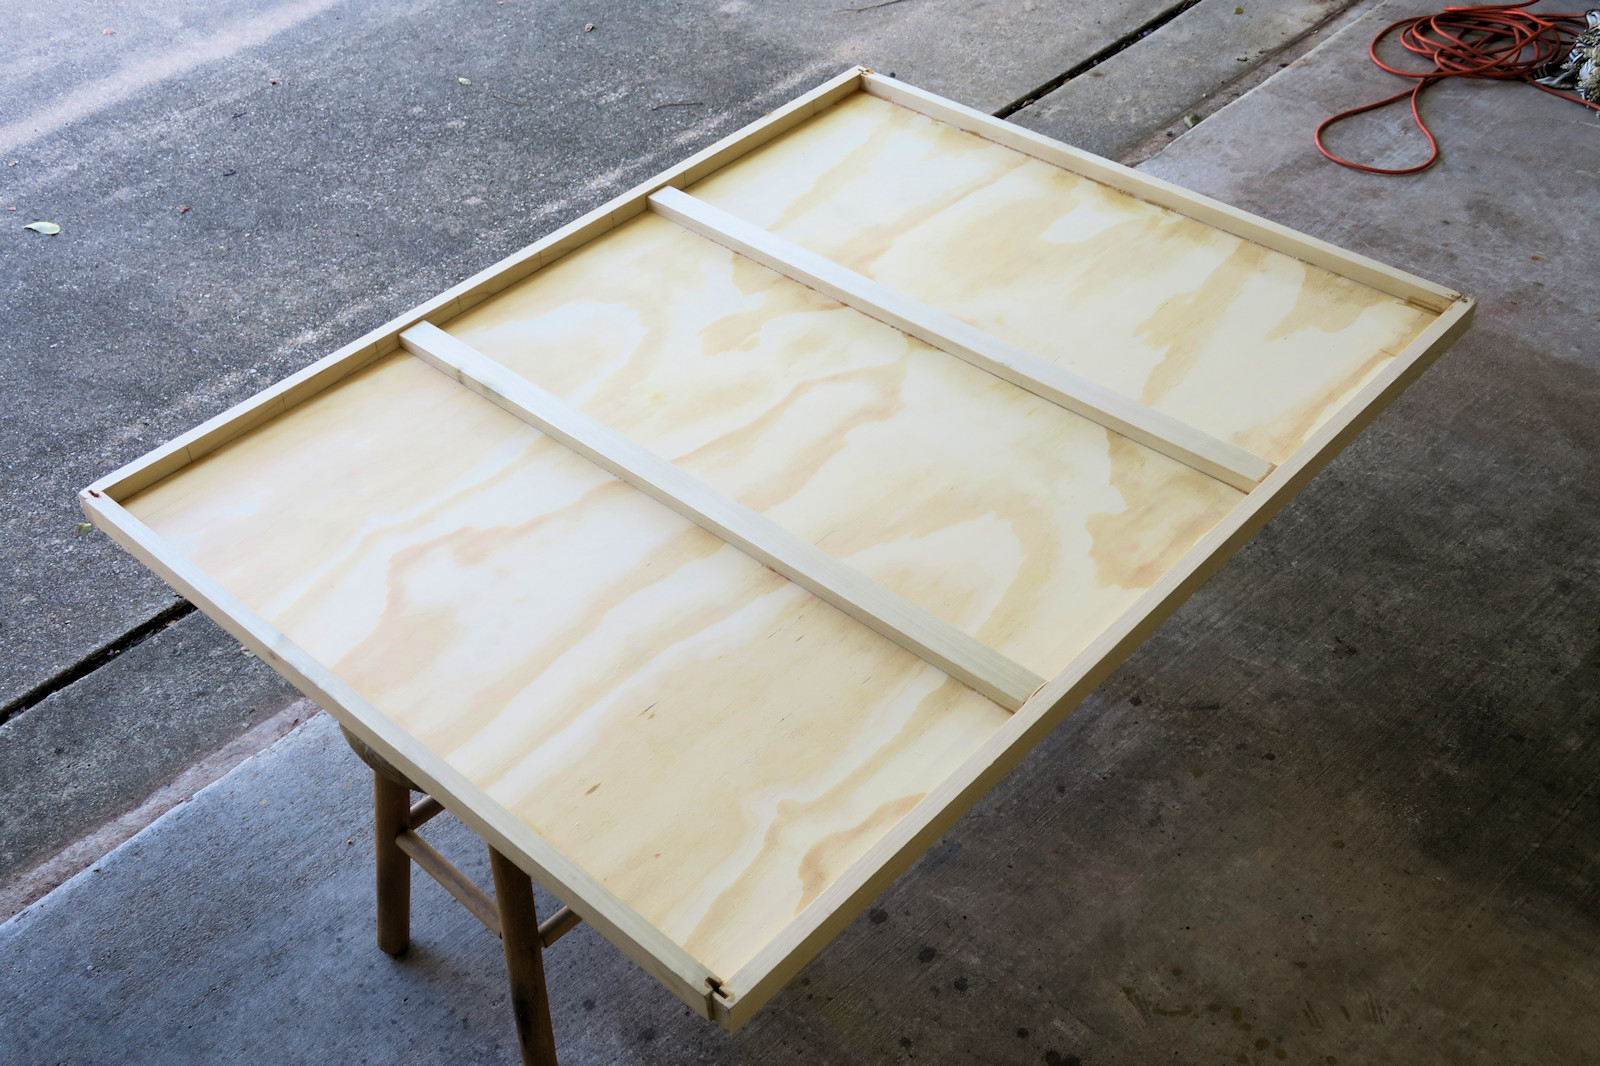
Most every train layout needs a good sturdy base to keep the train tracks steady, and to provide a sturdy place to fix bridges, buildings, mountains, and scenery. In this photo I show the beginnings of a wood table I am building for my train layout. The dimensions of the table are 4 feet (1.2 meters) by 3 feet (0.9 meters).

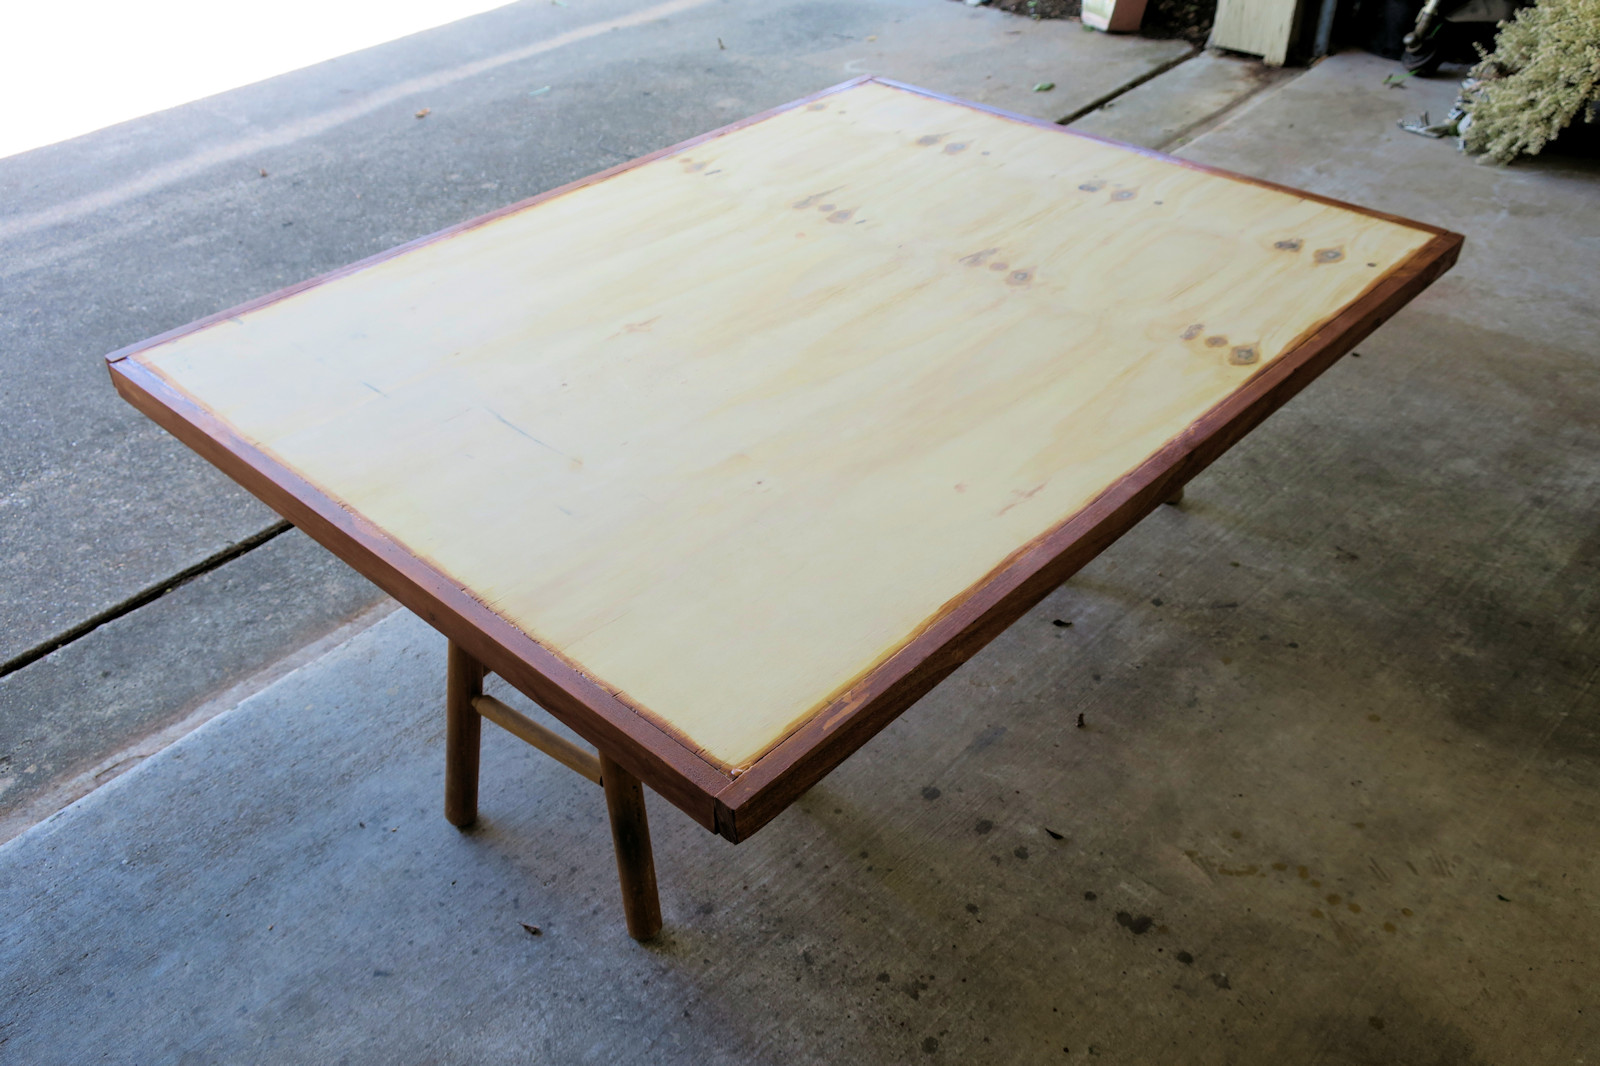
The main panel is half inch (12mm) plywood. The table will have one by two inch (13 by 25 mm) birch edges and spars to provide stability and a place to grip when moving the layout.

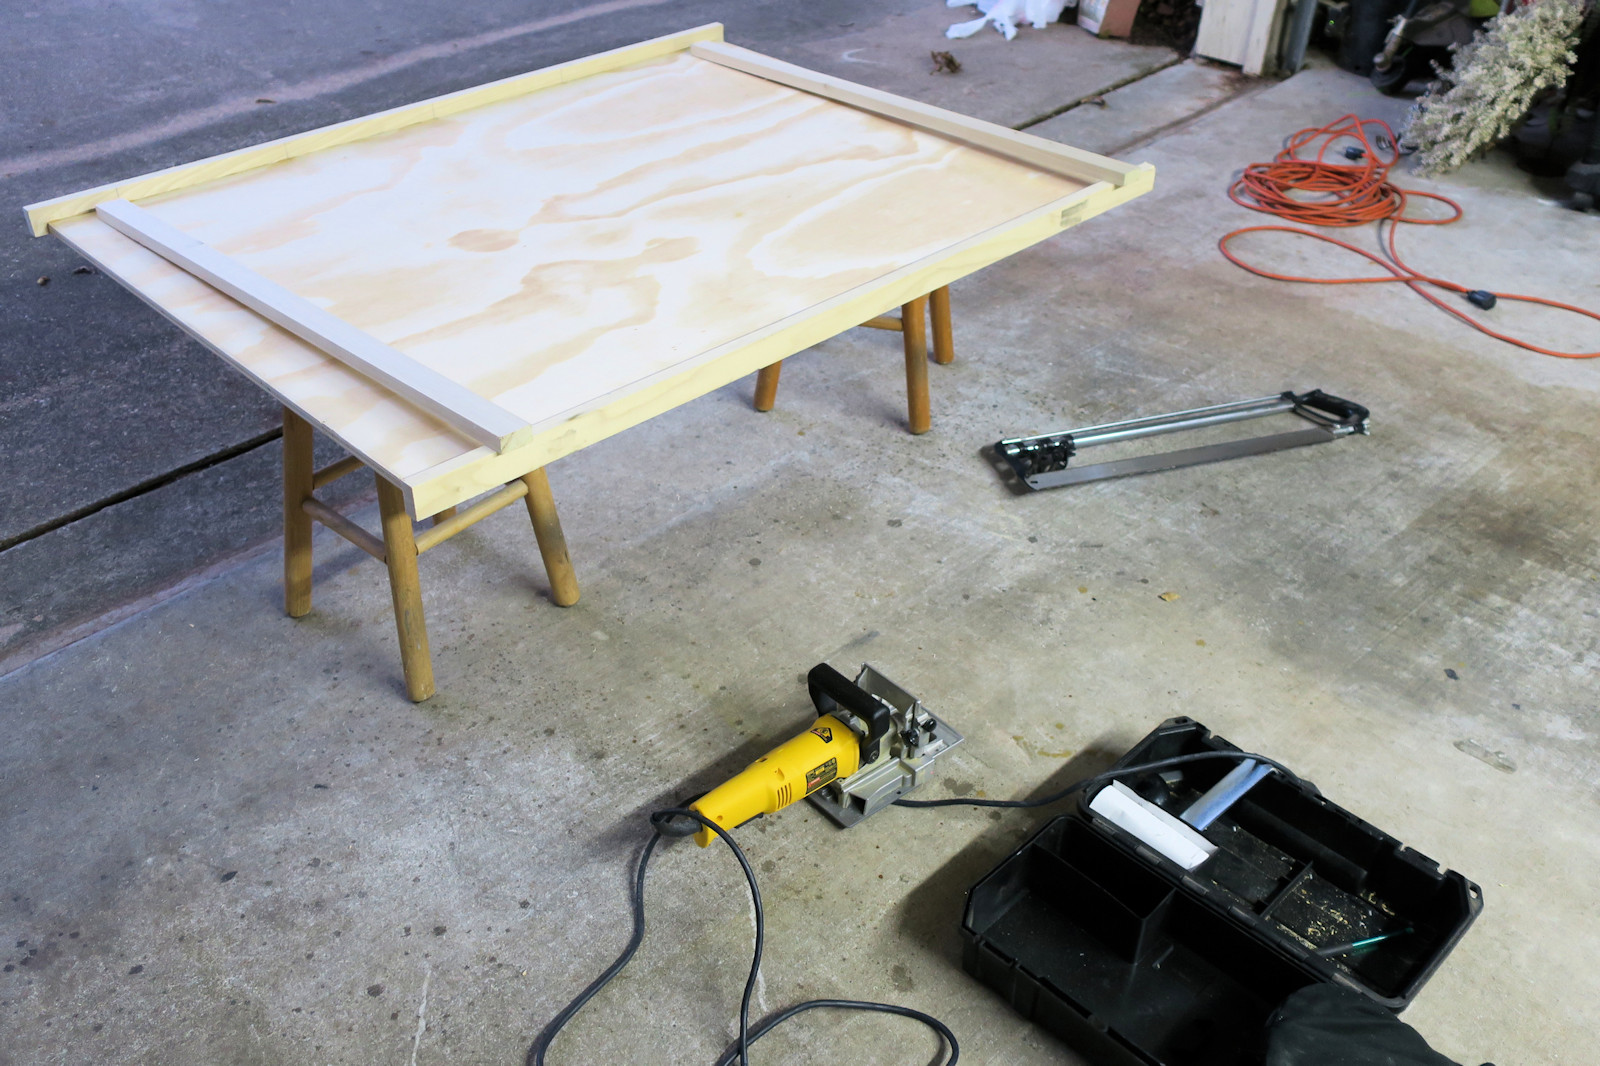
One of my favorite tools is the plunge router, also known as an edge router or biscuit joiner, which puts slots in the edge of a board. You put a small oval shape piece of wood, also known as a biscuit, into the slots with wood glue, and it makes a solid strong joint in the wood. I prefer the invisible biscuits over nails and screws which mar the surface of the wood.

The completed table underside
This photo shows the underside of the table. The one by two inch (13 by 25 mm) birch edges keep the table flat and give the plywood panel extra rigidity. There are also two spars across the middle table which help prevent flexing.

If you look closely, you can see that the end edges are butted with the sides. There is a slot for the biscuits that will help keep all the edges in place. I am not the greatest woodworker, so there are some gaps and misalignments. These don't really affect the train operations.

The table top and stained edges
This photo shows the top of the table. The edges have been stained with polyurethane which helps prevent dings, dents, and water damage to the edges.

The topside of the table has some knots in it. This part of the table will be covered with foam boards for scenery and won't be visible again.

Cheap home insulation foam
Many train modellers cover their train layouts with foam panels. The reason to do this is to have an elevation so that you can carve ponds and lakes into the foam substrate without having to cut into wooden table top.

Many train modellers like pink foam panels from Owens-Corning for their track substrate. It is widely available in the US at any home improvement center, it is dense, it does not flake apart like styrofoam, and it is rather inexpensive. However, at the time of this writing, home building materials were scare, and these panels were generally unavailable.

I was able to find a cheap styrofoam alternative, this brand is Insulfoam, from Carlisle. Six boards of 48 by 15 inches (1.2 by 0.4 meters), 3/4 inch (2 cm) thick were available for $15. This is enough foam for one layer of substrate and several platforms for elevating areas such as cities and factories.

Cheap foam cutting tests
I was concerned with the hobby aspects of the cheap styrofoam, so I brought out the modelling tools to test it. I have four primary sculpting tools, so here is the test.

At the top right is the hot wire cutter from Woodland Scenics. This made the nice clean cut on the right side of the test panel. A clean cut, no debris, and few fumes. In other words, it worked perfectly.

Next up, at the bottom of the photo is an electric hot knife. The advantage to this tool is that it does not need access to both sides of the foam, and it can gouge, sculpt, and cut holes. Because it plugs directly into wall outlet, you know this is going to be a powerful tool. It cut that somewhat circular bevelled hole in the center. It excessively melted the foam and gave off lots of fumes in the process. However, it will be useful for cutting down to the wooden table top.

On the left of the photo is an ordinary box cutter with a somewhat dull blade. It shredded the foam and messily cast off lots of foam pellets. Not recommended.

And finally at the top is a Woodland Scenics long bladed razor knife. It cleanly sliced the foam with little shredding. In conclusion, the foam performed adequately, and three of the tools are very useful here.

Foam covered table in storage position
This final photo for this article shows the train table top covered with two and a half foam boards glued down with ordinary wood glue. This will alow me to put some ponds and drainage ditches in my model. The depth of 3/4 inch (20 mm) will let me model a pond up to 15 feet (2.5 m) deep.

You can also see that I have lightly marked the track layout onto the foam. Using a full sized printout of the layout plan and carbon paper did not work very well. You can barely see it, biut it should be enough to layout the track.

Additionally, you can see how I intend to store my train layout when not in use. I purposely made the very study table edges so that I can hang the table on its side from the ceiling. Here I show the table hanging from ordinary hooks next to some bicycles in the garage. Once I get scenery and track onto the table, I need to figure out how to protect it from dust and bumps.

Thanks for reading my articles. More train layout photos and articles will be posted in the near future.

Other articles in the scale train series include: