Dan Becker's Model Trains - N Scale Streets and Sidewalks
|
|
Some newly paved highway
|
Welcome to part 7 of a series of articles on my N scale model train layout. There are links to other articles in this
series at the bottom of this page. For those who have read or glanced at the previous articles, you can see from the photo at right
that I have completed installing some roads and sidewalks.
Most of this article is a rather detailed rambling on the
Woodland Scenics Road Systemwhich consists of foam sticky tape,
a fine grain plaster product, and two water-based colors of colorant (black asphalt and gray-green concrete). This article shows
the rather messy and time consuming process, but the net result are some nice looking road and walkways. You can see in this photo
that the roads have received some sanding and some paint in order to get the tones to match. I did not achieve any sort of
uniformity, but this is fine, because very few small towns would have any matching pavements either. There would be potholes to
fix, sections to repave, and numerous accidents and repairs - all this leads to a crazy patchwork of different colored asphalts.
|
|
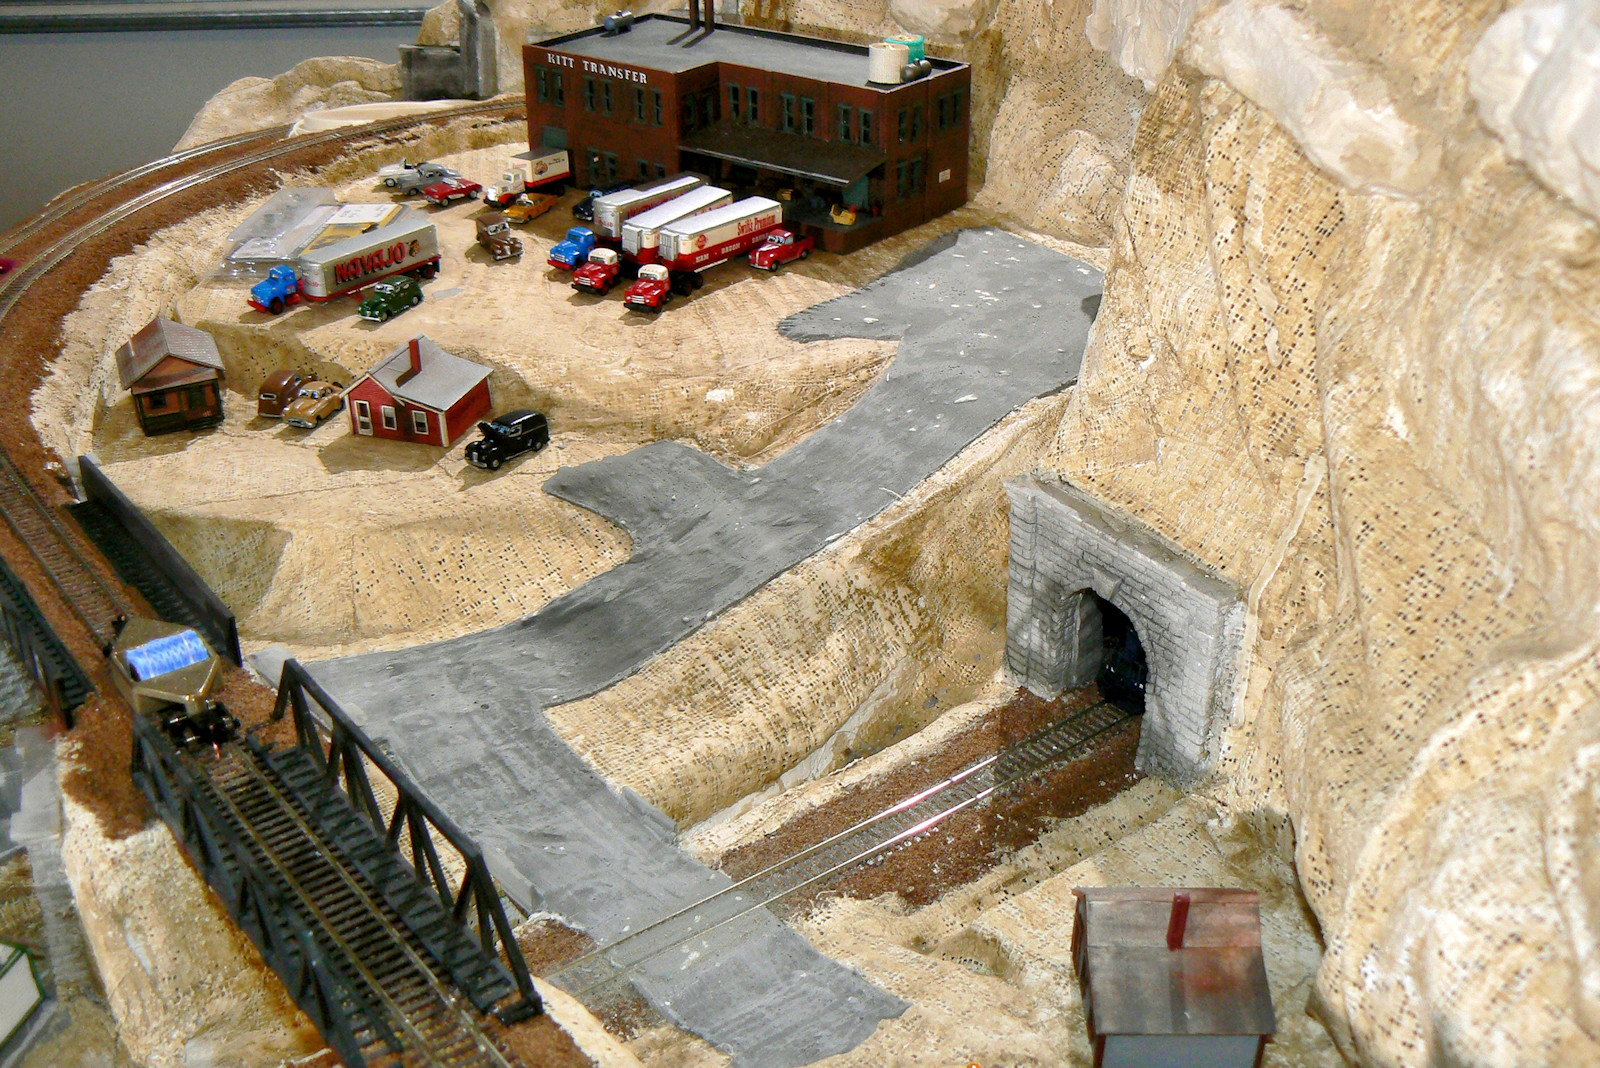
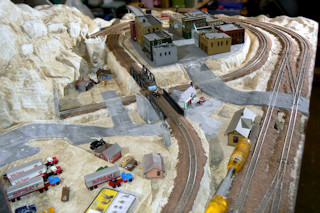
The roadway to the factory
|
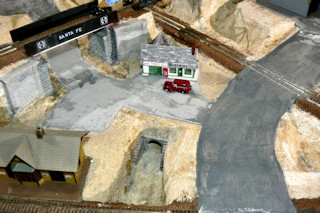
The photo to the right shows some of the back streets heading to the factory. The roadway ends at the factory with the
numerous trucks having to navigate and park on some unpaved mess. This might never work in the modern world, but perhaps 50 years
ago it was a useful cost-cutting method for the factory. Also note the two branches off the factory road which will lead to my
poor sections of town. You can see a few rusty roofed housed there. These will be the low income houses on "the wrong side of
the tracks." The one branch needed a small bridge to cross what will be a river stream.
|
|
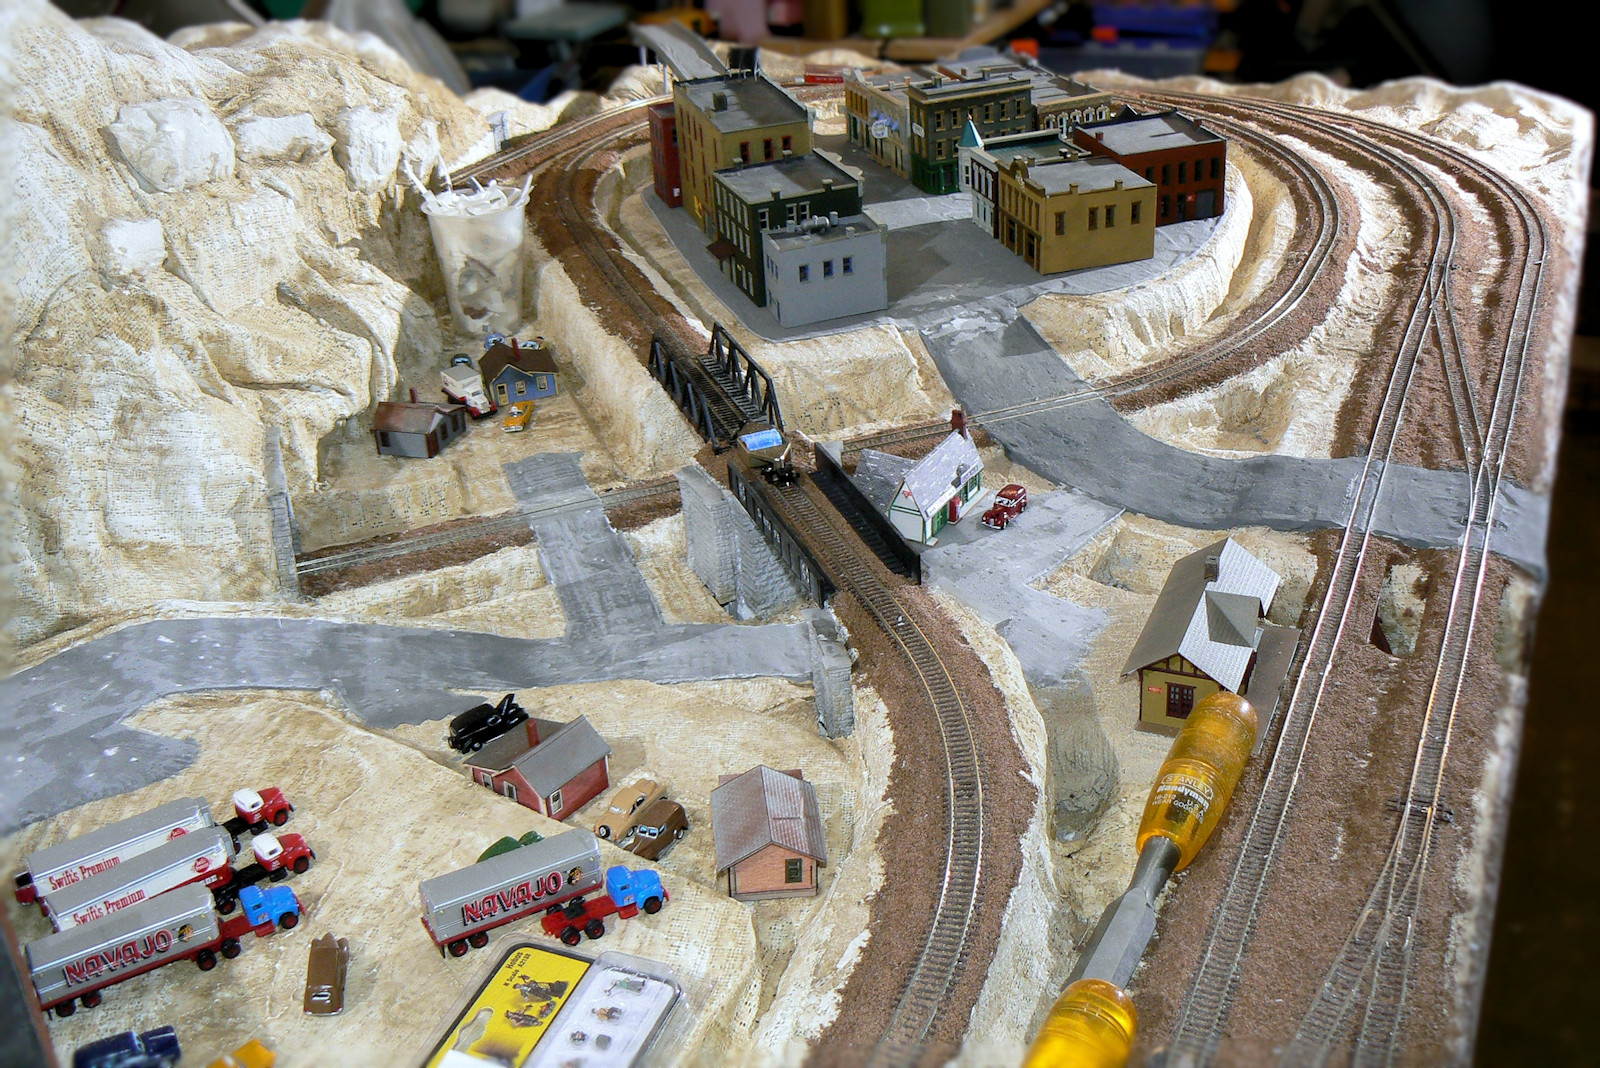
The roadway through the town
|
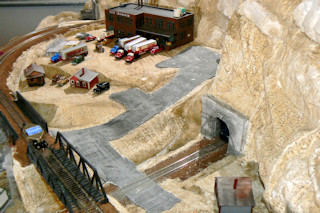
This photo shows a view of the roadway leading through town. I somewhat underplanned the railroad crossing leading to the
front of the layout, which is on the extreme right in this photo. Unfortunately, the road crosses the out track loop right at a
rail junction. Normally you want to have the crossings away from the roads. Here a little more planning would have done me well.
Notice how different my layout is from the original Woodland Scenics Scenic Ridge layout at this point. The major differences
are 1) a complete outer loop, 2) a second bridge and tunnel leading to the factory area, 3) an extra couple of areas for housing
behind the bridges near the factory, and 4) a highway bridge leading out of town.
|
|
Masking off the sidewalks
|
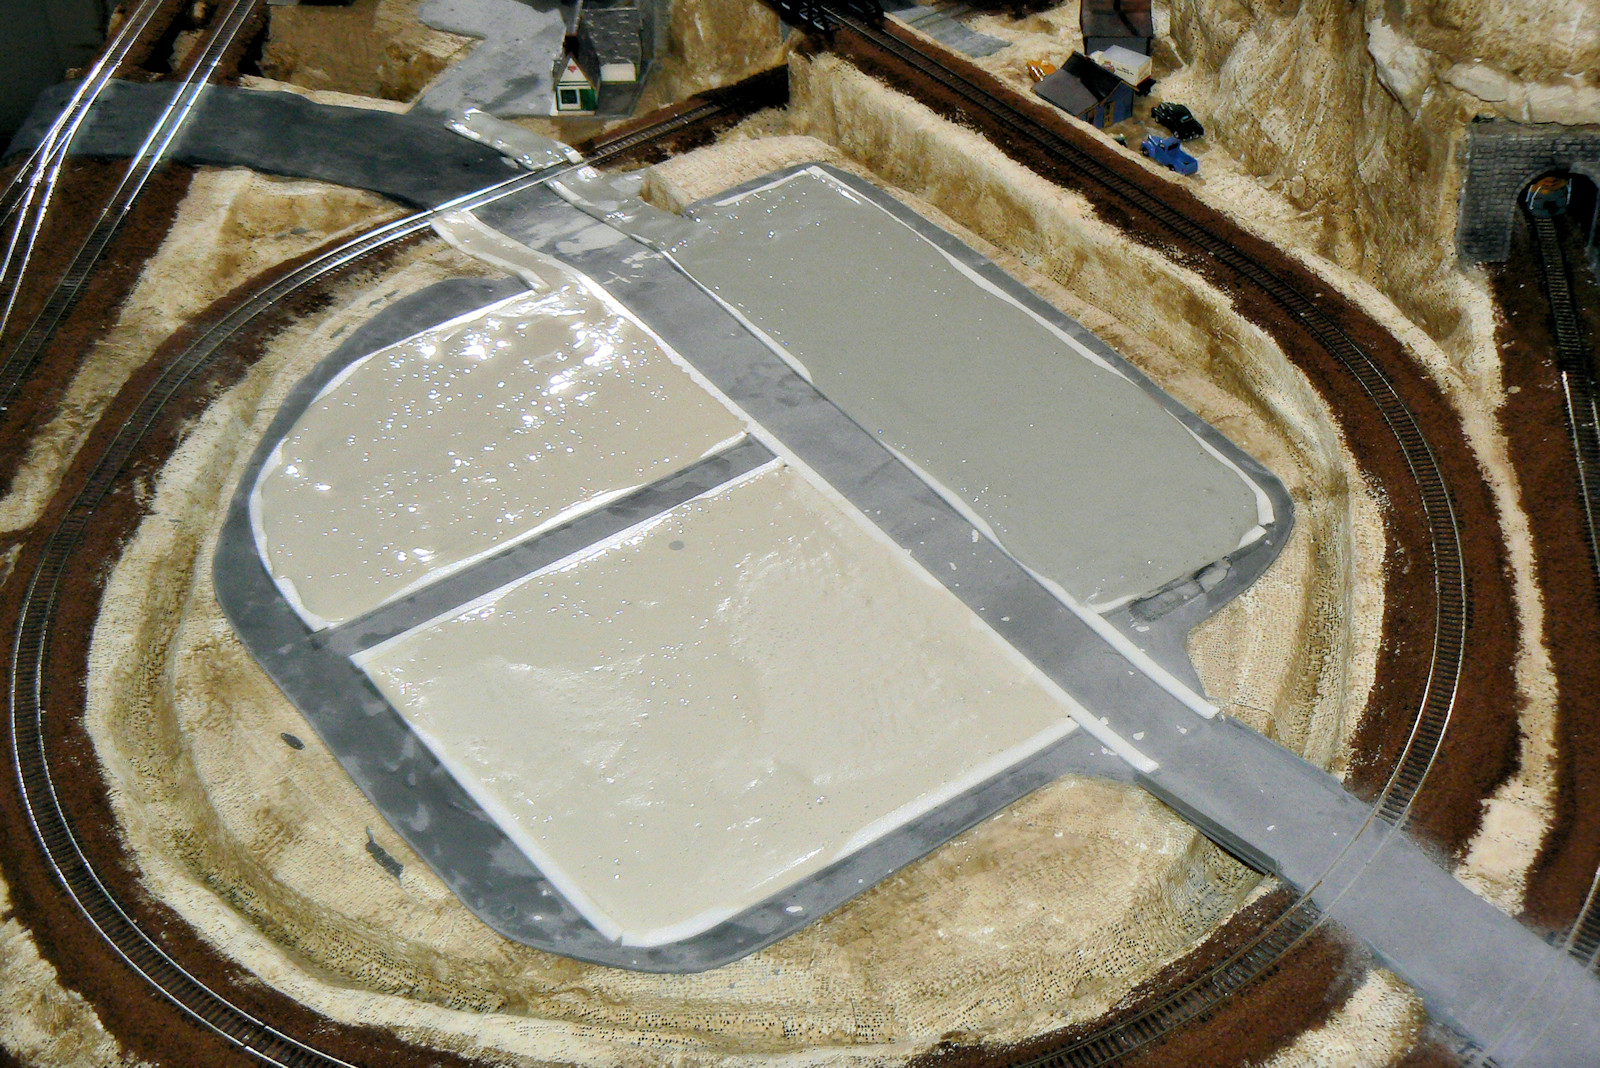
This photo shows how to use the Woodland Scenics Road System. It's rather easy to start. First, mask of areas where you
want a roadway or sidewalk with the foam sticky tape. This tape helps you achieve a uniform thickness to your plaster pouring.

|
|
Pouring the sidewalks
|
The second step is to pour a rather thinly mixed plaster mix into the taped up areas. Here I had to mix two batches of
plaster for the fore and back areas of town. I did not achieve a tight color match. However, you can touch this up with some paint
after it dries, or you can leave it be and call it "realism." In very few towns do all the sidewalks match color. Once
this dries, you can sand it down to make it flatter.
|
|
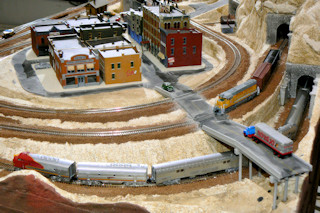
The highway out of town
|
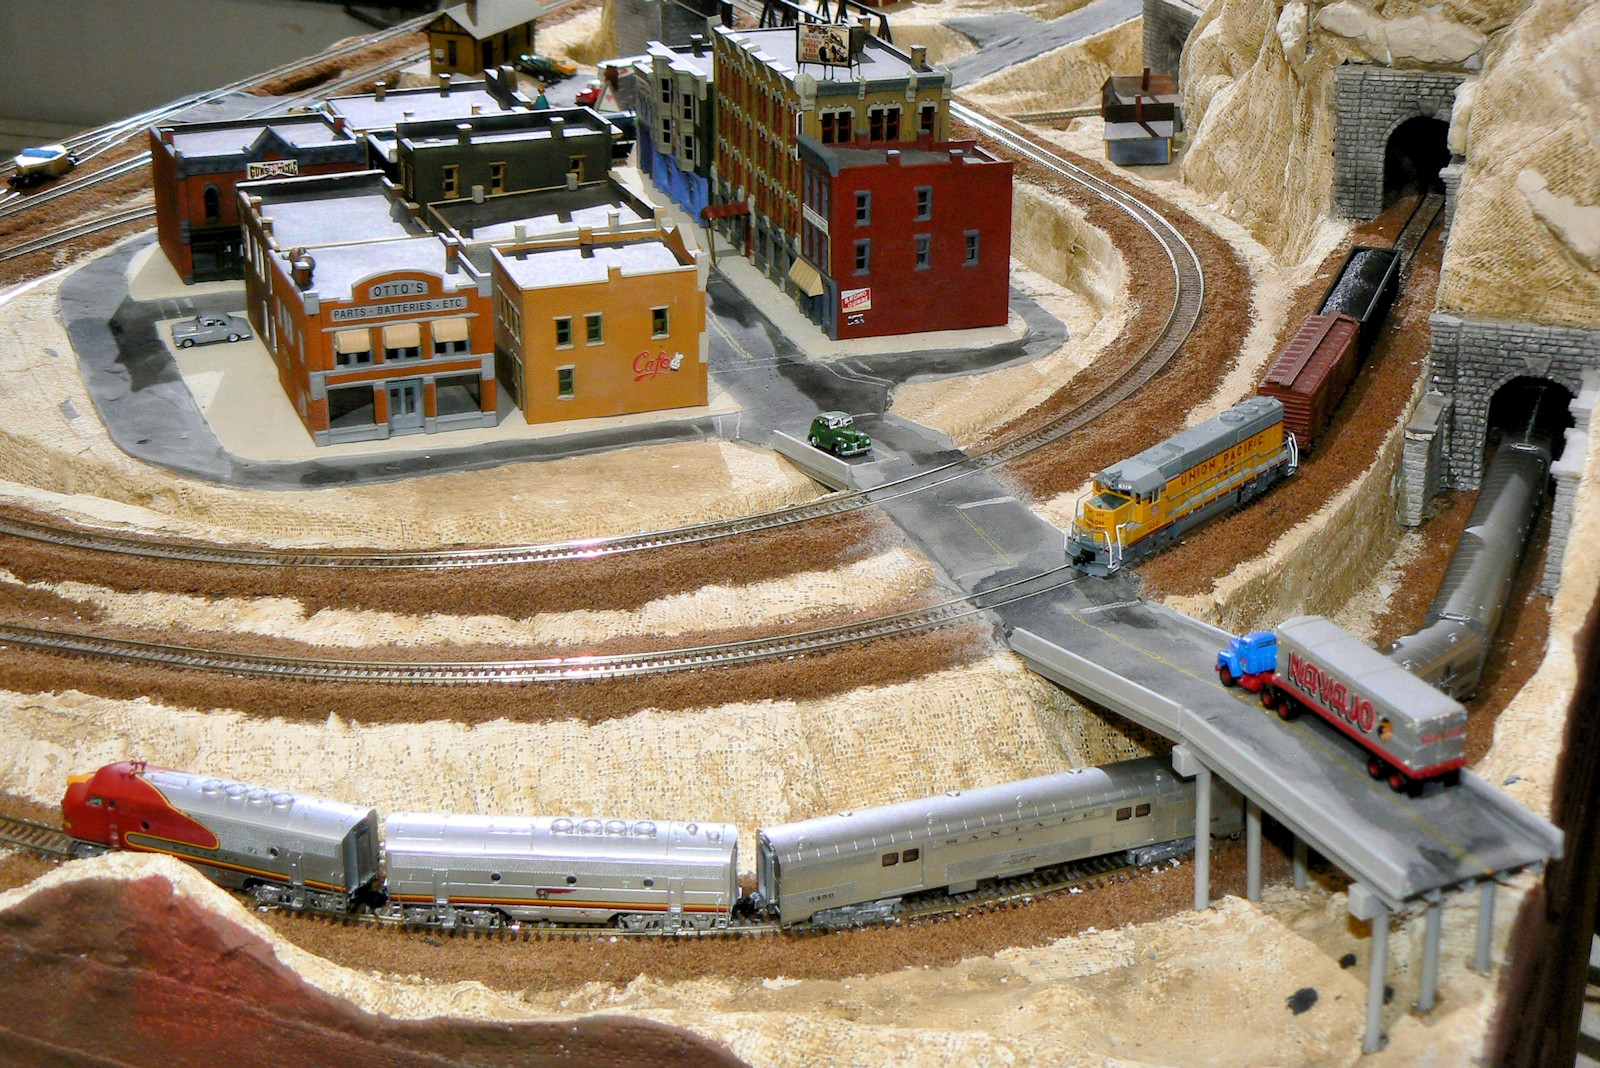
Here is a scene of the highway bridge that leads out of town. The modern bridge is a product of
Rix Products. They have both modern and mid-1950s type concrete bridges both of which
look good. I cut off a spare span of the bridge to make the ditch crossing near the cafe. Both my town and factory have a big ditch
running around them.
In this photo you can also see the Santa Fe Super Chief in the foreground, and a Union Pacific GP making a short freight haul
in the center. Notice how the roadway has to cross two tracks to make it into town. This is easy to do with the plaster
roadway.Just pour right up to the track. When it dries you can take a razor knife or a small screwdriver and cut out a slot for
the train wheels to pass. Clean up the top and inside of the track with a pin or knife. You do not have to clean the outside of the
rails.
|
|
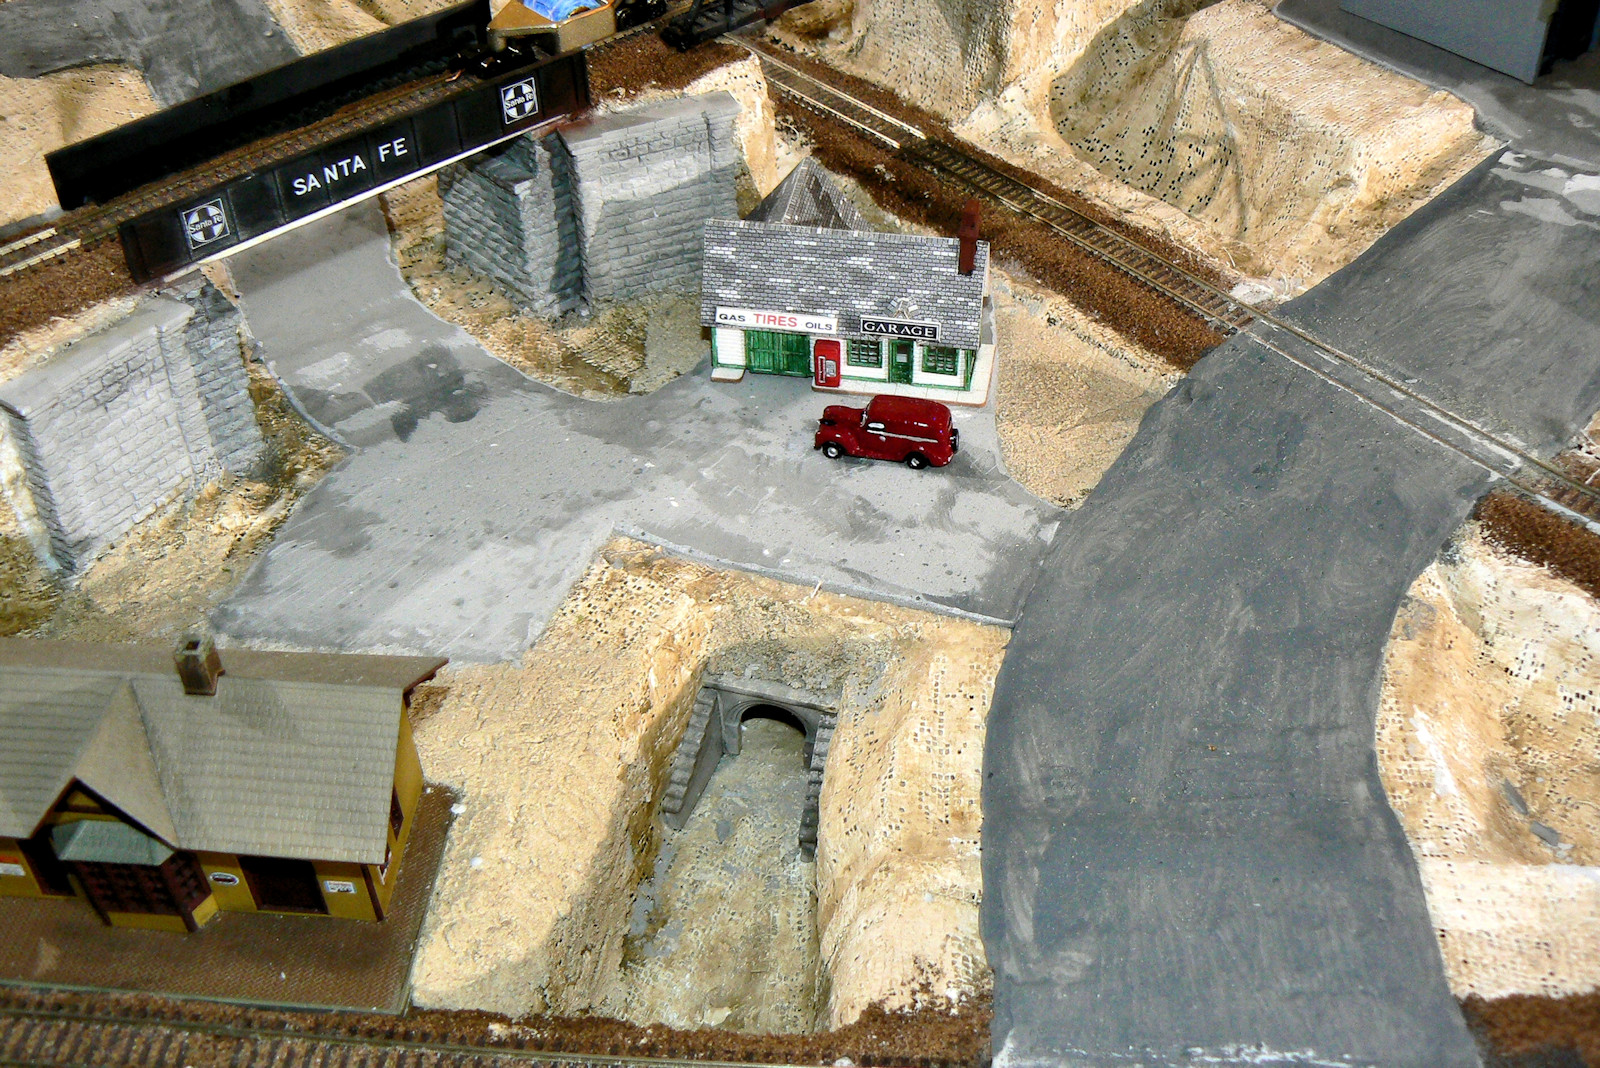
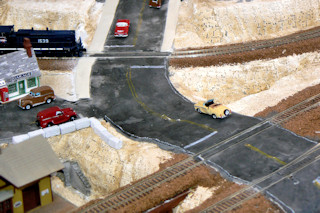
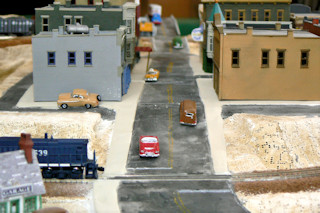
Some yellow and white stripes
|
This photo shows some stripes added to the roadway. I use Crayola colored yellow and white pencils to add the lines. The
pencils are a little harder than I would like. If you want more robust, highly-visible lines, then I suggest you go to an art store
and get some chalks or oil crayons. For me, again, I like the faded and well used look of the roads and the lines. The lines were
drawn in free-hand. You may prefer to use a straight edge.
Note the problematic rail-junction roadway crossing to the right. In the back there is another crossing where the sidewalks
end and a MP-15 is about to cross the road. I hope that classic little red Corvette is braking for the train.
A small retaining wall was made with plaster Hirst Arts bricks in front of the gas station. We wouldn't want any cars to
drive off into the stream bed.
|
|
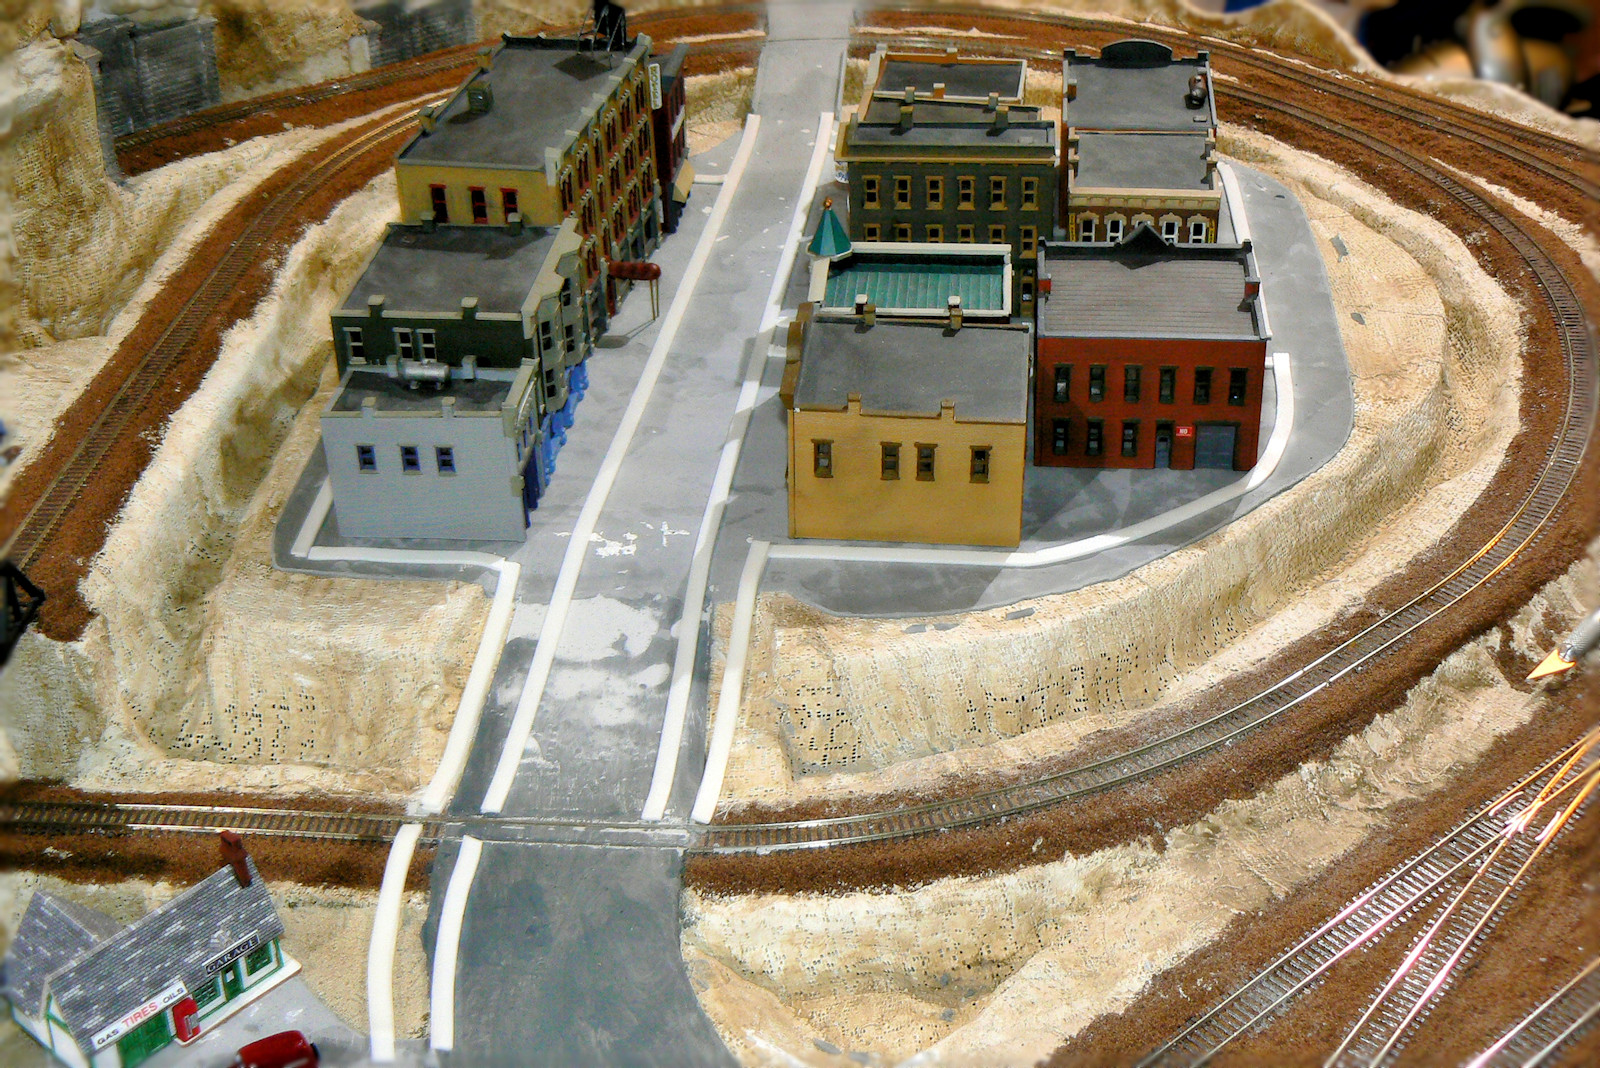
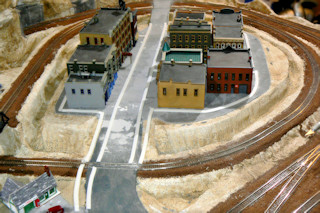
Main Street USA
|
Here is a view looking at the entire length of Main Street leading through town. This looks a lot like many small towns
outside of Austin Texas. There will soon be a stop light in the center to slow down the pace of traffic. And hopefully the
sidewalks become crowded with shoppers and workers. Thanks for reading my articles. More train layout photos and articles will be
posted in the near future.
Other articles in the scale train series include: