Dan Becker's Model Trains - Z Scale Buildings and Roads

Initial building placement
In the previous article, I showed creating tunnels and mountains for my Z Scale train layout. This was a fun step as it made the layout appear more three dimensional and added height and depth to the model. 
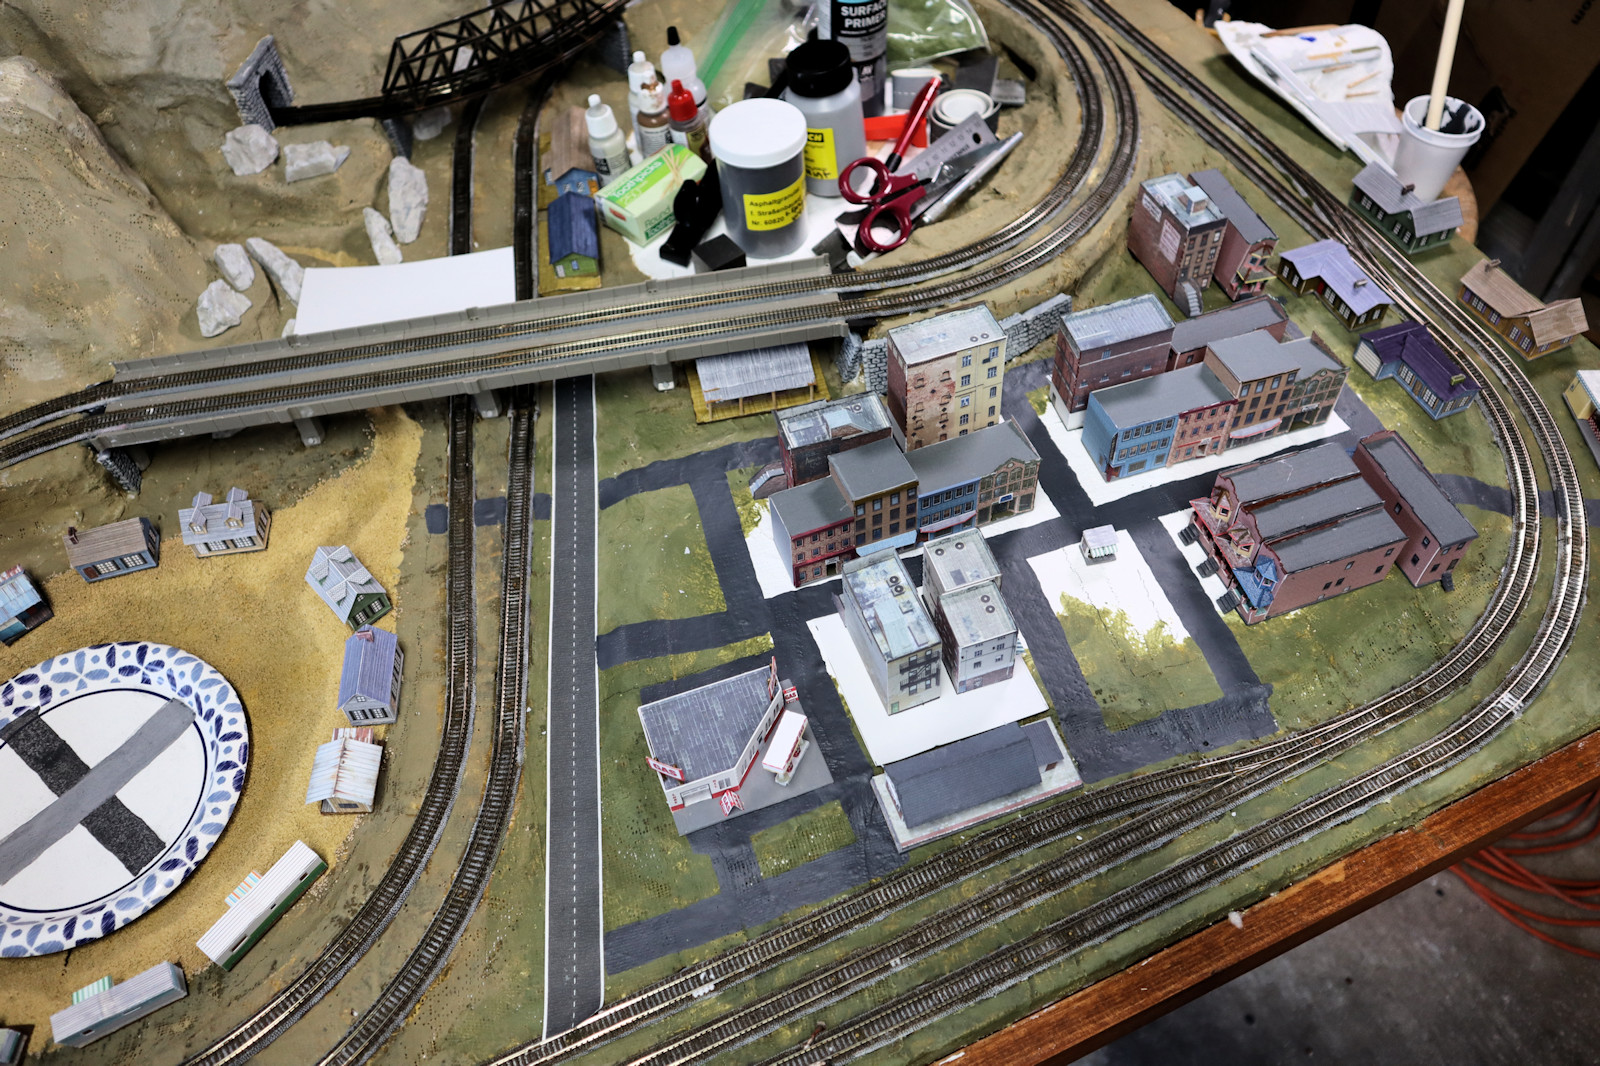
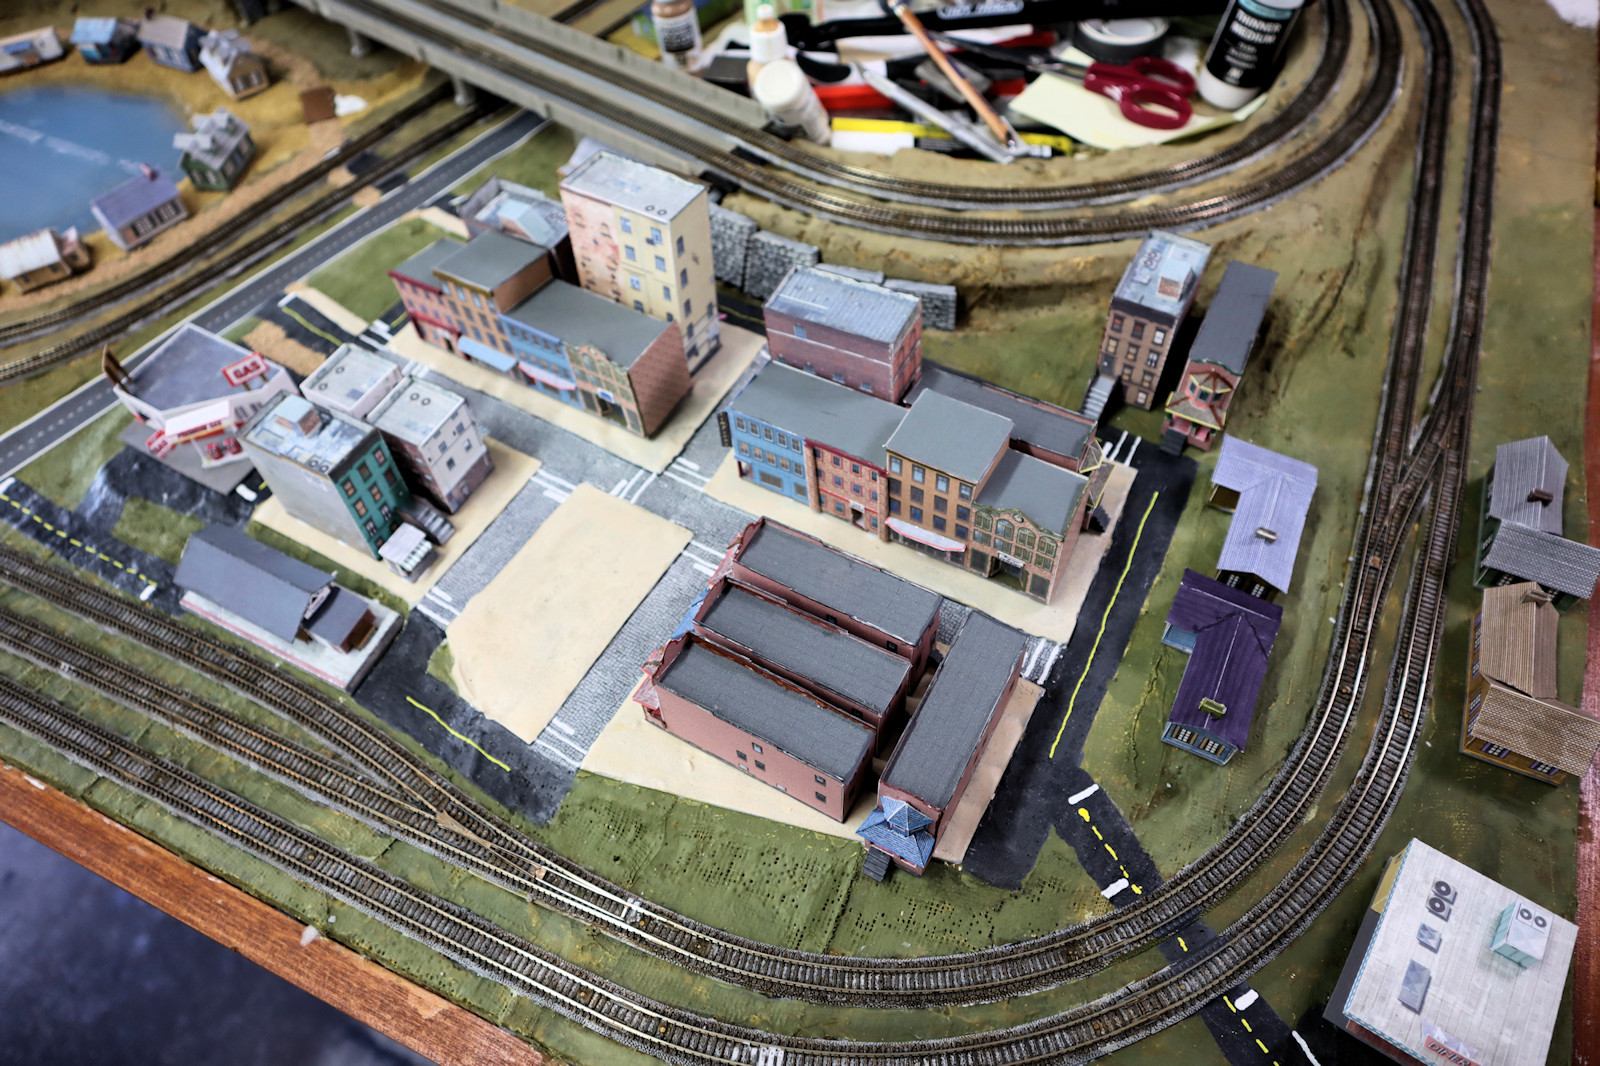
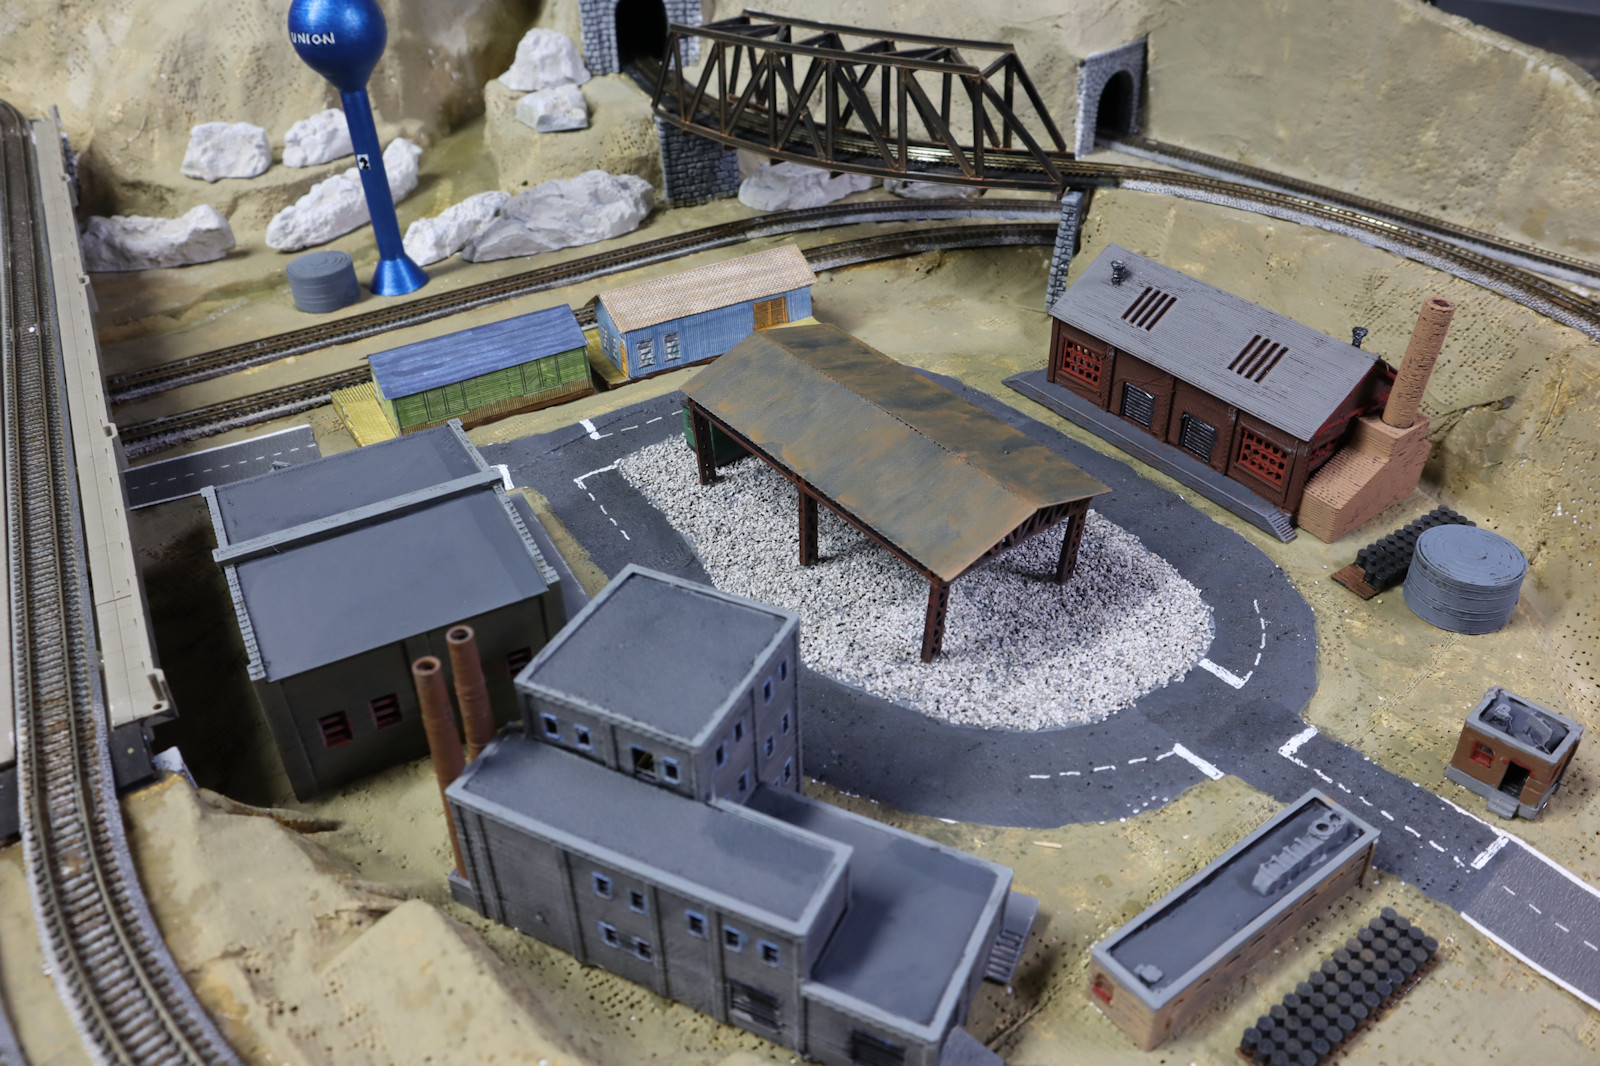
In this article, it is time to build on that topology and 
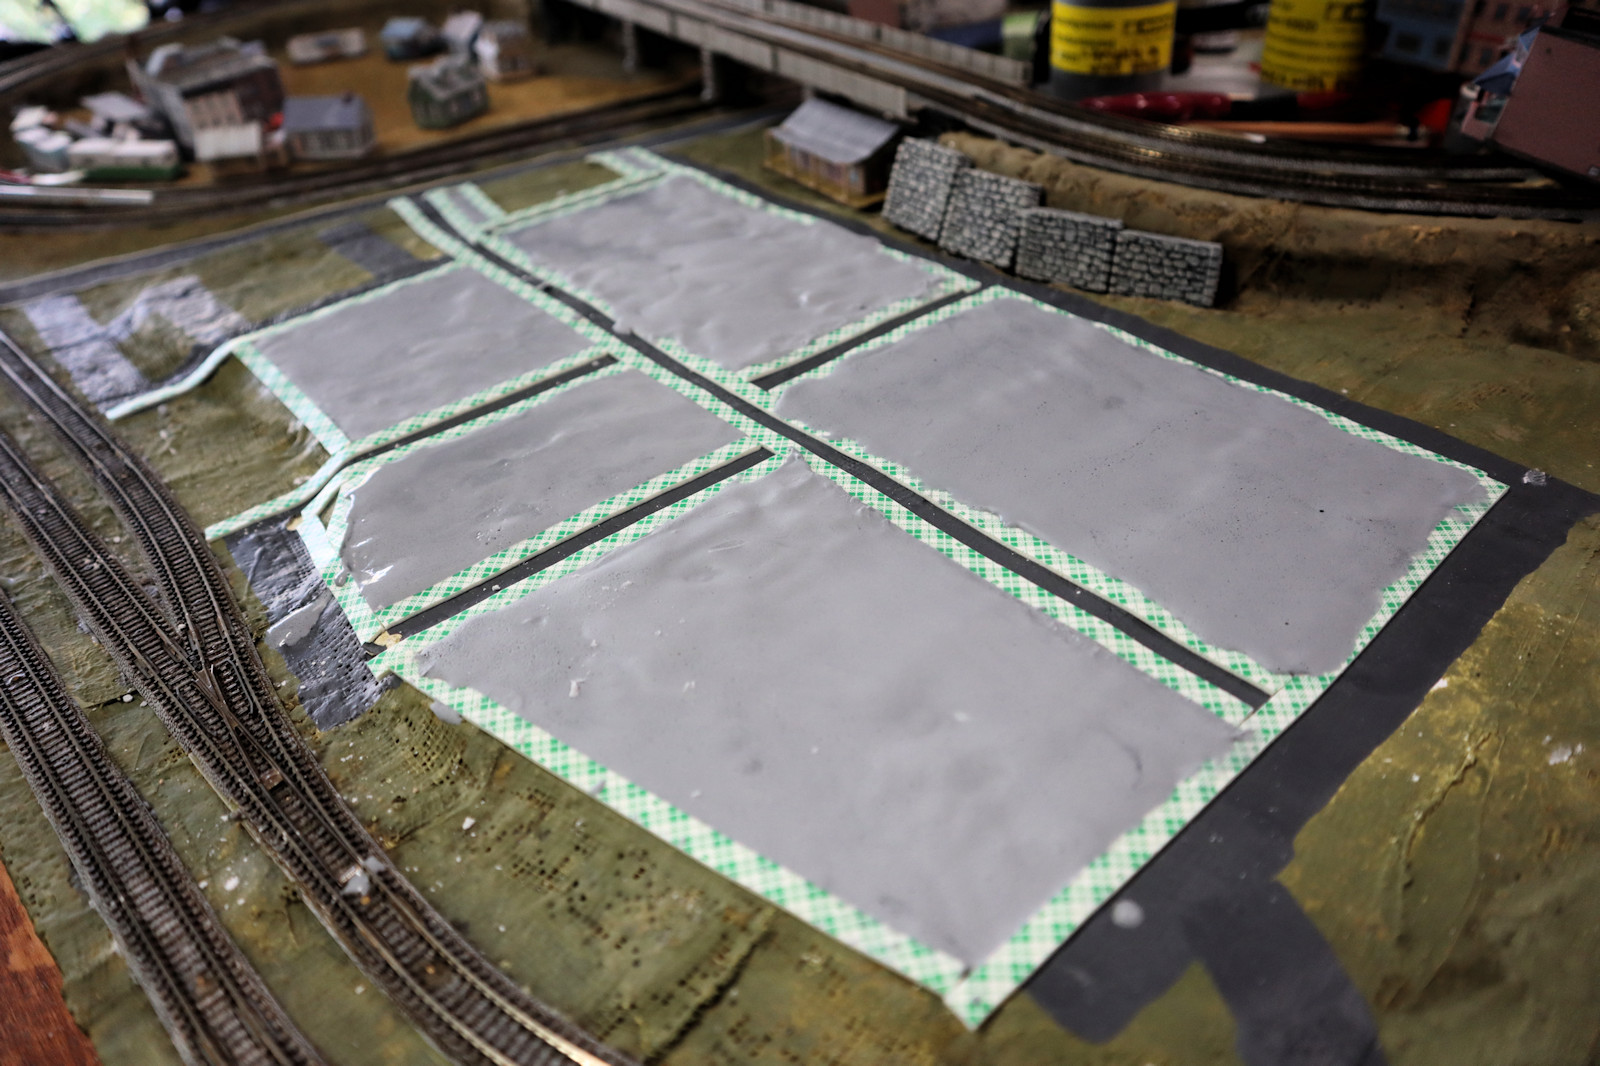
get some buildings and roads into the town.

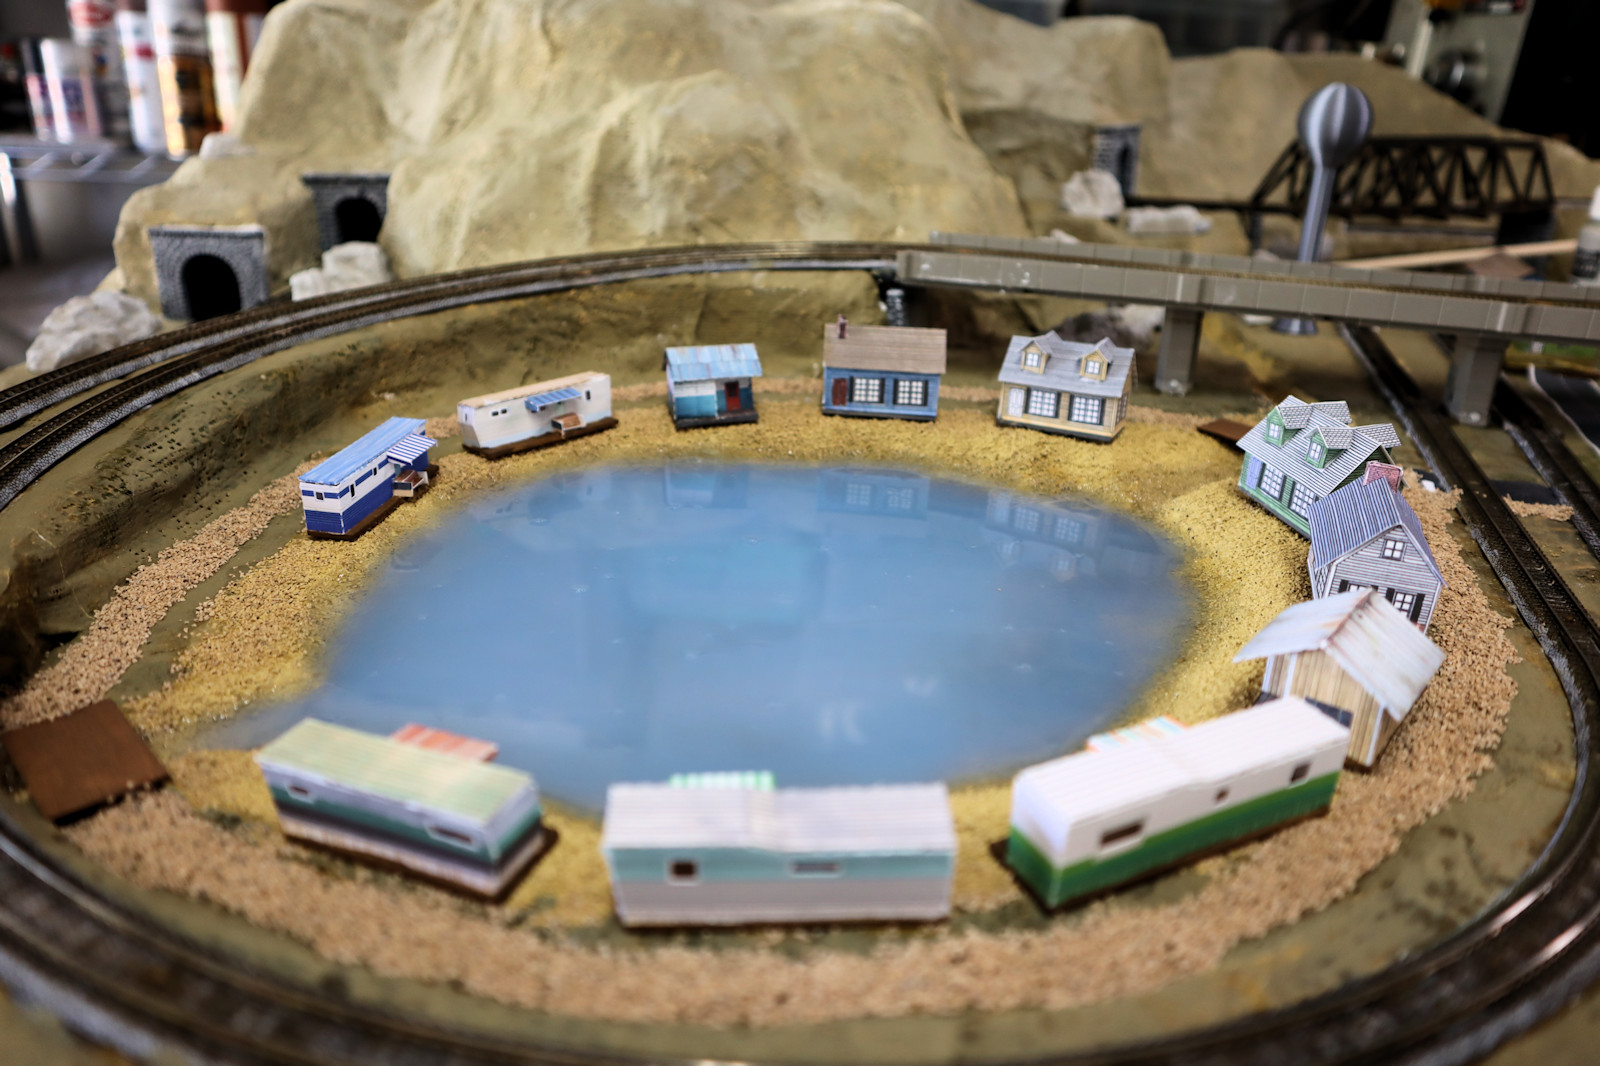
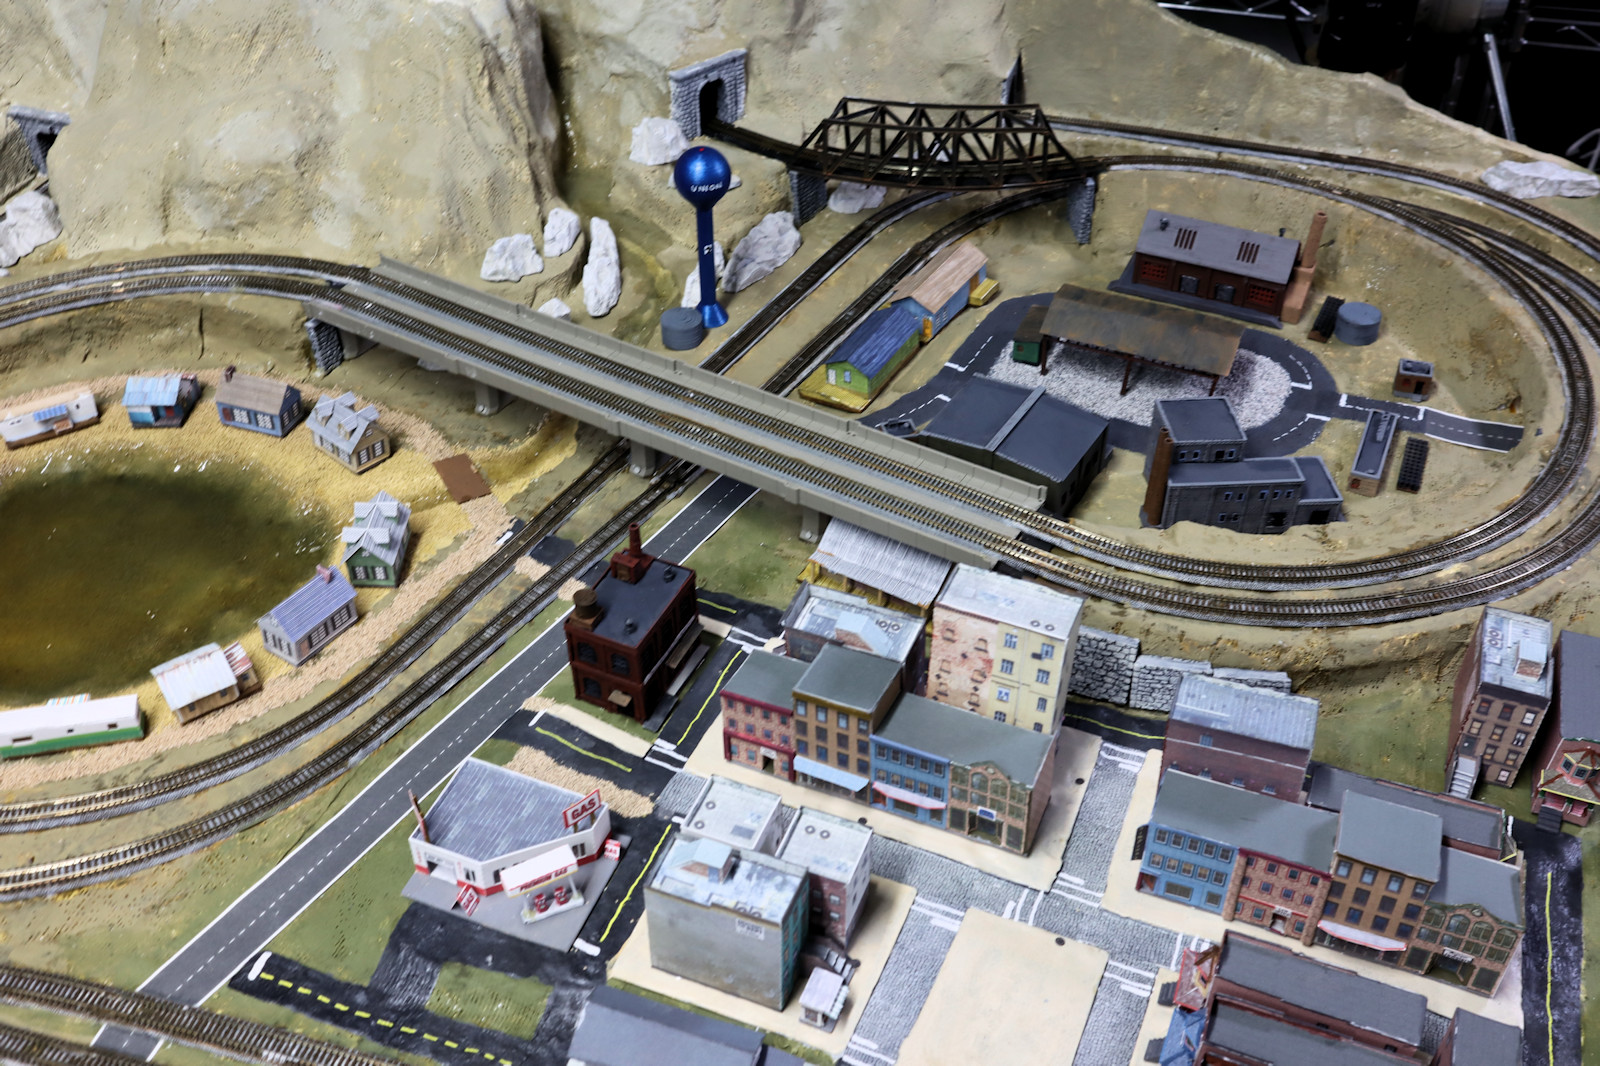
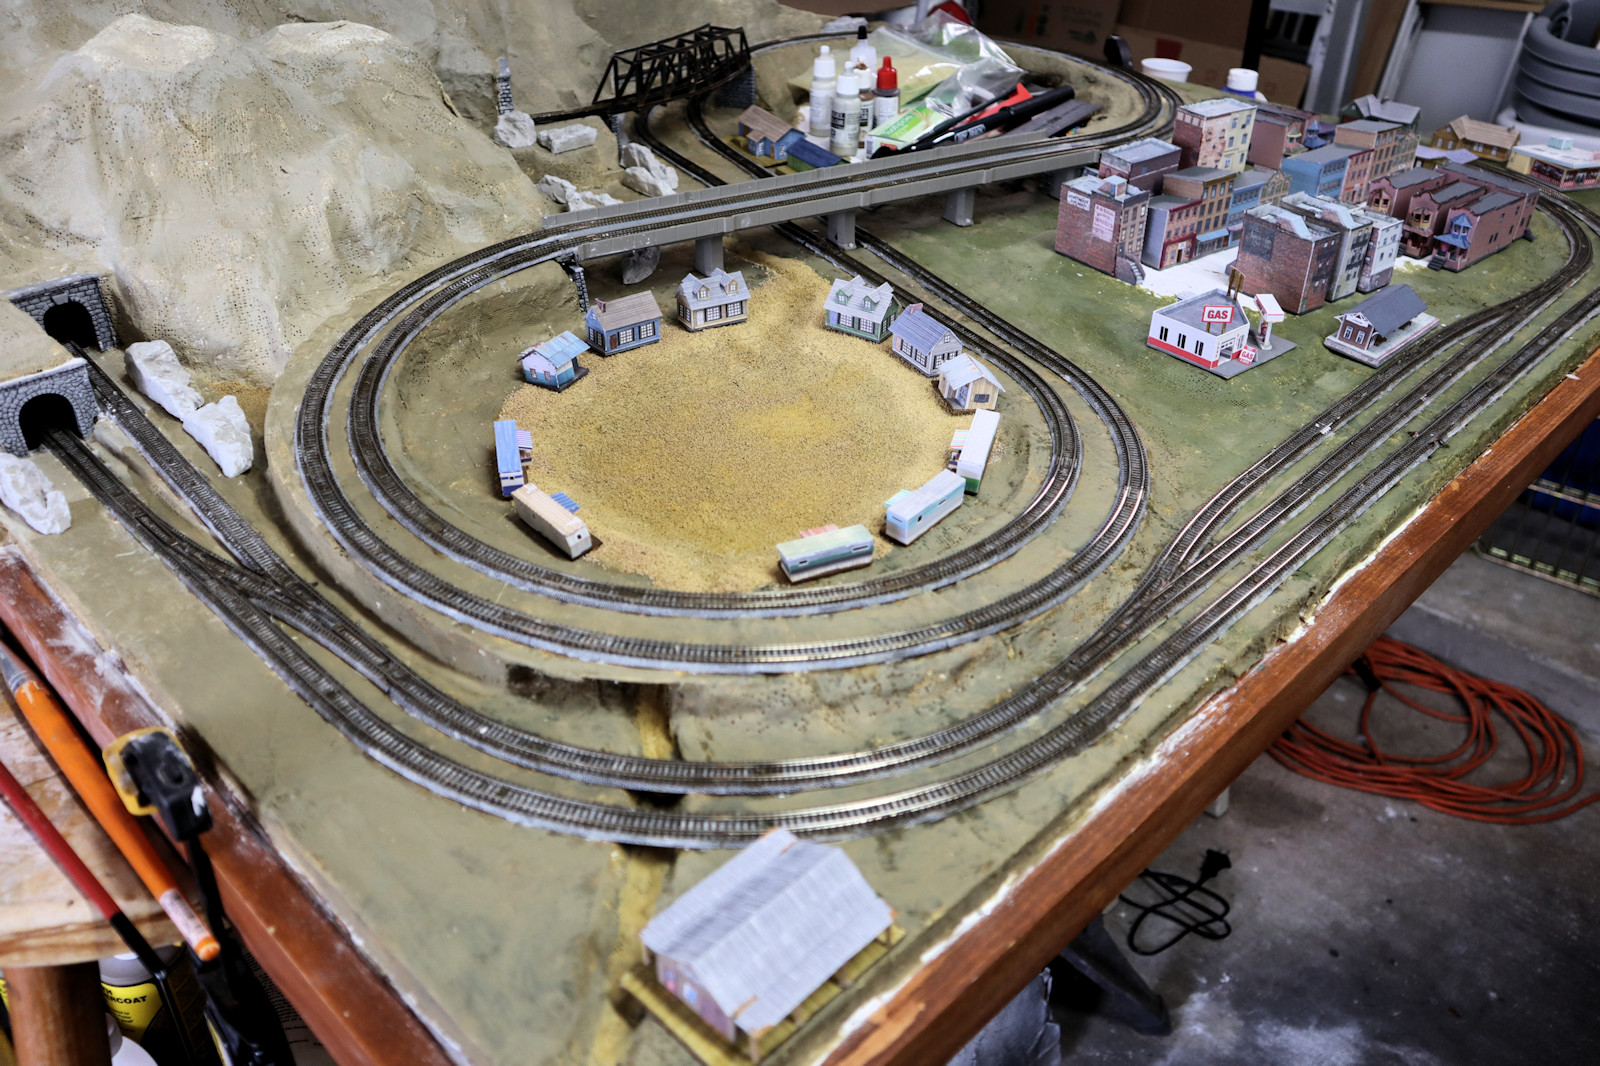
In the photo at the right, you can see in the nearest quadrant, some sand has been dumped into the lake bed, and some bungalow houses and mobile homes are placed around the lake. There is a channel from the mountains which provides water to the lake, and a channel to the edge of the lake which will drain the waters. Eventually there will be a road around the lake.

Paint in some roads
Paint in some roads
In this photo we see the town beginning to form on the right side. Many combinations of building were tried, eventually settling on the city blocks you see here. Some of the roads were painted in with textured paint. And the long straight roads were done with Z scale road paper tape from Faller.

The back quadrant is temporaily holding a bunch of modeling tools to build the city.

Pour some concrete sidewalks
In the photo at the right, the buildings have been removed to make room for concrete sidewalks. Some 1/4 inch foam tape was placed along the roads to form a thin mold. Next some dental plaster was mixed, very thin, and poured into the forms. Once the plaster dried, the foam tape was pulled up.
Paint the walks and stripes
Here is an overview of the city blocks. The sidewalks have been painted a more yellowy concrete color. Some cobblestone textures were printed on an ink jet printer and form the fancy main roads of the town. Paint makers make the yellow and white striping on the roads. Finally all the buildings have been glued into place.

All of these buildings are paper models There are a number of high rise shops and apartments, some tenement houses, a few single family homes, a gas station, a passenger terminal, and a diner on the road leading out of town. The one empty block in the center of town will be painted as a public park later.

Fill the lake
Fill the lake
In this photo, the recreational lake has been filled with artificial water. These houses and mobile homes are where the lucky vacationers get to stay. Notice that a gravel road has been added around the houses.

I used Woodland Scenics Realistic Water for the lake. It looks OK, but it is acrylic and kept shrinking, and I kept having to buy more to fill the lake. I won't be using that product any more. They have a newer product called "Deep Pour Water Clear" which is two part resin. I think that would be a better product than this.

Add a water tower
Add a water tower
Of course every town needs a water tower. As I have done for my other train layouts, I created a model of my home town water tower from Union, New Jersey. As you can see the tower is a true water sphere with a spherical top. They stopped making this kind of tower 40 years ago.

The model is a 3D print which I found on eBay. The printing plastic they used is extremely hard and tough to sand. Eventually with much elbow grease, I got the smoothness I needed. I painted the tower with Tamiya metallic blue, and the lettering and logo were done with acrylic paint markers.

Add an industrial section
Of course every train layout needs an industrial section. This loop in the track contains a number of 3D printed factory buildings and sheds which I found on eBay. I had to assemble and paint them myself.

There are two paper freight depots along the tracks. The roads are painted roadways, and there is simple scenery gravel under the shed. Eventually I will put some tractor trailers and industrial equipment in there.

Another view of factories
Here's a reverse view of the industrial area. As is true with a lot of train layouts, this is an extremely compressed view of the real world. With a train table with only 4 feet by 3 feet (1.2 by 0.9 meters) you have to be a little compressed to give a sense of urban density.
Current town overview
And here we have the current state of the layout. As you can see we have 4 mostly filled in areas: mountains, factories, city center, and recreation area.

Next up, we will be adding grass and trees, and soon it will be time to run trains.

Thanks for reading my article. I hope you enjoyed seeing the mountains rise up out of my layout. More train layout photos and articles will be posted in the near future.

Other articles in the scale train series include: