Dan Becker's Model Trains - Z Scale Tunnels and Mountains

Closing in the tunnel
In the previous article, I decided to paint my track rails, ties, and ballast. This was a tedious, nearly two month affair that almost caused me to abandon my Z Scale train layout. However, I put in a little time as often as I could, and eventually I had some rails that I liked.

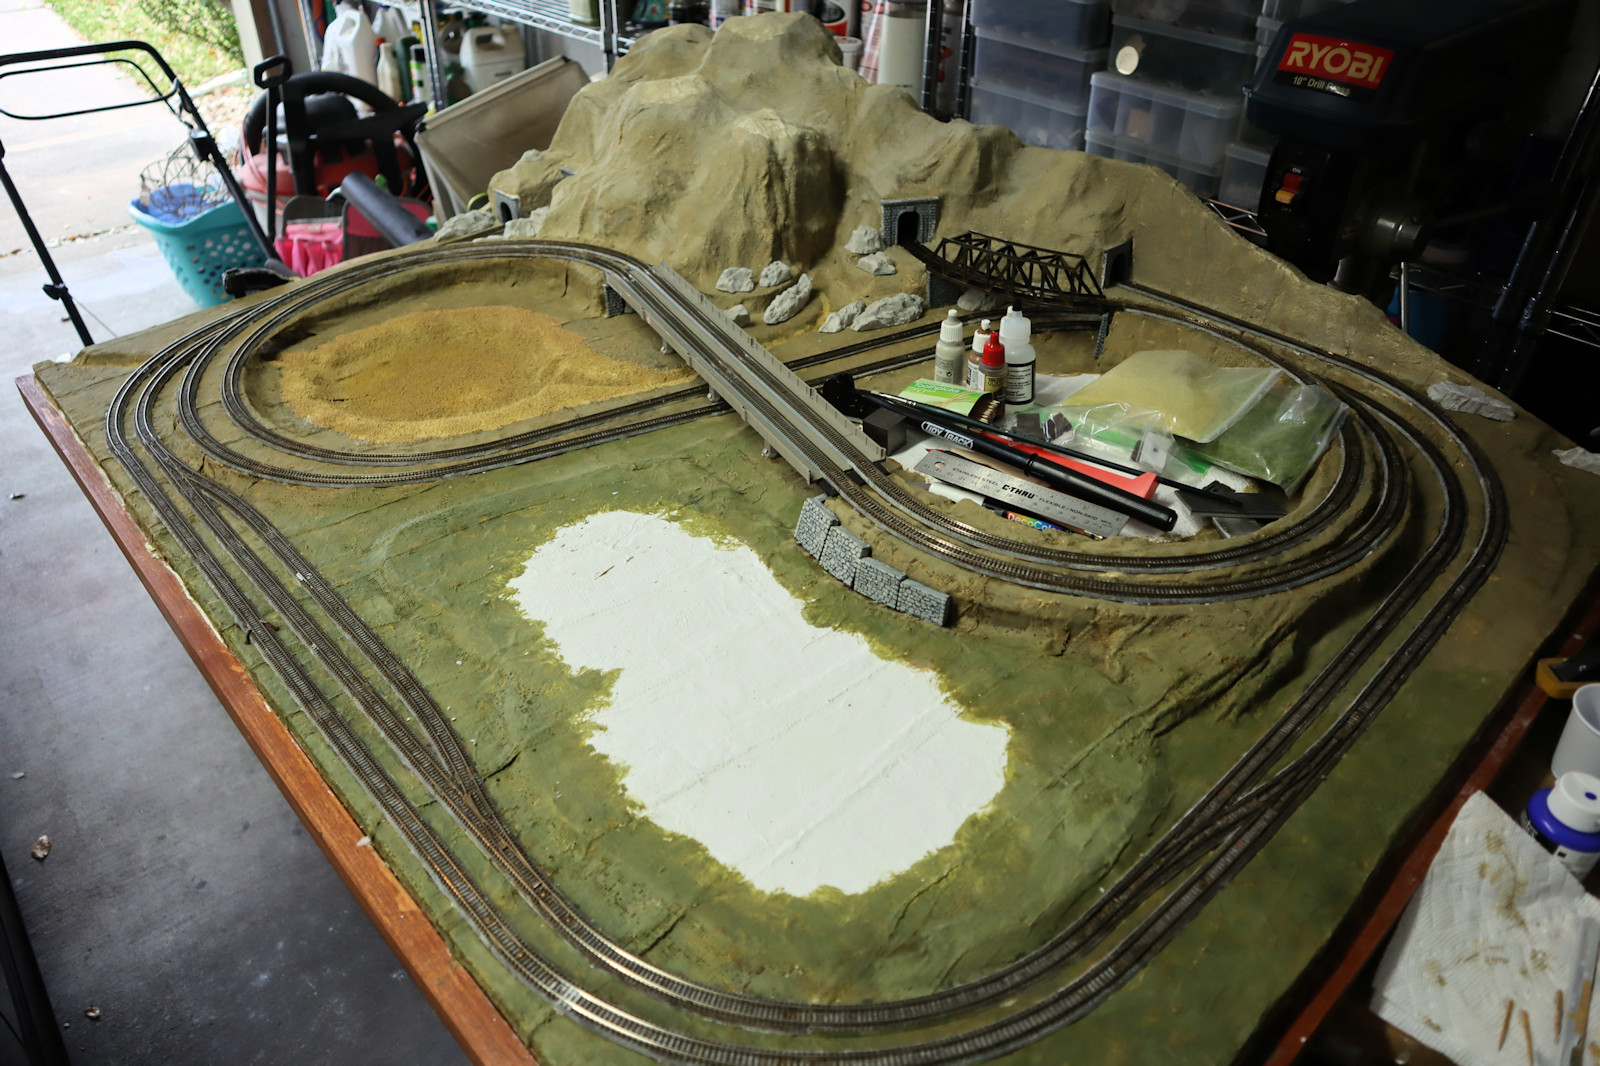
In this article, it is time to get back to the happy place with scenery, closing in the tunnels, and building some mountains.

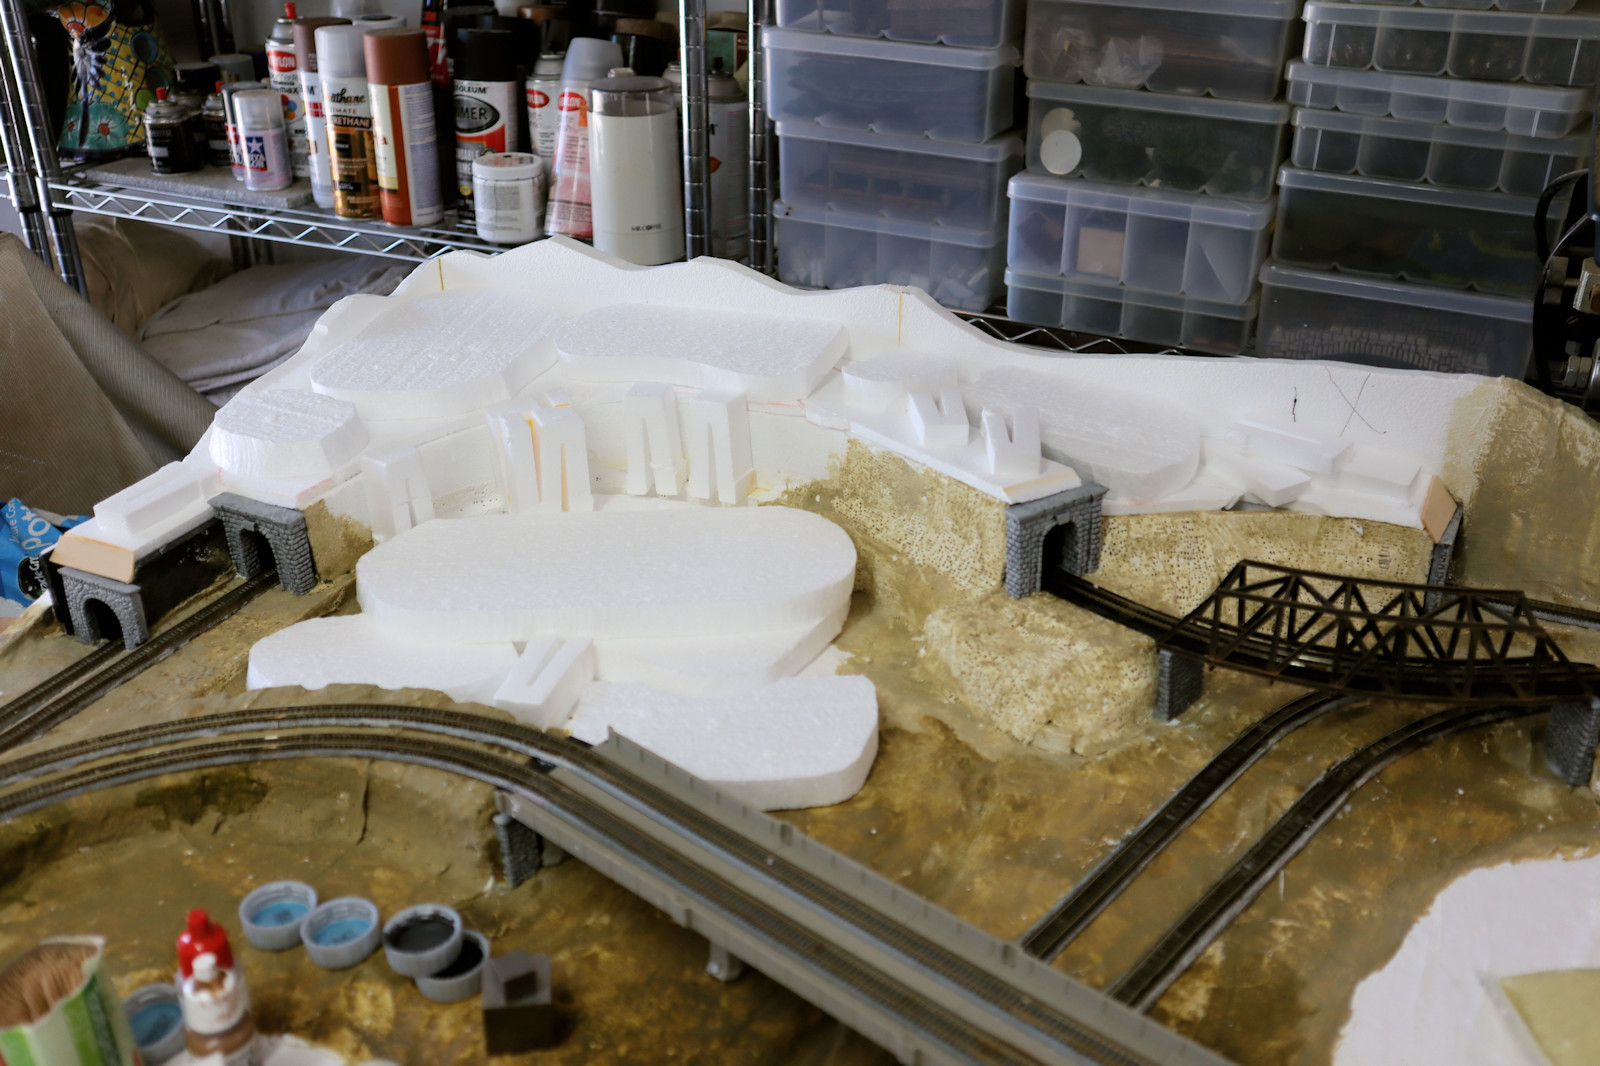
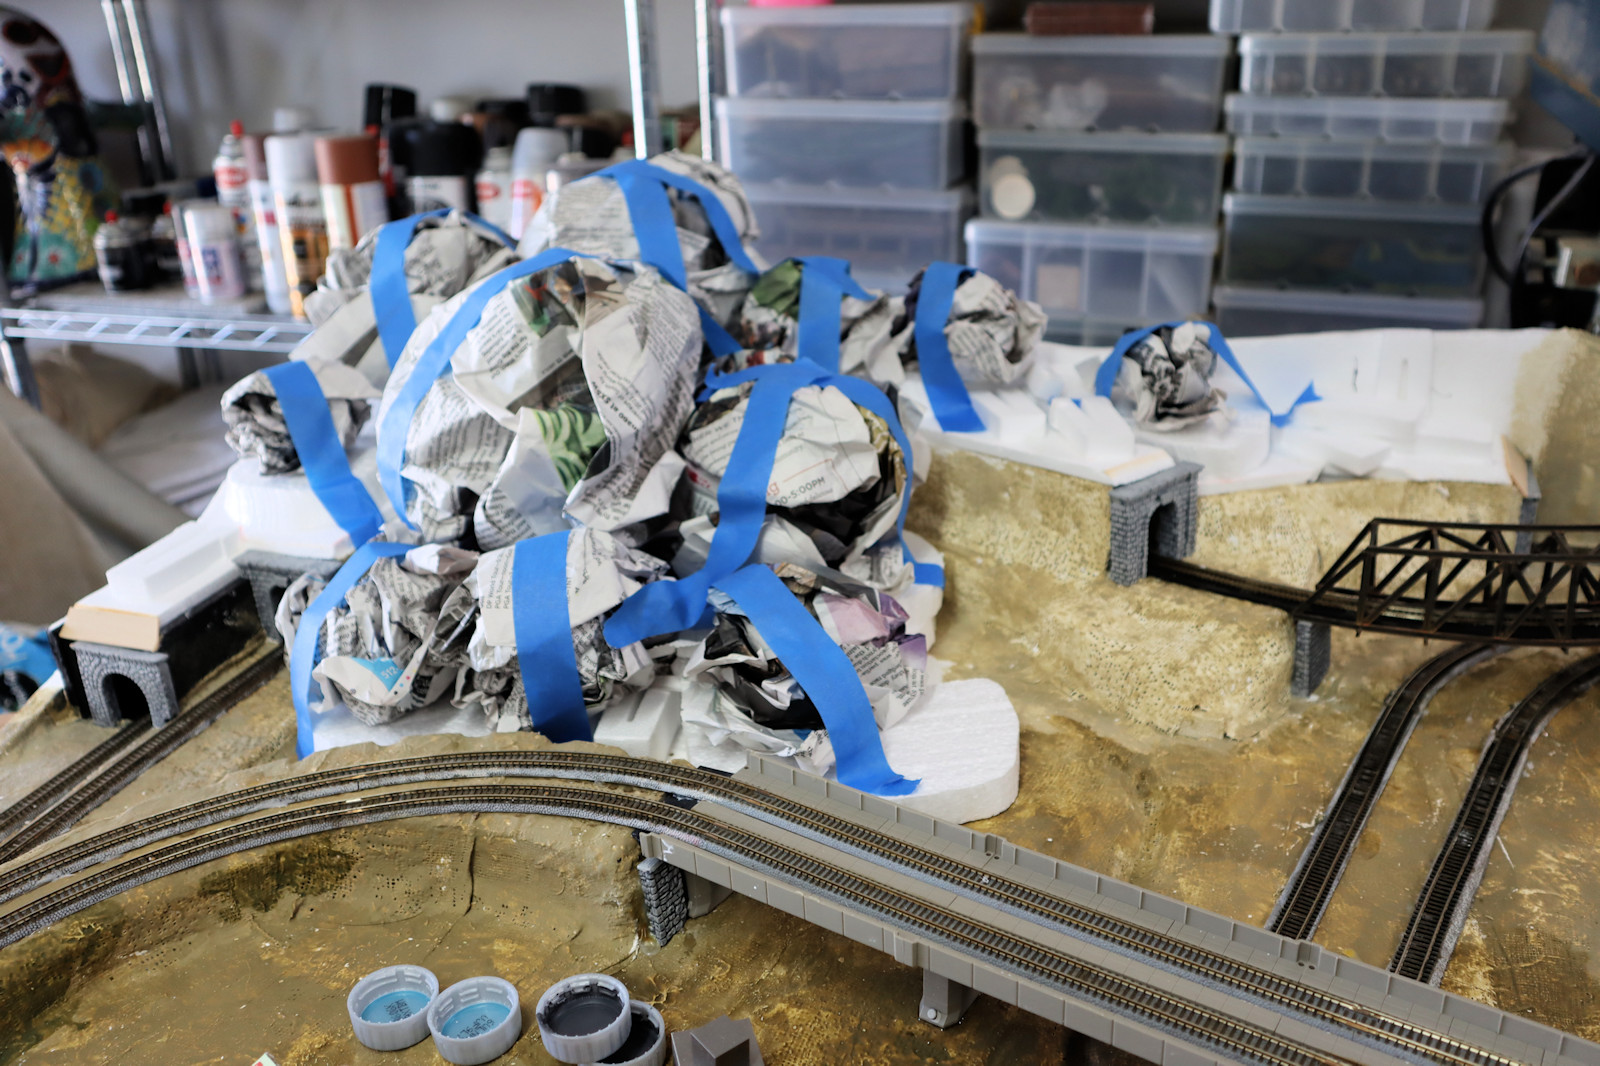
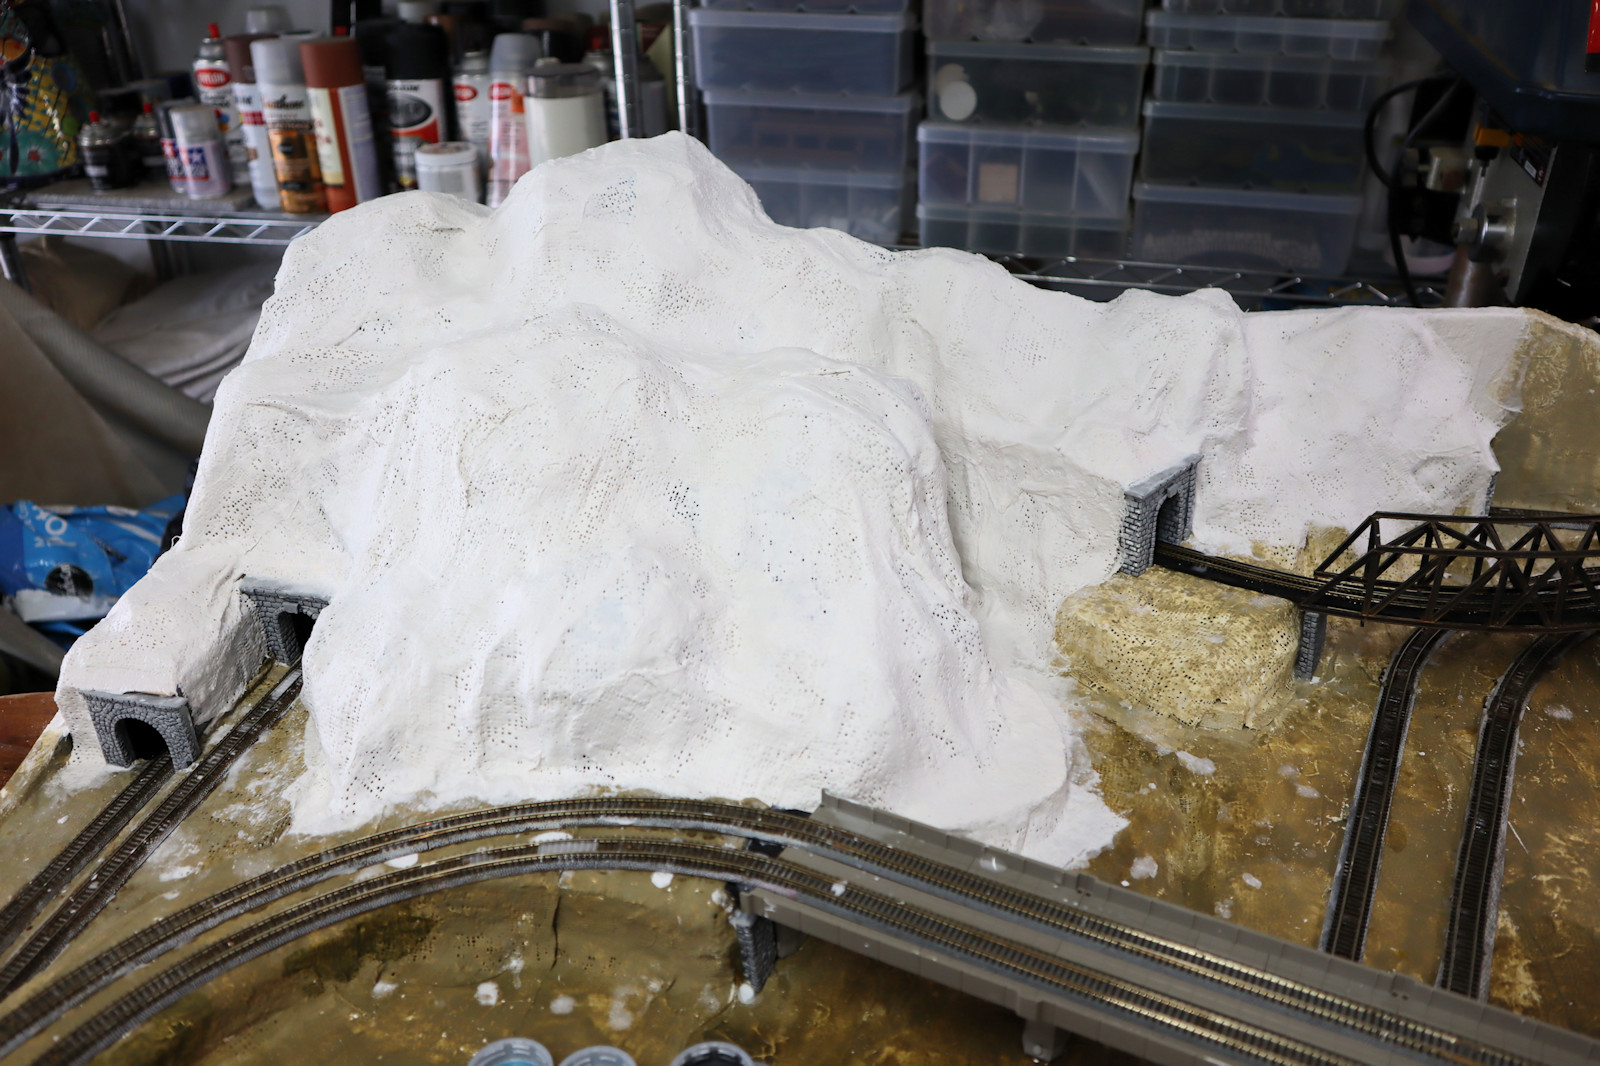
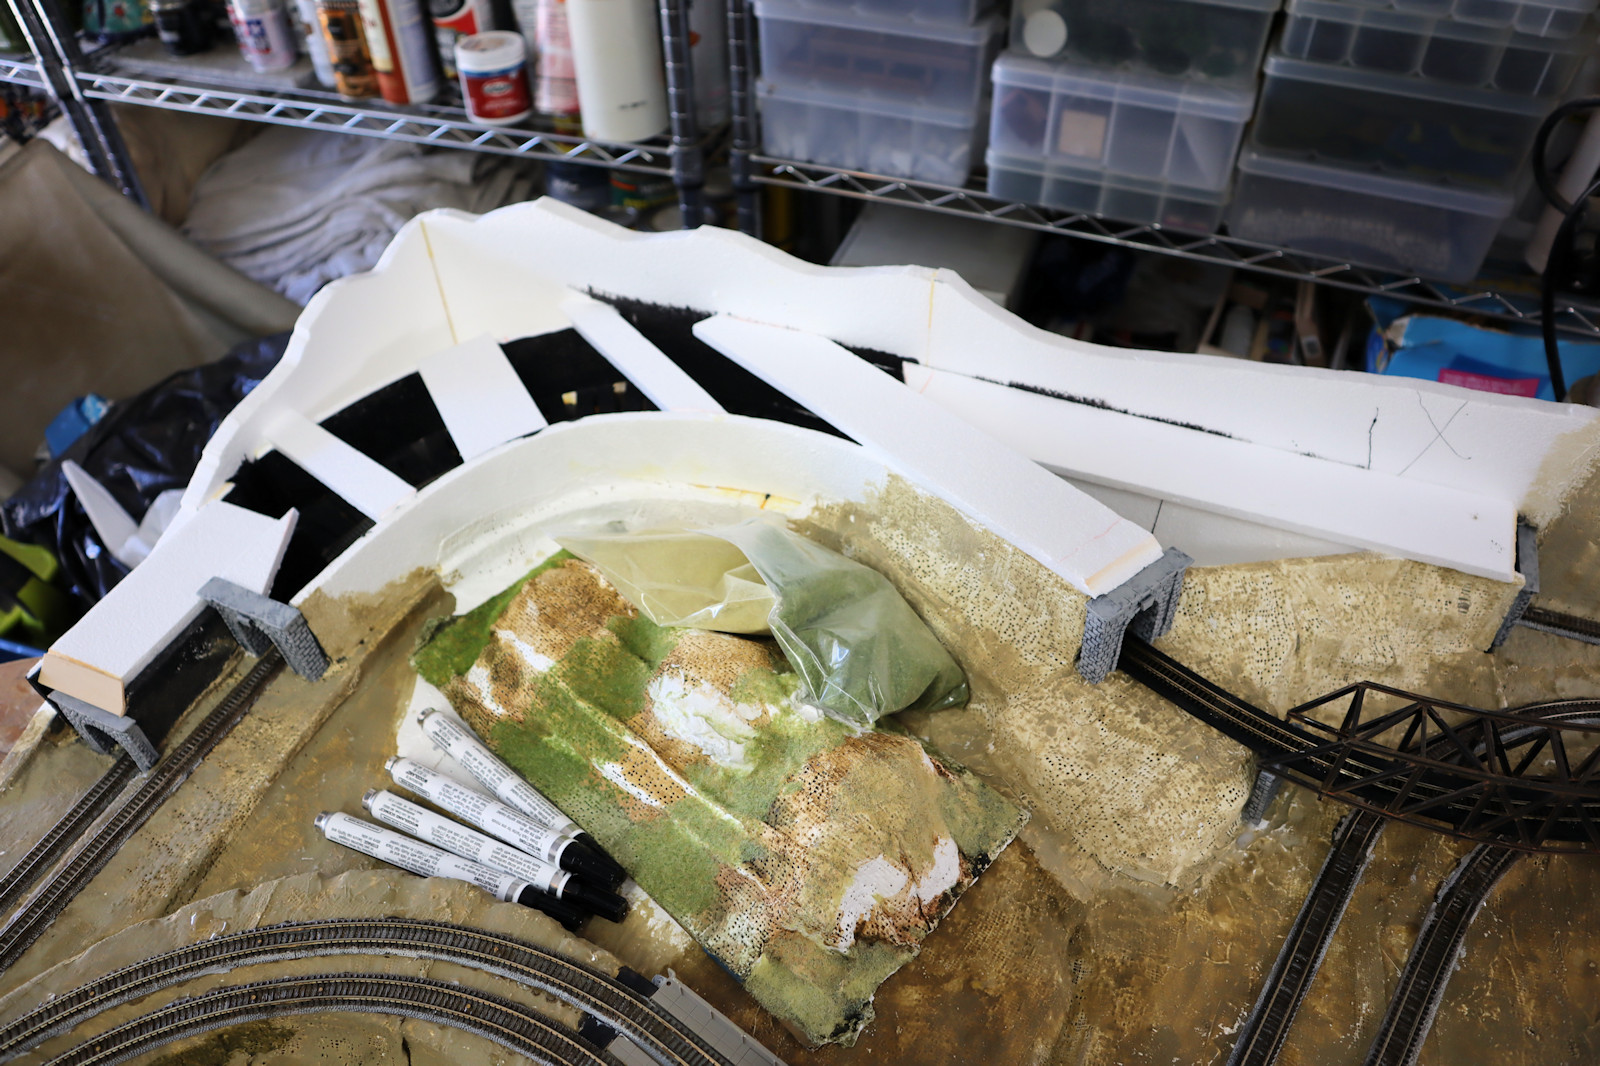
In the photo at the right, you can see that I am closing in the tunnels so I can support some mountains over the top. However, the track in the tunnel must be very clean as it is very difficult to get the cleaning pads in there. I do have two rescue ports on the back of the layout in cause a train stalls or derails, but getting in there is not something you want to do often.

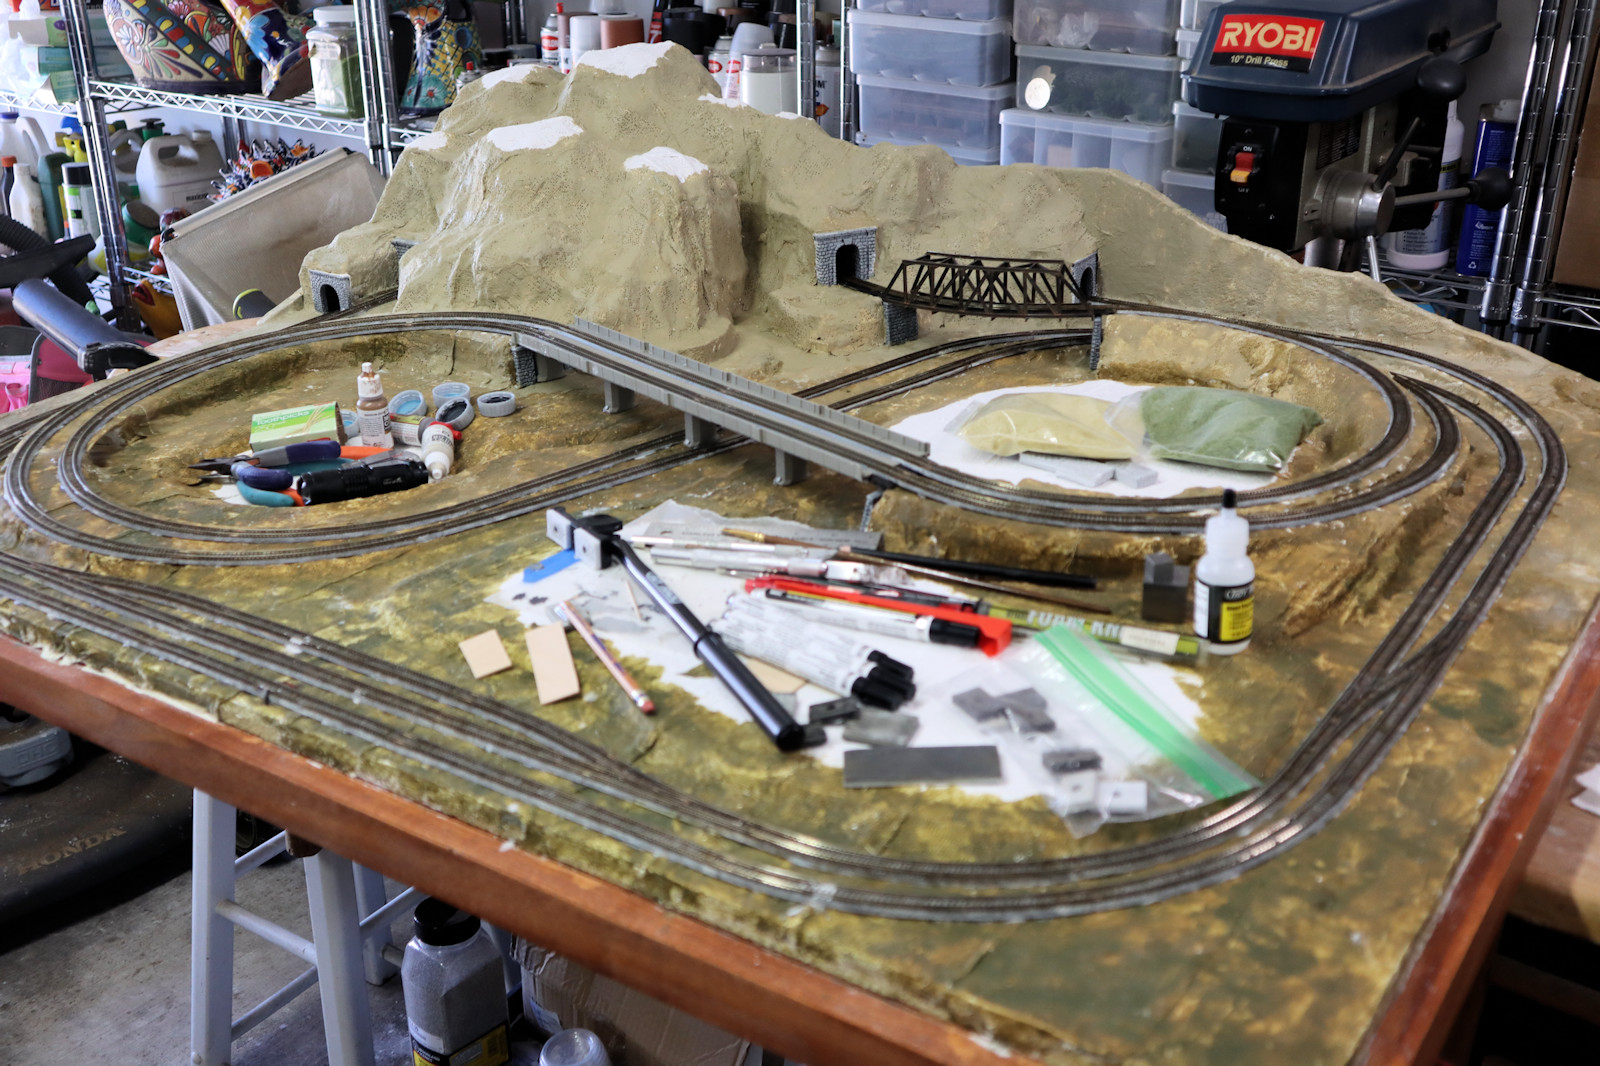
Also in front of the tunnels, there is a small model where I was testing the plaster cloth, plaster painting, and grass flocking. The model has some nice colors that eventually I will use in the rest of the layout.

Tunnel covering complete
Tunnel coveringcomplete
This photo shows the top of the tunnels complete. I put a few platforms and blocks of styrofoam on there so the mountains cascade into the flat areas below.

You can also see 4 tunnel portals. These are two types of plaster casts by Z Train Things and are available at Z Scale Monster Trains. The portals paint up very nicely. However, I did have to gouge some of the adjoining styrofoam to make them fit over the track properly.

Paper mountains
Paper mountains
This photo shows the newspaper balls that are used to support the mountains. It is the first paper newspaper that I have bought in over 10 years. The balls are held in place with masking tape.

The balls look flimsy and random at this point, but randomness is what makes it look natural.

Plaster cloth over the mountains
This photo shows the wet plaster cloth draped over the mountains. Overnight this will harden and everything will be solidly in place.

Building this paper maché terrain is probably my favorite part of a train layout. However, this method is less used in the hobby these days. As you can see there are some plaster drips and splatters that must be cleaned up. Also, there is a danger of damaging and cracking the plaster when the train table is moved. Many train layout builders are now using insulated foam sheets, and they build up mountains layer by layer, one sheet at a time.

Mountain base coat
Mountain base coat
This photo shows the warm light gray base coat color for the mountains. The color is very much like the limestone that you see in the Hill Country around Austin, Texas. I left the peaks white for now, because I want some bald-headed limestone peaking out the tops.

I also realized I like the solid color of the mountains and don't like the washed out base colors of the rest of the table. So I am going to repaint that.

Repainted base coat
Repainted base coat
This photo shows the two foreground areas cleared of tools and the base colors repainted. There is a gradual change of color from back to front as the gray of the mountains gets a little greener in the loops, and then becomes a more vibrant green in the front where the city will go.

You can also see the bald mountain tops painted in a little more. There is a small retaining wall near the central bridge. Finally there some big gray boulders near the base of the mountains. These are plaster castings that I made with a rubber mold from Woodland Scenics

Thanks for reading my article. I hope you enjoyed seeing the mountains rise up out of my layout. More train layout photos and articles will be posted in the near future.

Other articles in the scale train series include: