Historical Miniatures - Panoramic Movies

setup, prior to first turn
Quicktime formatWindows Media format
This article describes how to make panoramic movies of miniature figures and scenery using a digitalcamera and common software.At least that's the reasoning I give to this monsterous use of my web site space and bandwidth.I've got to admit, sometimes I am in a low-energy mental state, and all I want to see is some coolfigures photographed from all angles.Perhaps that's the primary use of this page.So all you slackers reading this from work, please enjoy and don't worry about turning the sound down on thesemovies.

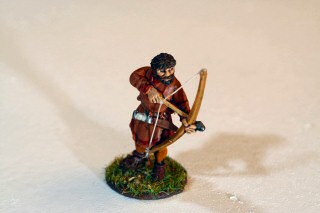
But first, some eye candy. To the right is a Saxon Gebur bow man. Click on the image or the textlinks to see him spin around and view him from all angles.

setup, prior to first turn
Quicktime formatWindows Media format
I thought it would be nice to have some photos of my figures from several angles.When I looked at the price of photographic turntables, special camera lenses, Apple Quicktime VR Authoringsoftware, and other equipment, I decided I could do better with my own home made solution.

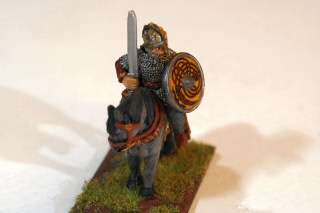
And now more visual fluff. To the right is a Saxon noble horse man. Click on the image or the textlinks to see him spin around and view him from all angles.

setup, prior to first turn
Quicktime formatWindows Media format
Hopefully your browser has the ability to view Quicktime and Windows Media Format movies.If you have the ability to display both, you may notice that the Quicktime movies aretwice the size and many times the quality of the WMF format.The Quicktime format has the ability to use the original photo formats for each movieframe and so the image is about the same quality as the original resized photo.WMF seems to do some MPEG-like recoding of the photo and each frame. So the WMF movieis lower res than the QT movie. Still, WMF here is lower size and bandwidth.

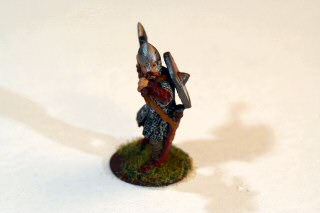
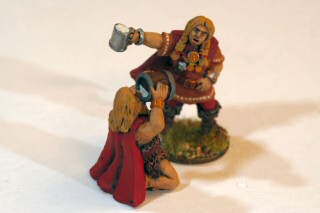
And now some more happy gratuity.To the right is a Saxon huscarl. Click on the image or the textlinks to see him spin around and view him from all angles.Click on your movie slider or frame controls to make him spin back and forth.

setup, prior to first turn
Quicktime formatWindows Media format
This movie is the first one I made.I had the camera a bit farther back.The figures look better from close in.

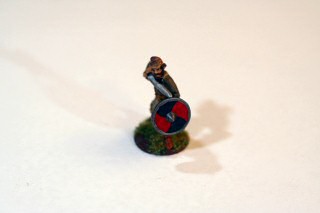
But the movie is included anyway to help you while away the hours of a boring day.To the right is a Saxon ceorl swords man. Click on the image or the textlinks to see him spin around and view him from all angles.

setup, prior to first turn
Quicktime formatWindows Media format
Finally a double dose to end the boredom.To the right are two Viking heavy drinkers. Click on the image or the textlinks to see them spin around and view them from all angles.Don't forget to make them spin.

setup, prior to first turn
Turntable for 360 degree panoramic photography.
Finally, here is how I did it.Rather than purchase a photographic turntable, I made my own.First, cut two discs of 3/4 inch (2 cm) wood.You can use lumber or plywood, but I recommend MDF (medium density fiberboard), because it is heavy and stable,and not as prone to warping as lumber.One disc is 24 inches (60 cm) diameter and the other is 23 inches (58 cm), but you can make any size you like.I traced the circles on the wood using a nail and string.I cut the wood with a jig saw.There is no need to have fancy edges or be too exact with your cutting.The wood cost about $6 at Home Depot.

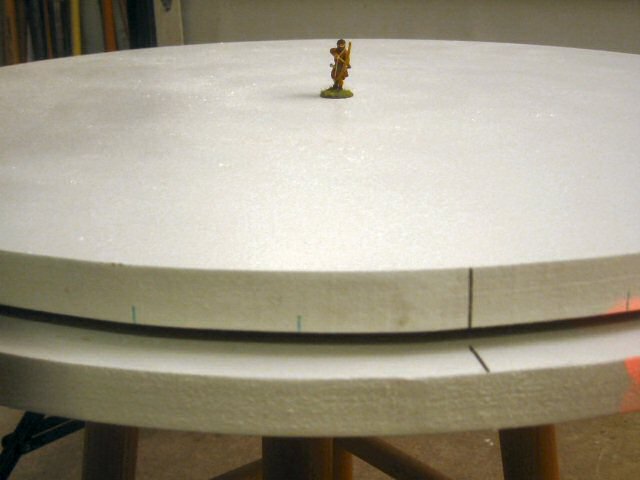
In between the discs is a set ofLazy Susan bearings.These are made for spinning shelves, and you can get them in 3, 6, and 12 inch (7.5, 15, 30 cm) sizesfrom the hardware store very inexpensively.My 12 inch bearings cost about $8 at Home Depot.Screw the races of the bearings to each wooden disc.

As you see, the edges are marked to precisely rotate the turntable.It helps to have two different sized discs to protect the edge markers.I took a length of string and wrapped it around the disc edge.Then I halved, quartered, and halved-again the string to make markings for 180, 90, and 45 degrees around the circle.I took one of the quarter circle pieces of string and marked that every 1/9 of the string, and this gave mea marker for every 10 degrees of the disc.

Using a tripod and camera, photograph the miniature while rotating using the turntable markings.If you photograph every 10 degrees, you will have a total of 36 photos.Fix up and size using your regular photo editor software.It helps if your photo software has scripts, macros, or batch processing, so that you can work on theentire directory of photos. I use Paint Shop Pro version 8.Finally stitch the photos together with video software.Most video software has the ability to take in photos and make movies from them.I used about 3 frames per shot to make about a 3.6 second movie.Render the movie to whatever formats your readers use.

Related Reading

I hope you enjoyed reading the details of photographing and making panoramic moviesfor a bunch of miniatures.Hopefully more painters and gamers will present the option of viewing minisin a panoramic fashion - this would be especially nice for auctionsand battle reports.More miniatures-related articles are atDan Becker's Miniatures and Models site.Thanks for stopping by and reading about my miniatures.

Home| Top| Ale| Flight| Games| Guitars| Miniatures| MTB| Podcasts| Poophead| Trains| Tri| Other Hobbies| Weather| Feedback
Note that some book links are provided in association with Amazon.com.
Last modified: Sunday, 28-Apr-2019 13:47:12 MST.