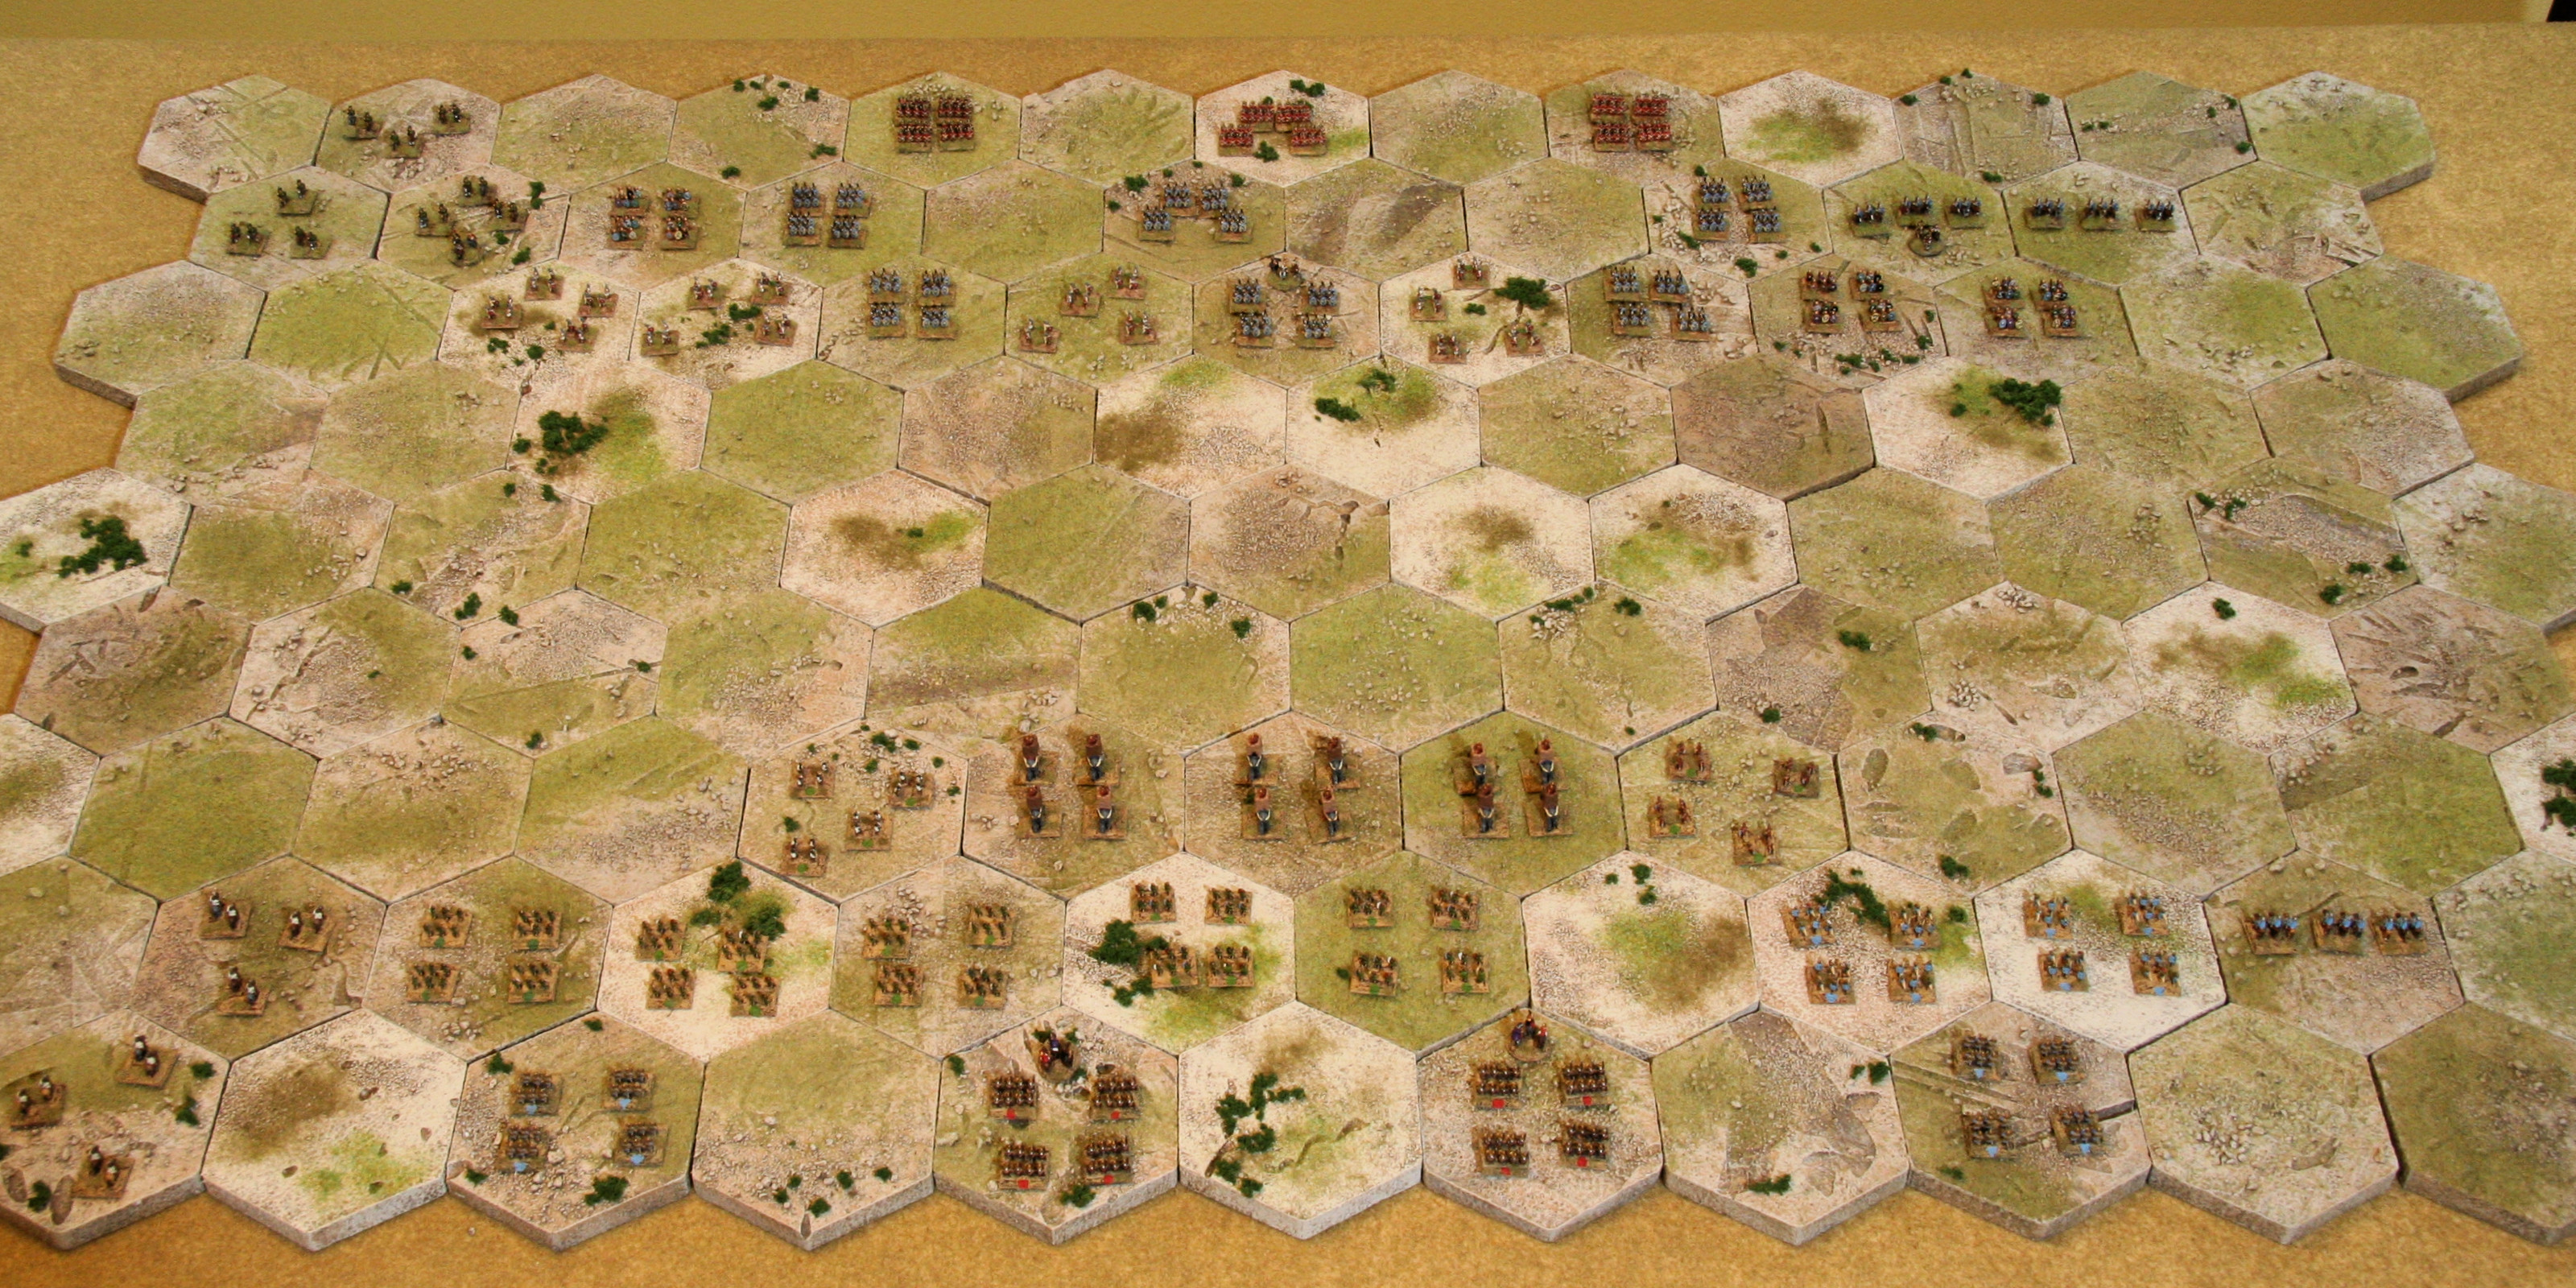
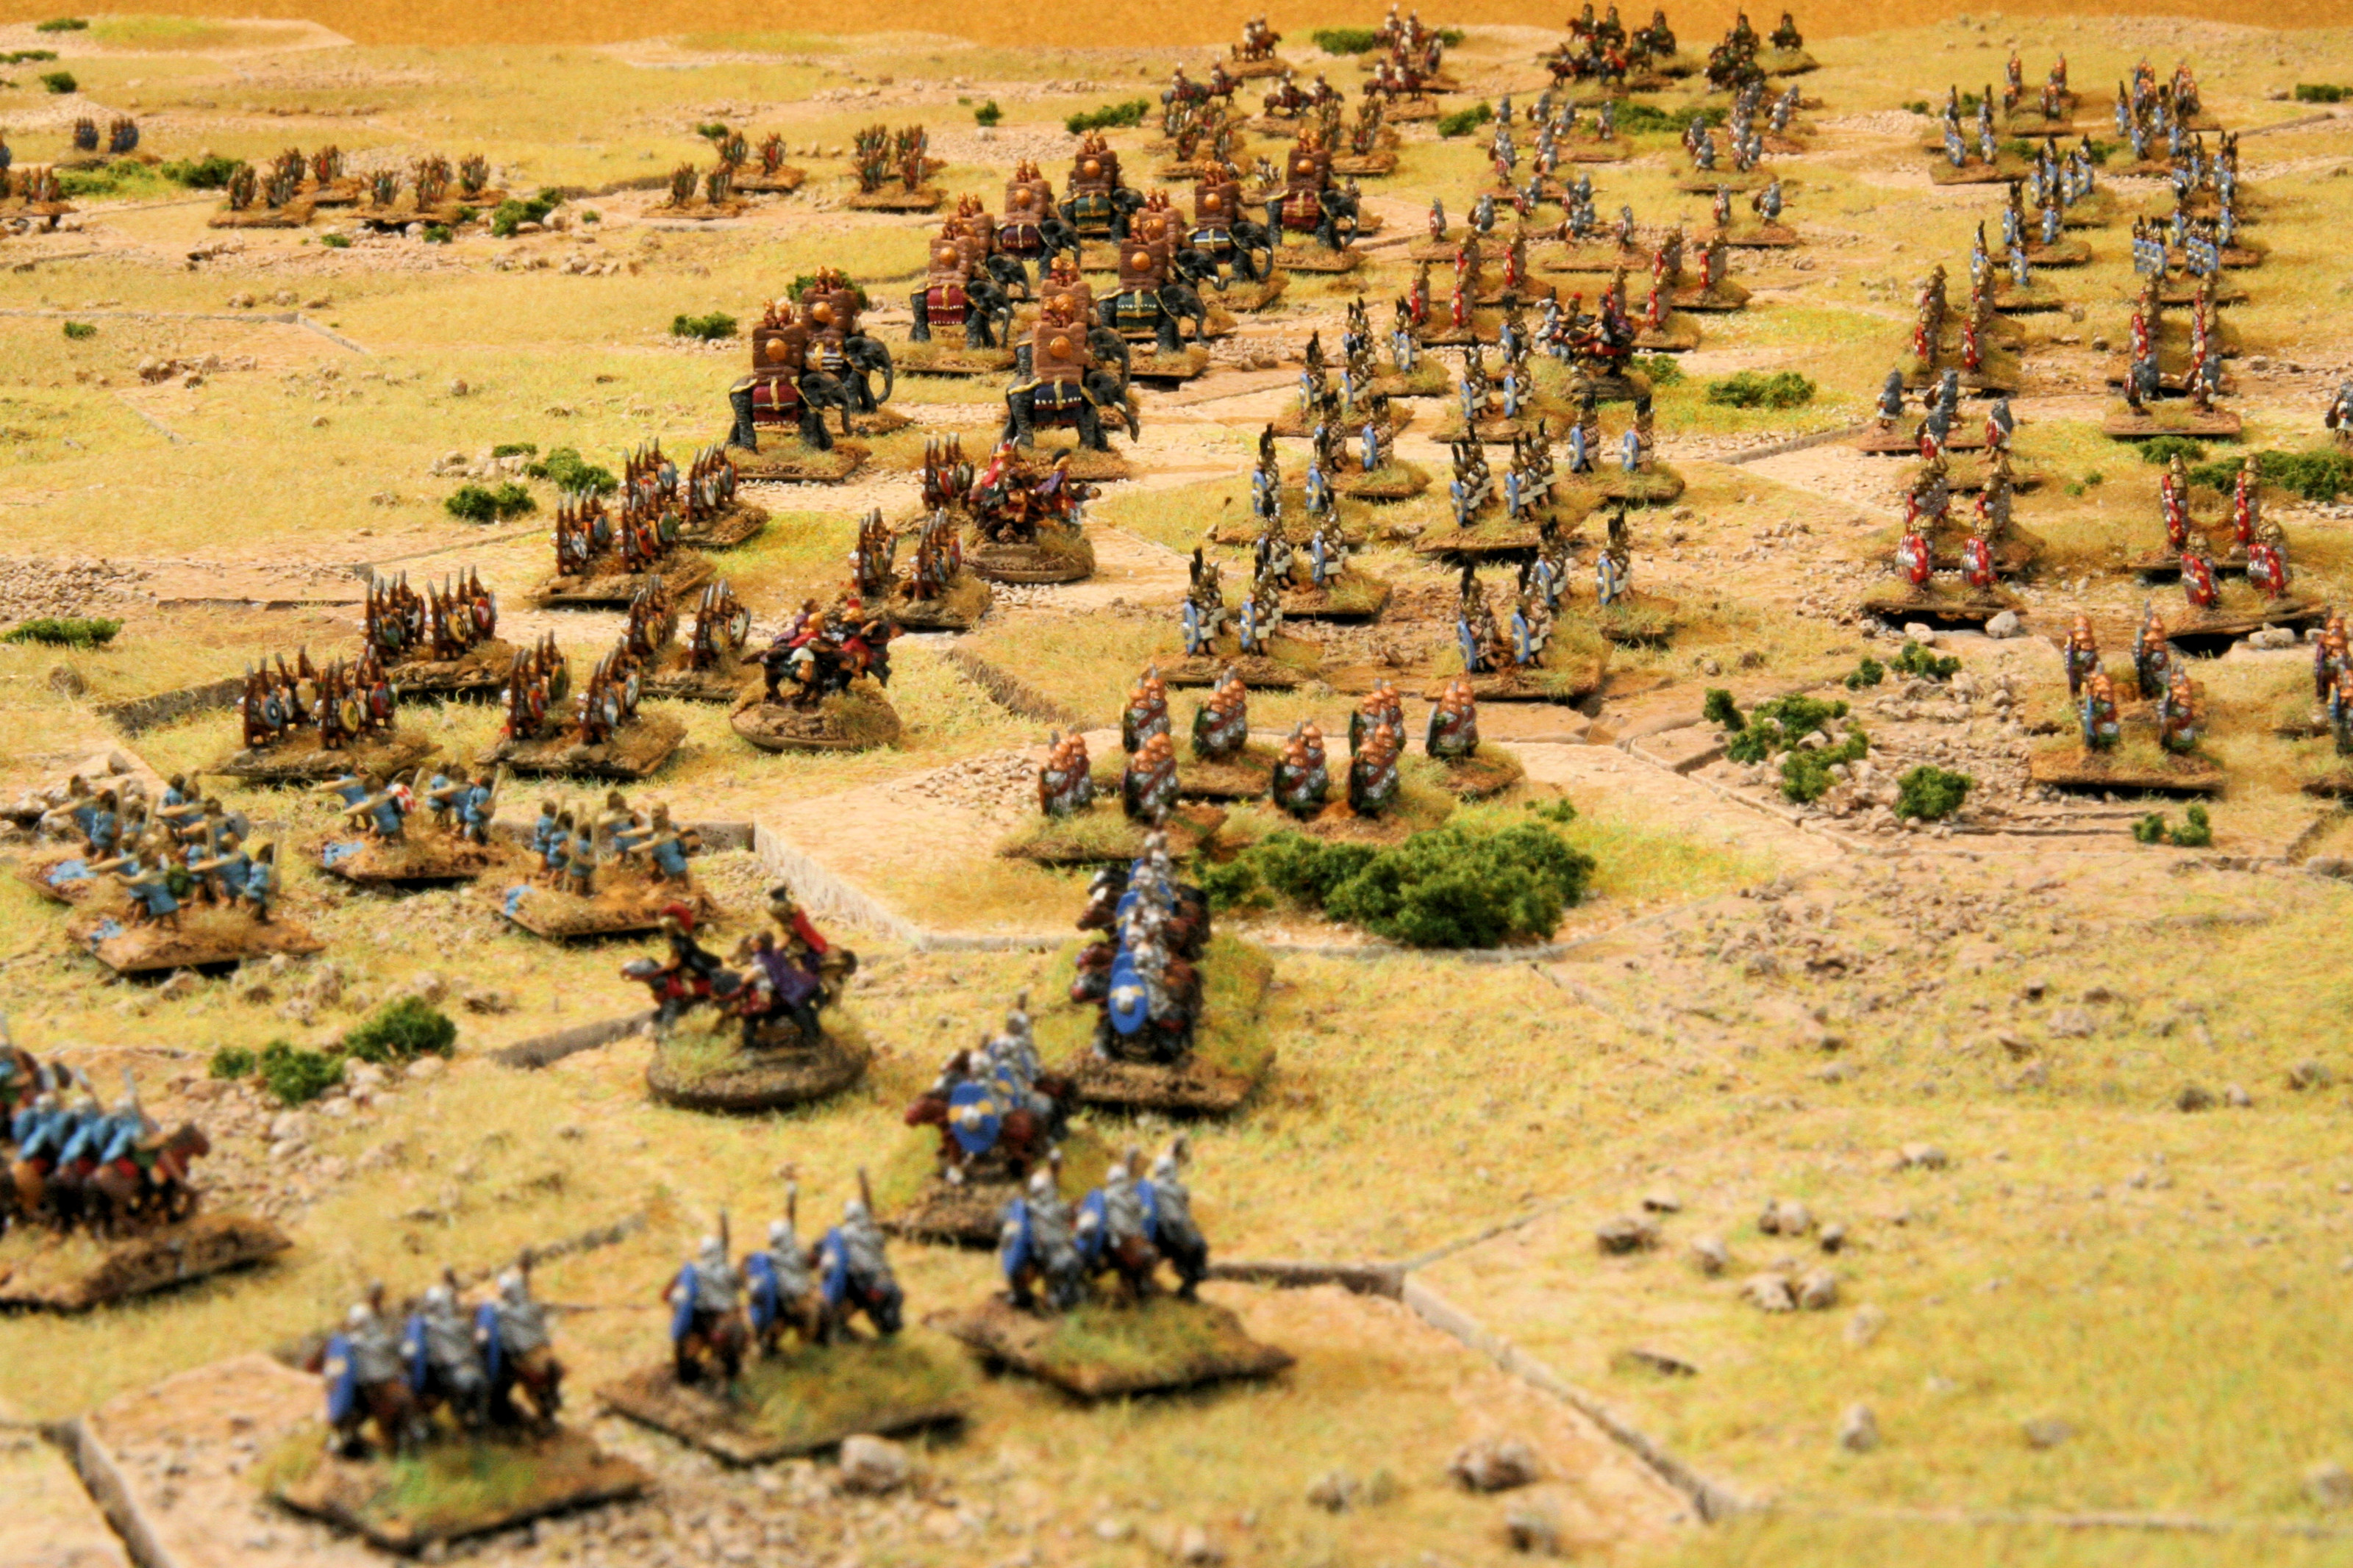
This photo shows the start of the Battle of Zama.
Rome is at the top of the photo, and Carthage at the bottom. The game is modeled with 6mm Baccus miniatures. I have written earlier articles on the construction of the 6 mm Carthaginian Army and the 6 mm Roman Army.
The Commands and Colors Ancients game is played on a 13 by 9 hex board. The game board is modeled here with GHQ Terrain Maker terrain hexes. There is also an article on how I constructed the GHQ terrain preview.
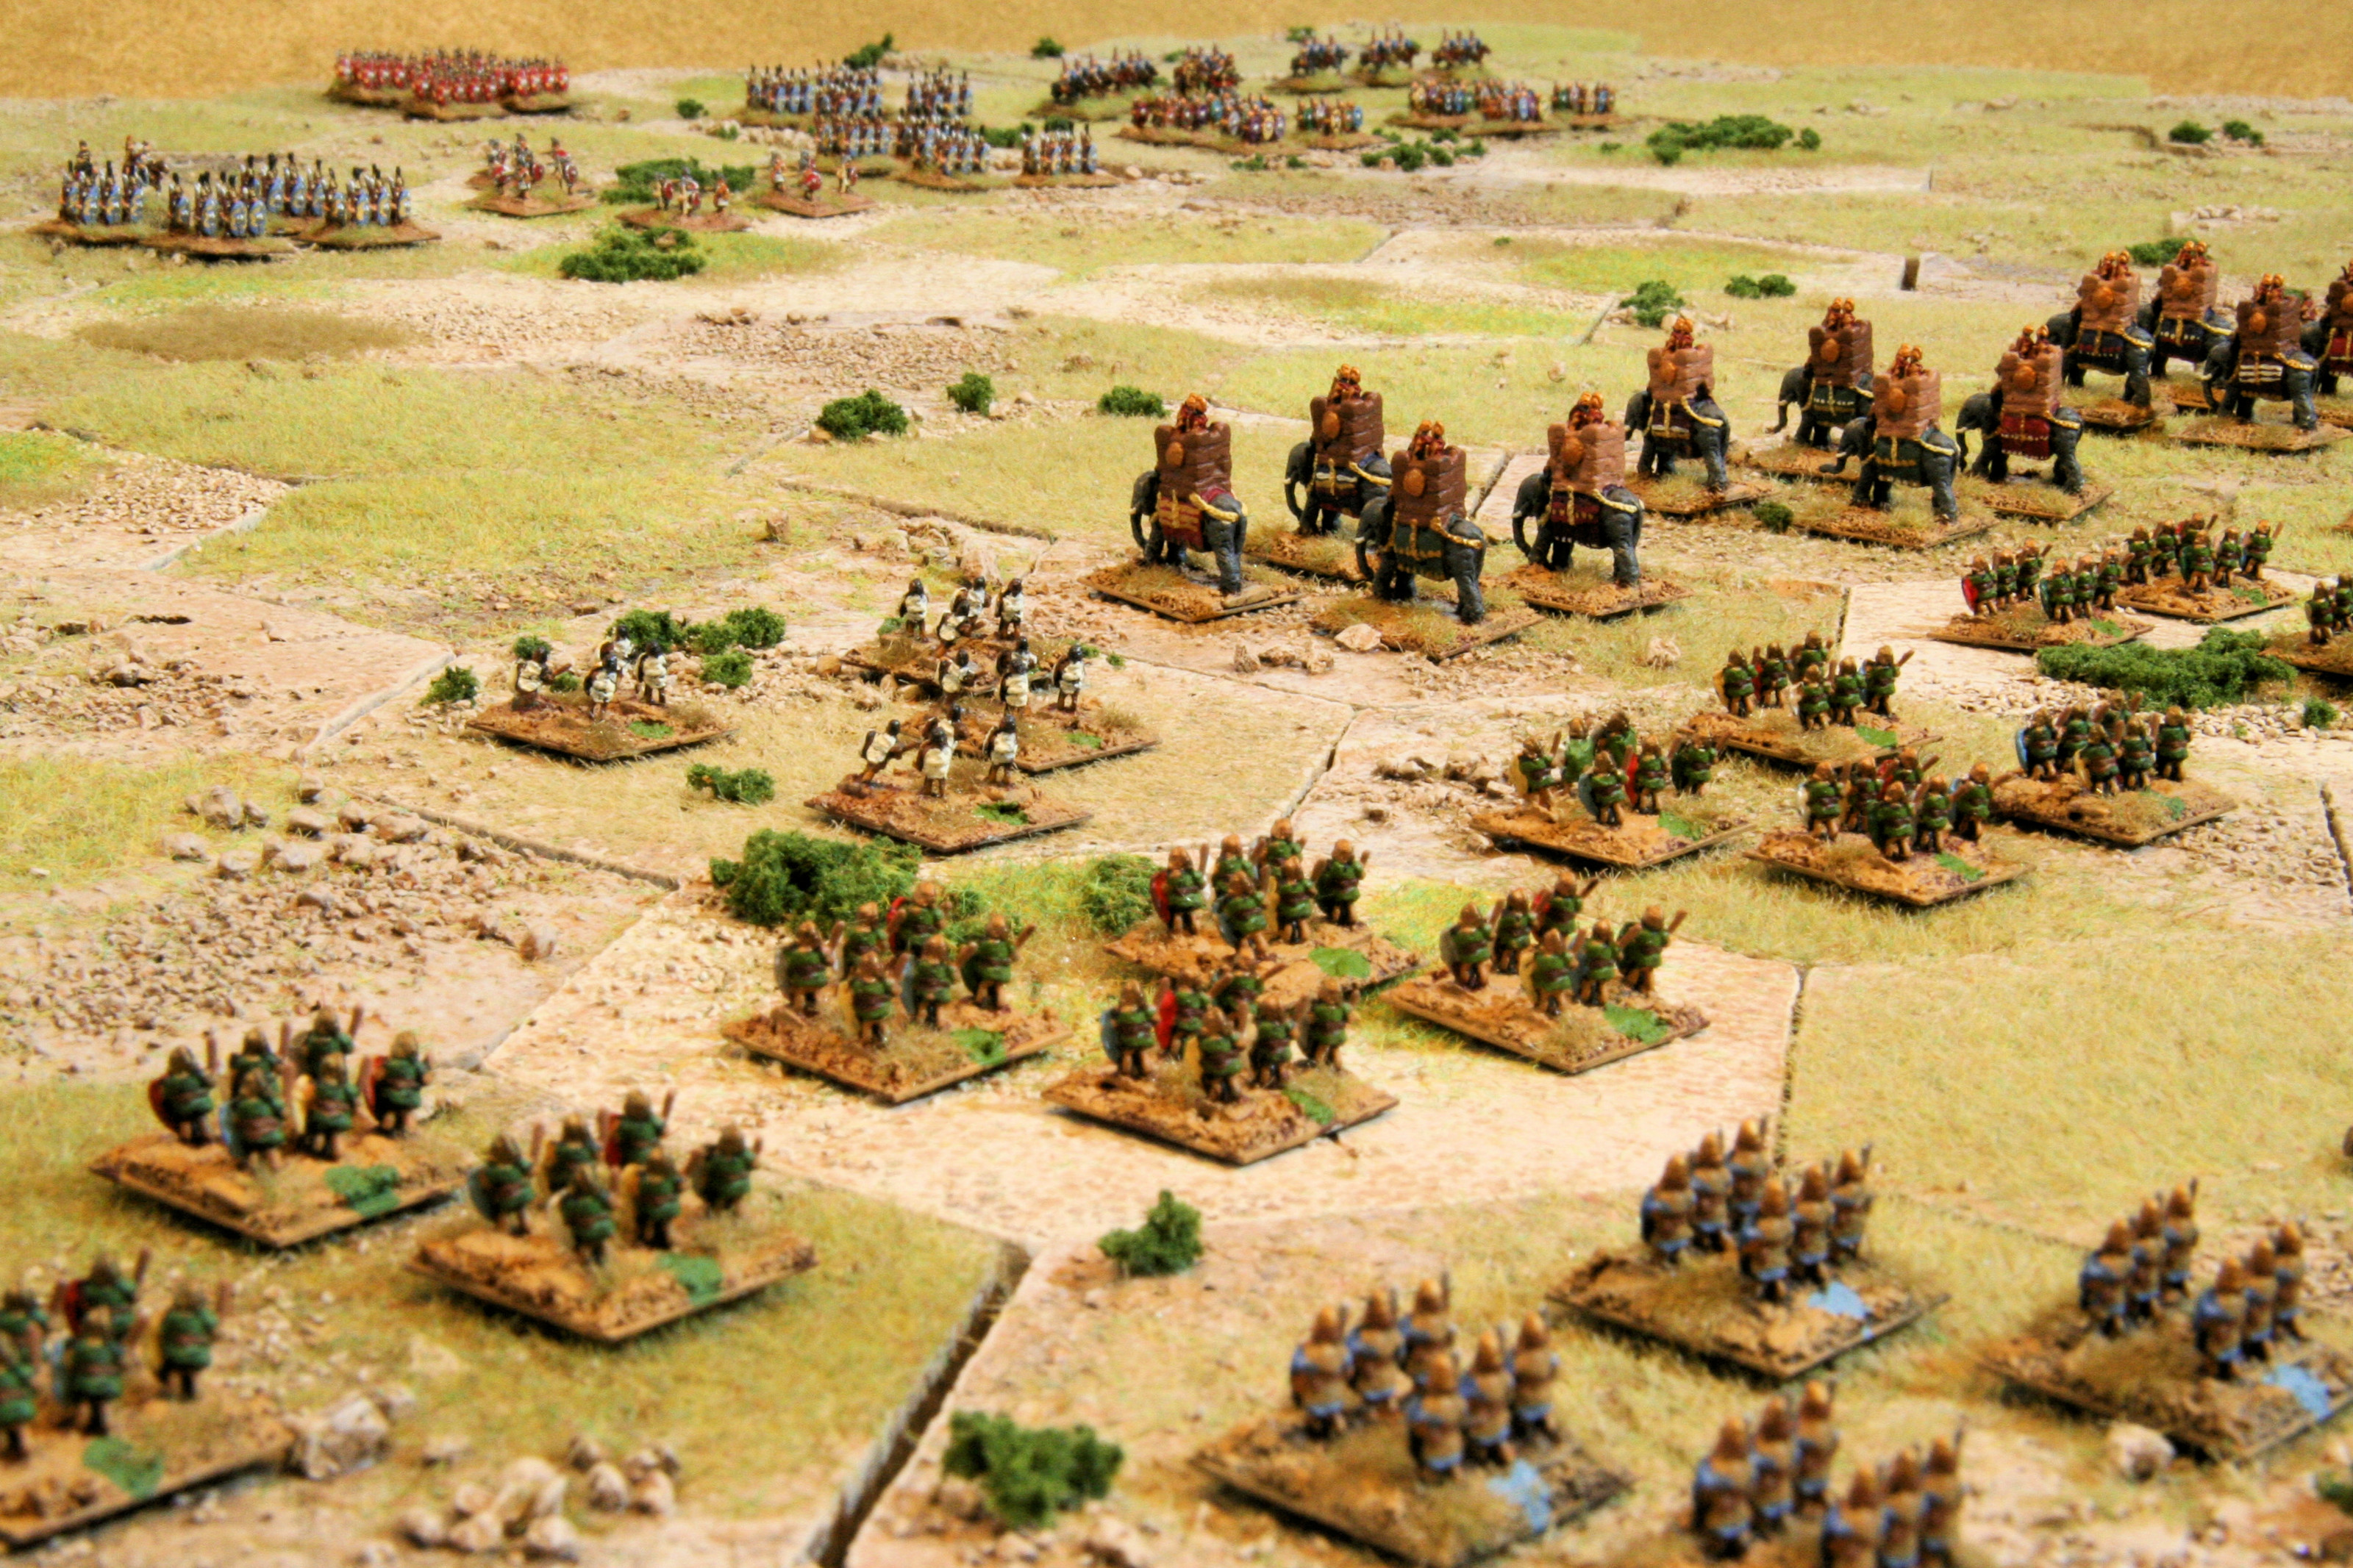
This photo shows the inital attack of the Carthaginian army. The Carthaginian army advances but the battle lines have not joined yet. The Carthaginian auxilia and elephants are ready to attack the Romans.
In the Commands and Colors Ancients game cards are used to march the combatants across the board. Dice are used to resolve battles and destroy or drive back the enemy. Each infantry unit has 4 stands. Each cavalry unit has 3 stands. When 6 enemy units are destroyed, a victor is declared and the battle ends. With these 4 inch (10 cm) hexes (measured flat side to opposite side), the complete board is 52 inches (130 cm) wideby 36 inches (90 cm) deep.
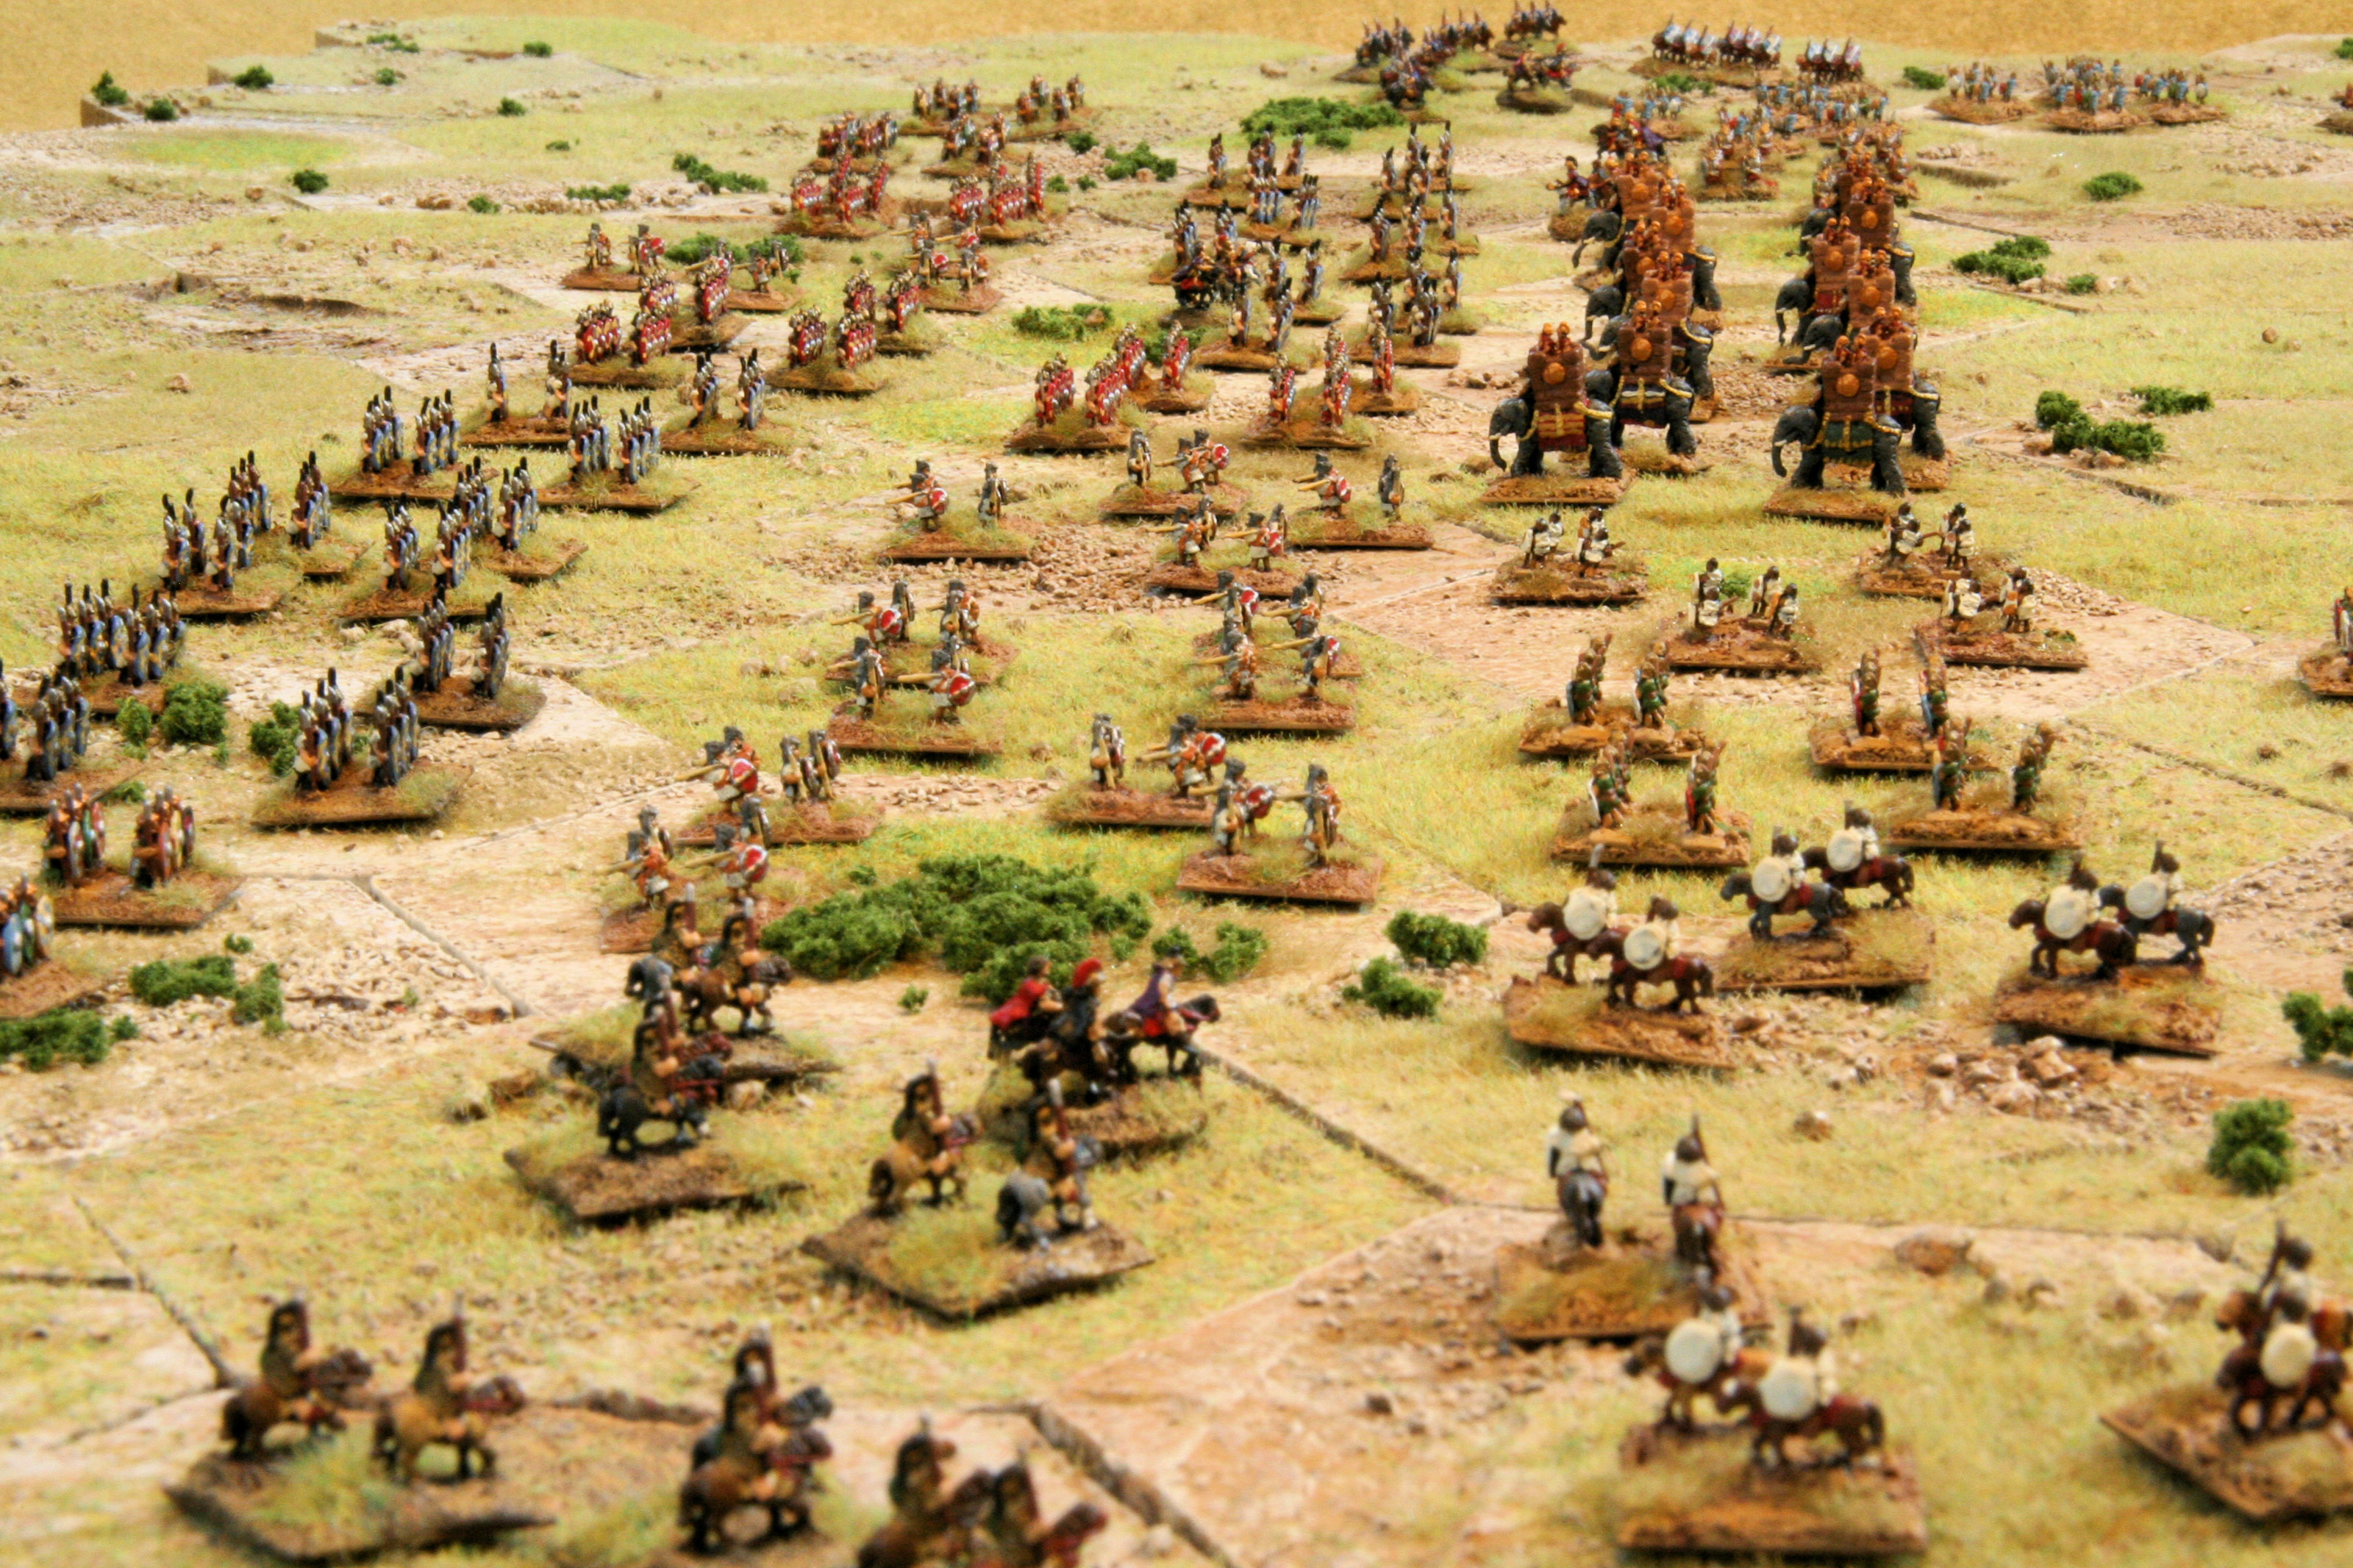
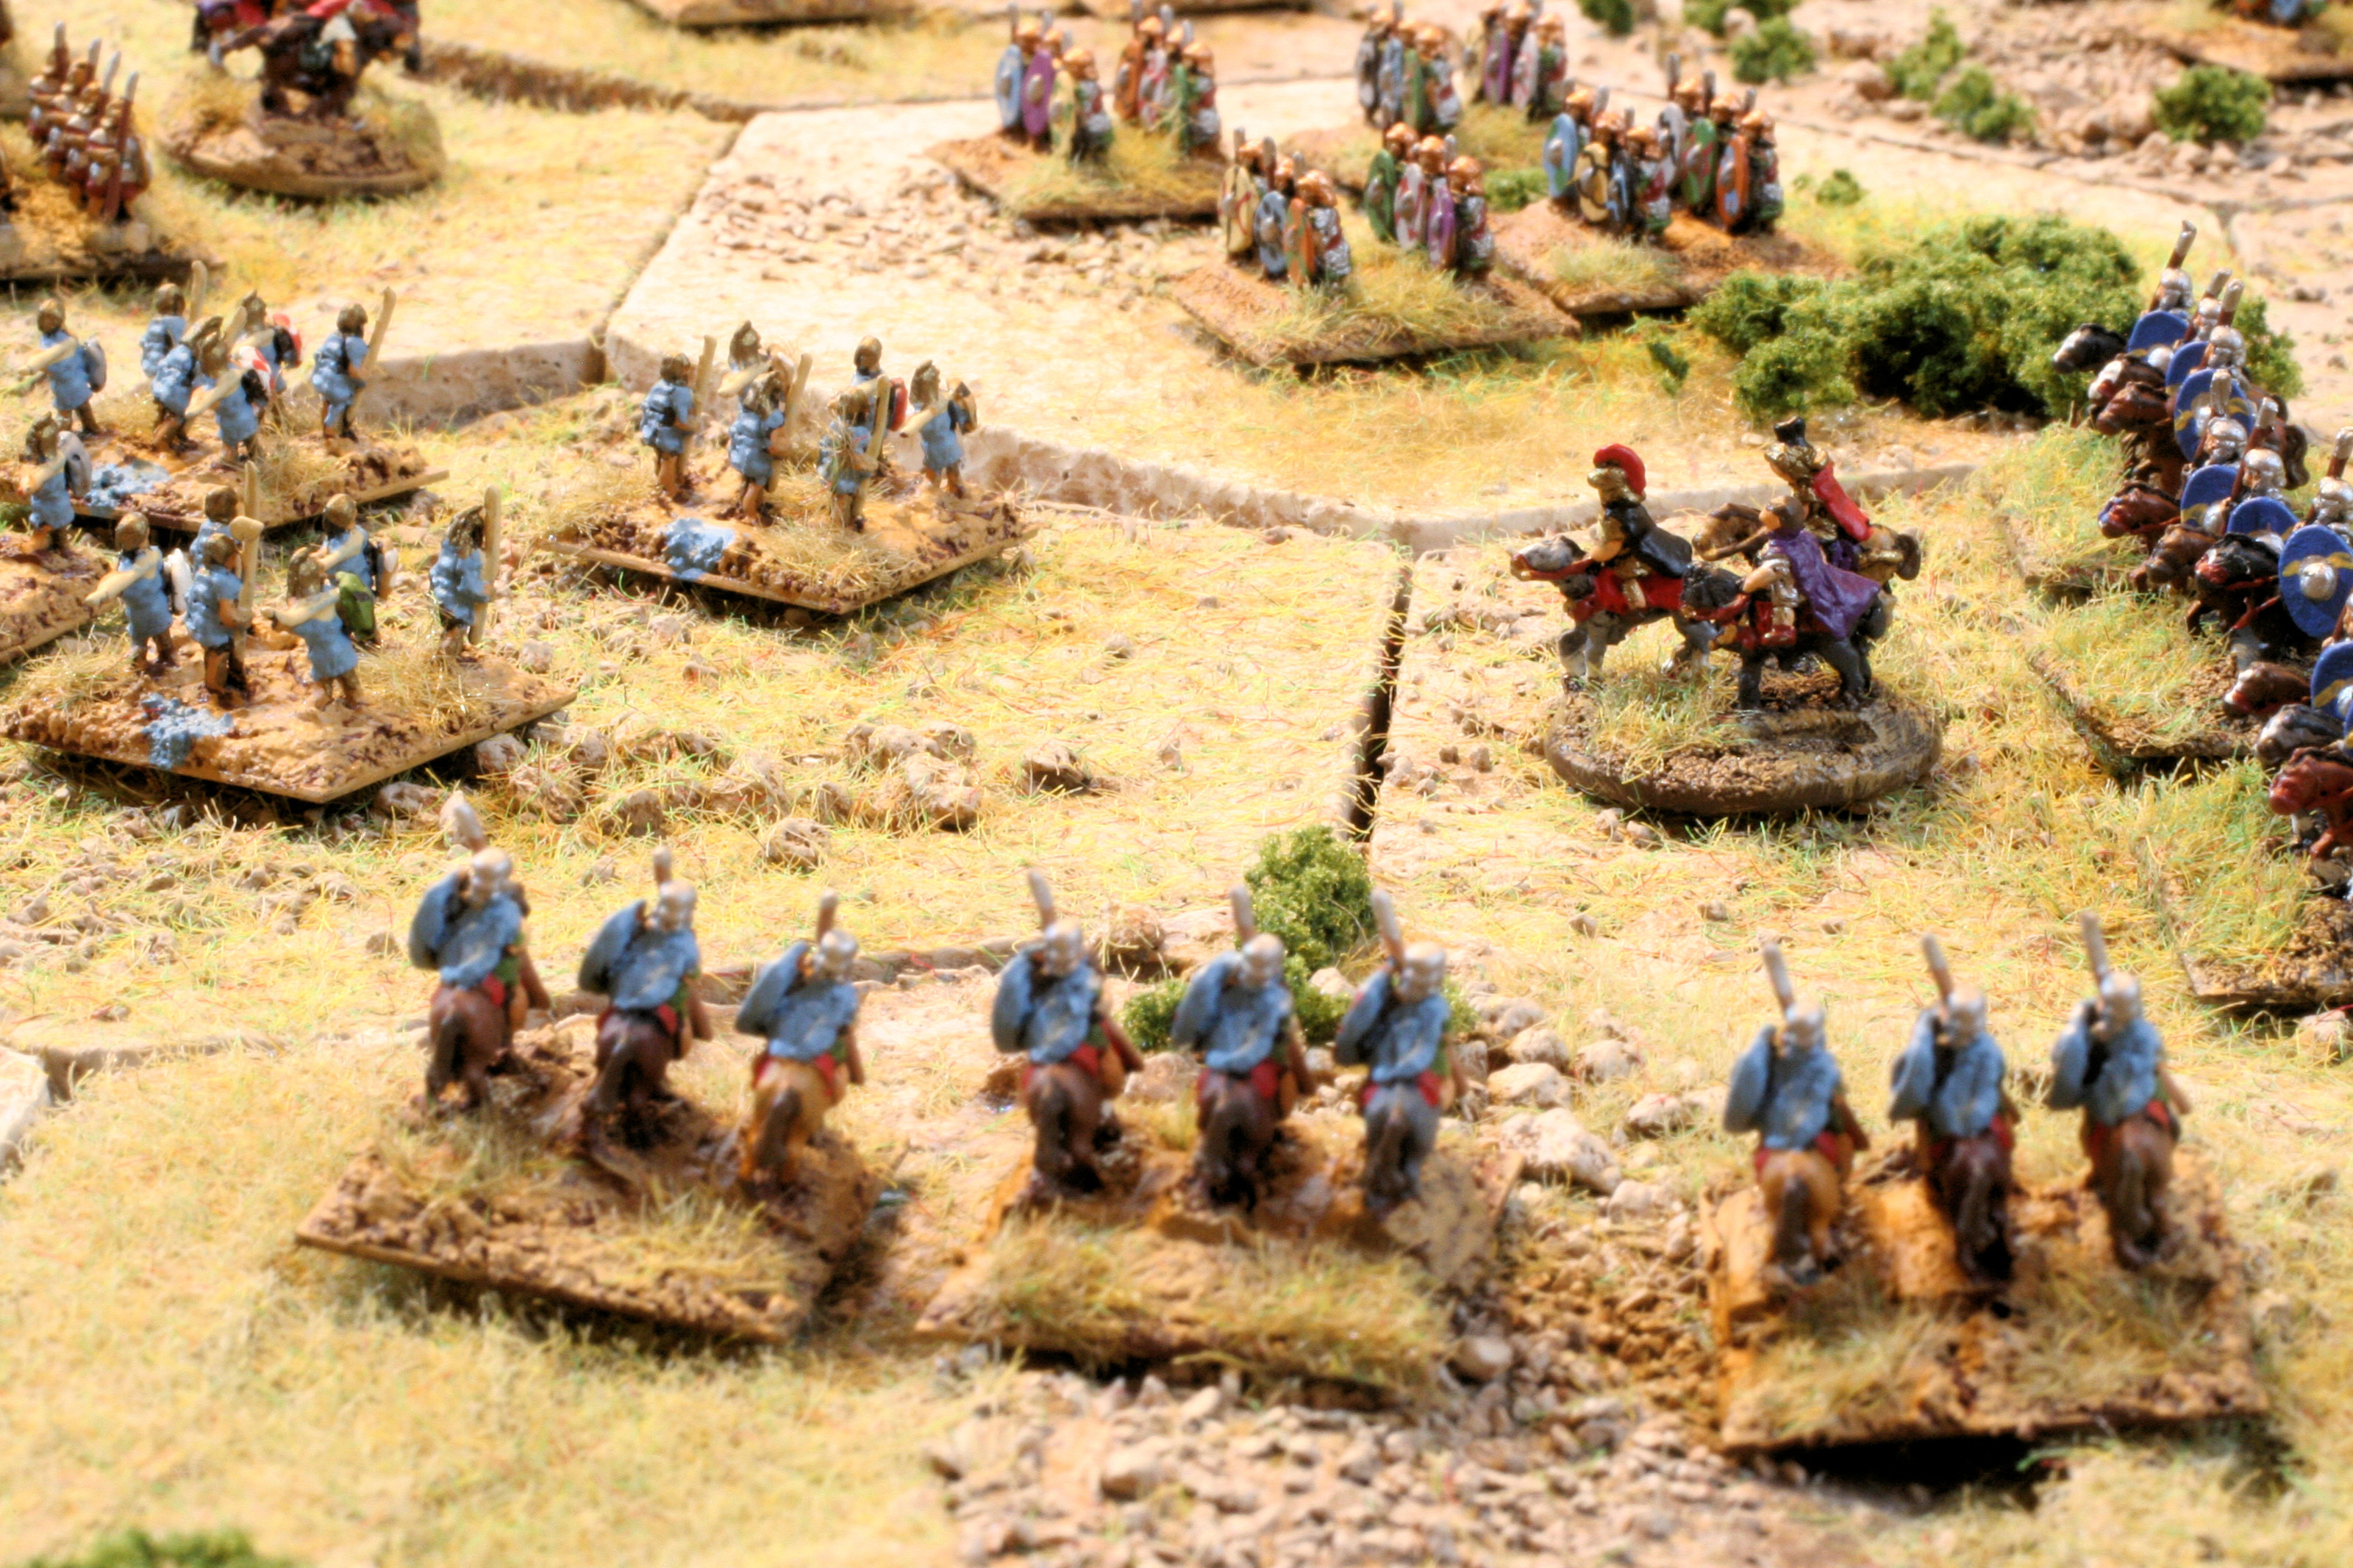
This photo shows the Roman Right Flank.
The Carthaginians on the right have met with the Romans on the left. Roman cavalry on the flanks have marched forward to meet the Carthaginian flanks. The light horses are pelted by slingers and javelins.

The battle line is joined. This view is from our eagle-eye perspective. The Romans attempt to wrap around the Carthaginian flanks. The Carthaginian auxilia lag behind but move forward to join the line.
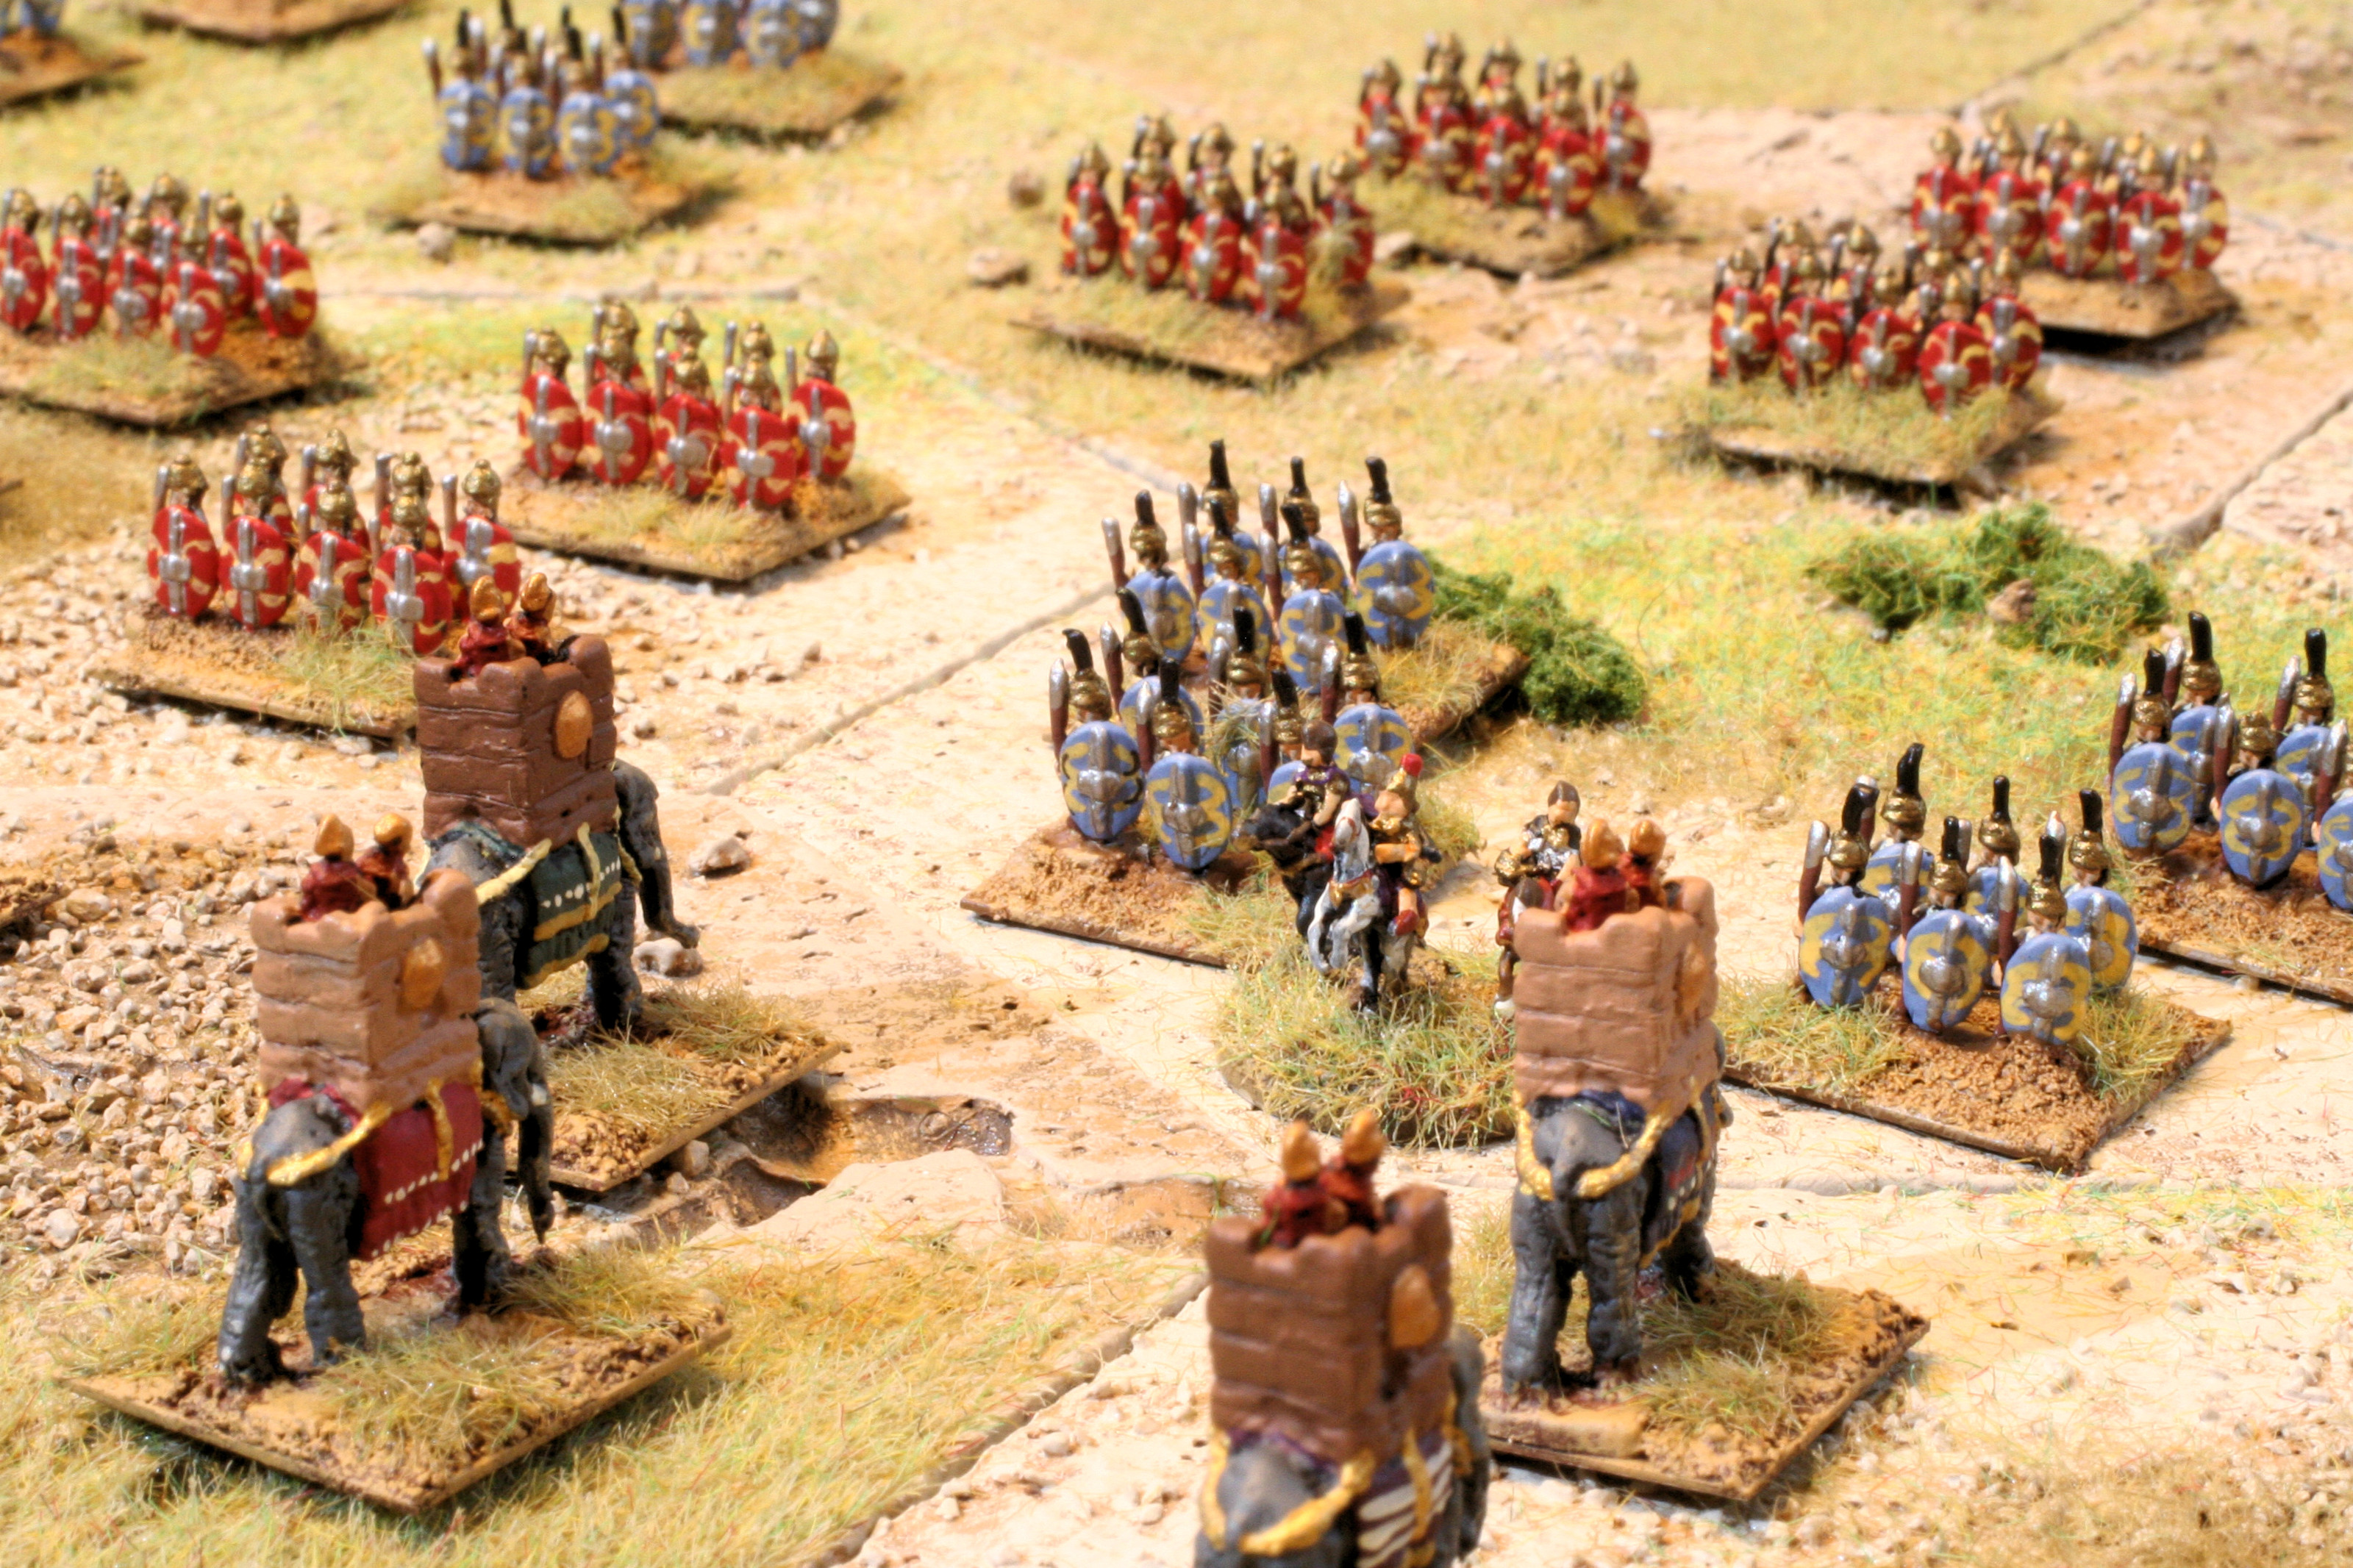
The Carthaginian elephants hurl themselves against the Roman center. The men in the forecastles hurl missiles down upon the enemy. The elephants push and trample the infantry. The infantry hold tight and slash back at the elephants.

Here the Romans attack Hannibal. The Carthaginians are outnumbered. Roman hastati, princeps, and triarii push forward and engage Carthage's best infantry. Hannibal and Hasrubal lead the troops from the front. Both sides cause tremendous casualties.
Masinissa leads the Roman light cavalry into Carthage's left flank. The Numidian light cavalry reel from the flank attack. Velites with their wolfskin headgear hurl their javelins at the opposing auxilia.
On the Roman left flank, medium cavalry charges forward to battle with wild Carthaginian warriors. The warriors are ferocious in battle, but quick to run when they are injured.
Here Roman general Laelius hits hard into the flank of the Carthaginian warriors. However, he himself is charged by Carthaginian medium cavalry.
Will the Romans break and run? Or will they stand and turn the Carthaginian flank?